
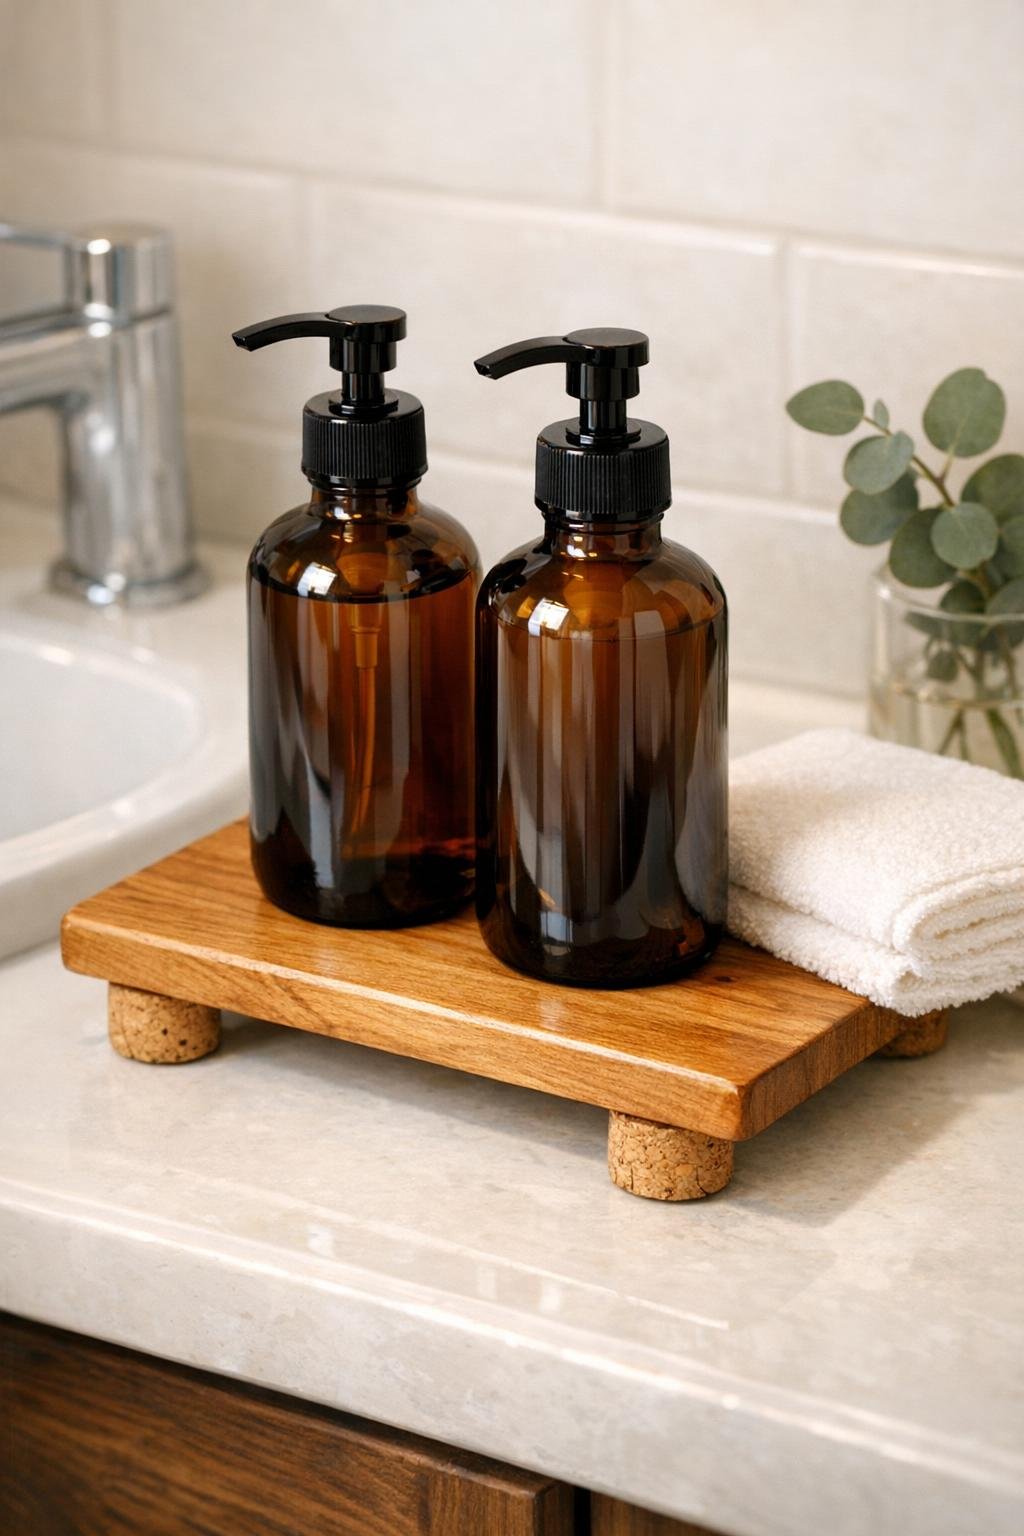
This little bathroom organizer is one of those projects I love because it solves a real everyday annoyance without asking for a whole afternoon of work. By setting glass pump bottles on a small wooden cheese board and lifting it with two cork wine stoppers, you get a simple raised tray that keeps soap and lotion together, makes the counter easier to wipe, and adds a warm, tidy look to the sink area.
I’m especially fond of projects like this because they feel a bit like plating food well in the kitchen: the ingredients are humble, but the presentation changes everything. If you want a bathroom accessory that looks intentional, polished, and easy to live with, this is a very beginner-friendly build.
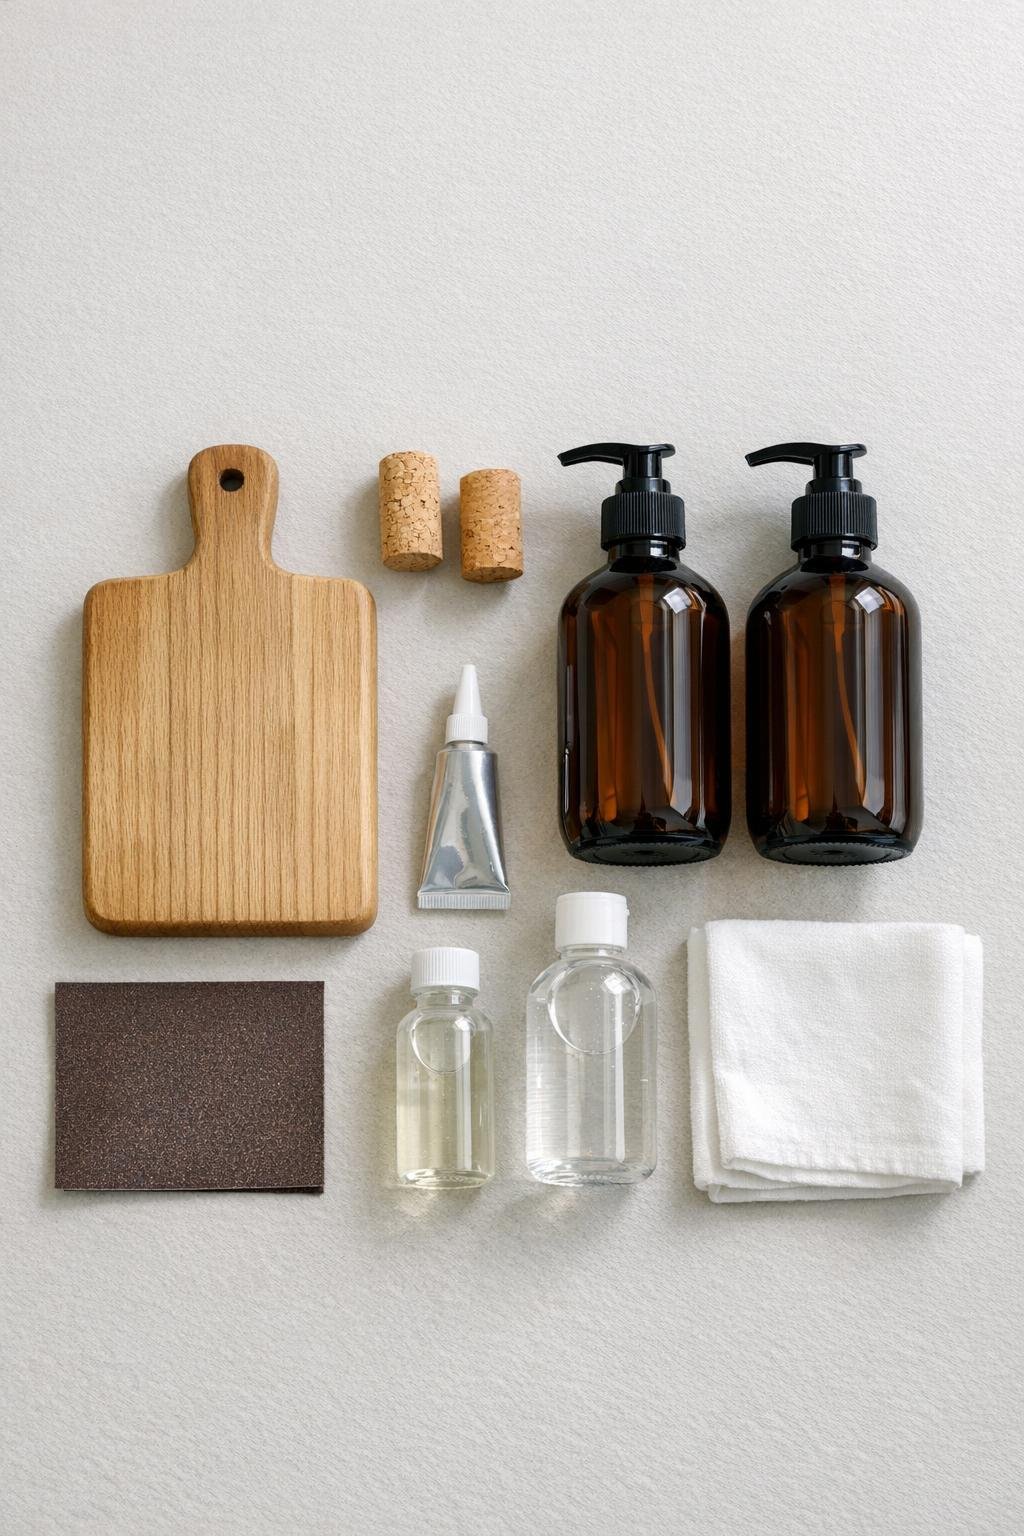
Materials
Instructions
1. Wash and dry the cheese board, cork stoppers, and pump bottles so no dust, wax, or oil interferes with the finish or adhesive.
2. Lightly sand the top, sides, and bottom edges of the wooden cheese board with 220-grit sandpaper to smooth the surface and soften any rough corners.
3. Wipe the board clean with a cloth lightly dampened with rubbing alcohol, then let it dry completely for 5 minutes.
4. Brush on a thin, even coat of clear matte or satin sealer over the entire cheese board, including the underside and edges, to help it stand up to bathroom moisture.
5. Let the first coat dry fully, then add a second thin coat for a cleaner, more water-resistant finish.
6. Turn the board upside down and place the two cork stoppers parallel to each other near the short ends, keeping them about 1 inch in from the edges so the tray will sit balanced.
7. Adjust the corks until the board feels steady and level, then mark their position lightly so you can glue them back in the same spots.
8. Apply a generous bead of adhesive to one side of each cork stopper and press them firmly onto the underside of the board along your guide marks.
9. Hold each cork in place for 30 to 60 seconds, then set the board aside upside down until the adhesive cures according to the package directions.
10. If you want extra counter protection, stick a small felt pad onto the bottom of each end of the corks once the glue is fully cured.
11. Turn the tray right side up and place the two amber glass pump bottles on top, spacing them evenly so the arrangement looks centered and the board still feels stable.
12. Fill one bottle with hand soap and the other with lotion or dish soap if you are using the tray near a bathroom or utility sink, then wipe the bottles and board for a clean finished look.
Variations & Tips
Use matching bottles: Two identical amber bottles give the tray a calm, balanced look, which I find especially helpful in a small bathroom where visual clutter builds quickly.
Choose the right board: A board with a flat surface and straight sides is easiest to stabilize; if the board is too narrow, the bottles can feel crowded and the project loses that polished, useful feel.
Seal the wood well: Bathrooms are hard on unfinished wood, so don’t skip the sealer. Two thin coats usually look better than one heavy coat and are less likely to feel tacky.
Try a darker finish: If you want a richer look, stain the cheese board before sealing it. A walnut-toned finish looks especially nice with amber glass and natural cork.
Make it renter-friendly: If you do not want to glue the corks permanently, use strong removable mounting strips cut to fit the cork tops, though permanent adhesive will hold up better over time.
Add a small dish: If your board is long enough, tuck a tiny ceramic dish beside the bottles for rings, hair ties, or bobby pins. It turns the tray from simply pretty to genuinely handy.
Keep cleaning easy: Lift the whole tray when wiping the counter rather than moving each bottle one at a time. That’s the real charm of this project, and exactly the sort of practical detail I appreciate in both kitchens and bathrooms.