
If you’ve ever wanted a big, full Christmas wreath without paying boutique-store prices, this is one of my favorite quick wins. You’re literally using a basic wire coat hanger and about 60 dollar store ornaments, but once it’s packed full and tied off with a ribbon, it looks so much fancier than the supply list suggests.
I love projects like this during the busiest stretch of the holiday season because they deliver a lot of impact in under an hour. This one takes about 45 minutes, costs roughly $15 in ornaments, and stores flat in a bag when the season is over, which is a huge bonus if your holiday storage is already packed like mine usually is.
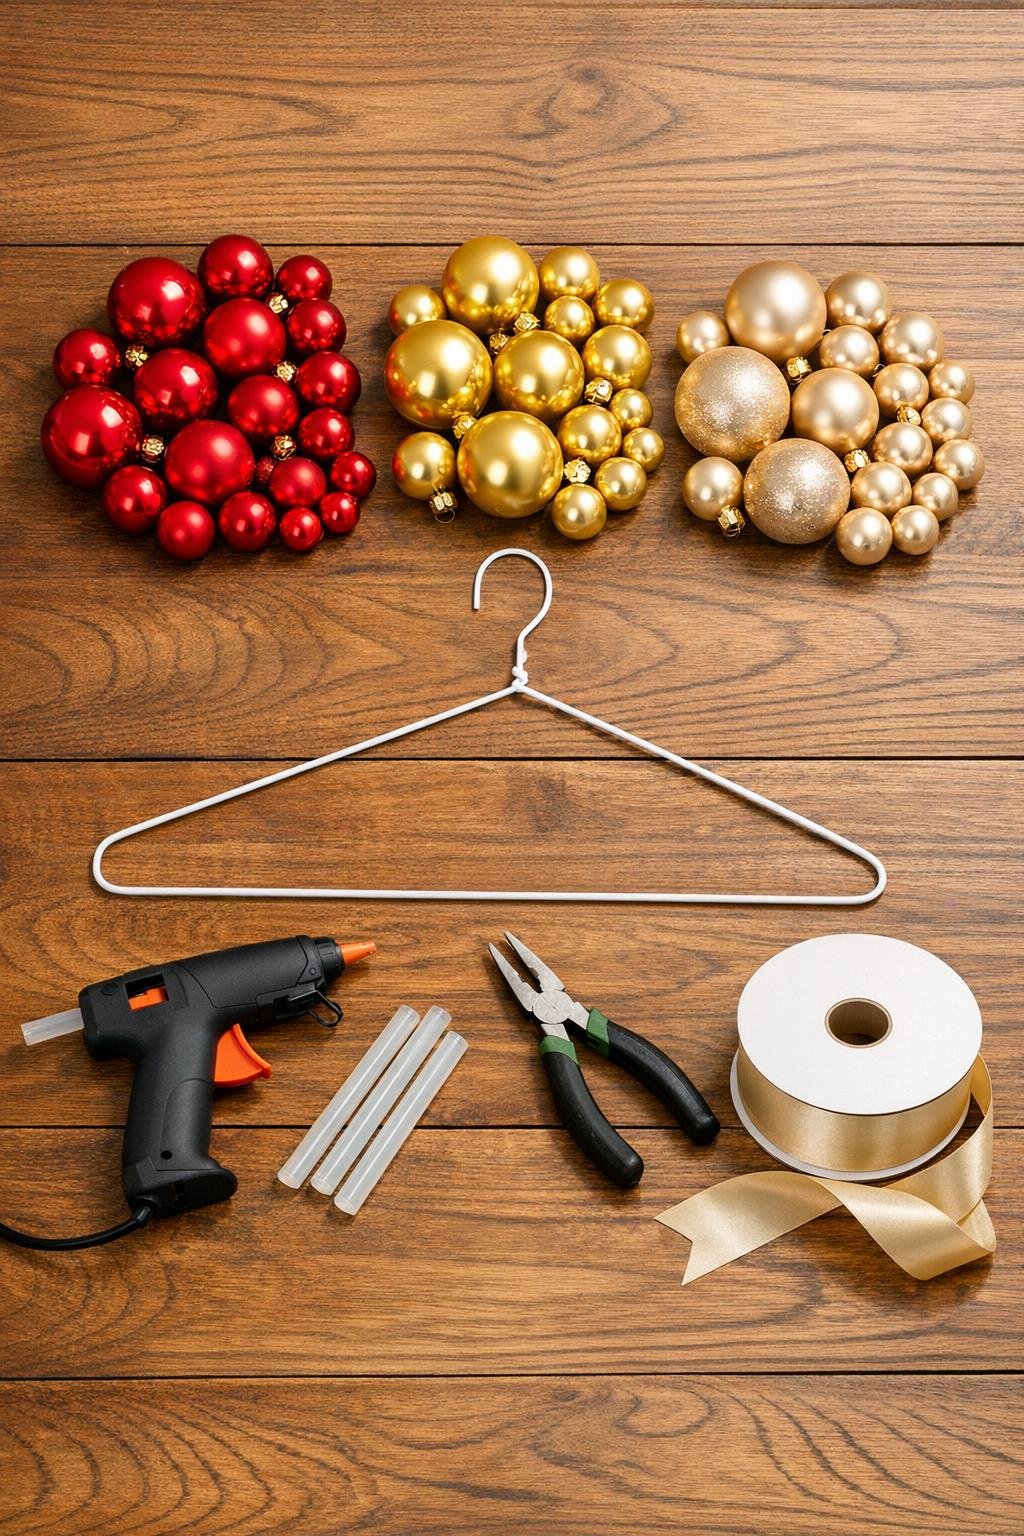
Materials
Instructions
1. Sort the ornaments by size and set aside any with loose metal caps. Heat up the glue gun first, because the trick that makes this wreath hold together is adding a small dab of hot glue under every ornament cap before you start threading.
2. Lift each metal cap gently, add a dab of hot glue between the cap and the plastic ornament neck, then press it back down and let it set for a few seconds. This extra minute up front saves you from the frustrating cap-pop-off moment halfway through the wreath.
3. Use the needle-nose pliers to untwist the hanger neck and open it up. Pull the wire into a rough circle, keeping the hook intact because that will become the wreath hanger later.
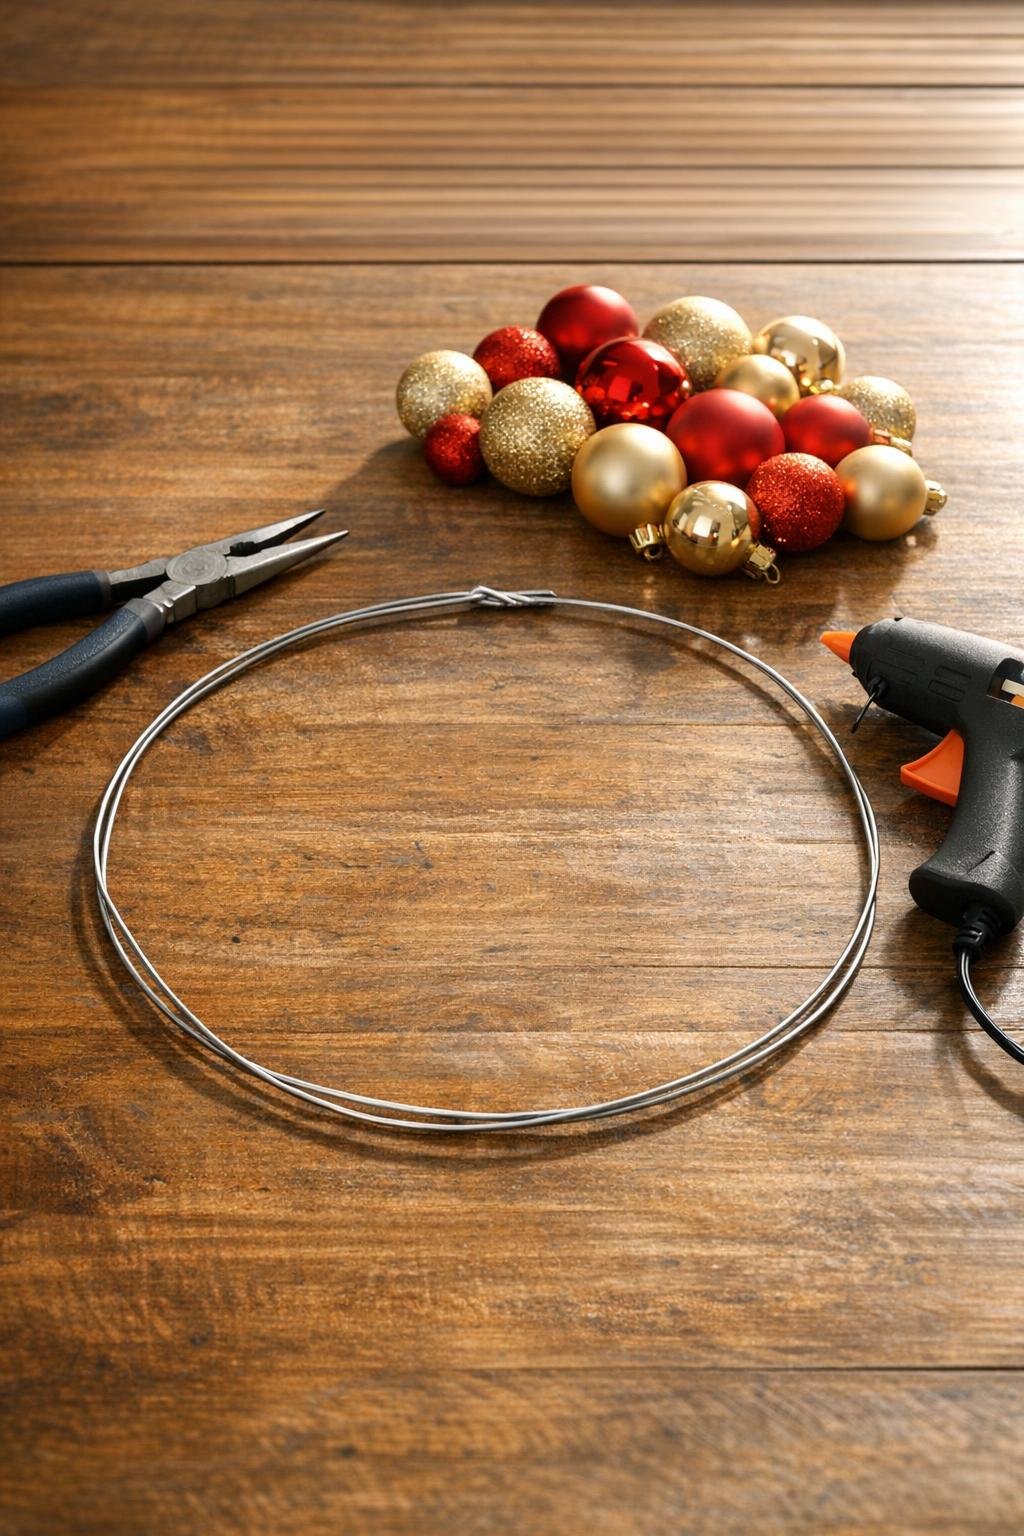
4. Start threading the largest ornaments onto one end of the hanger wire, sliding them down snugly as you go. Turn each ornament so the cap faces inward toward the center of the circle, which helps the outer edge look smooth and full.
5. Alternate colors as you work to spread them evenly around the wreath. I like to rotate red, gold, and champagne so no one section feels too heavy, almost the same way I try to balance colors on a holiday cookie tray.
6. Add the medium ornaments next, tucking them between the larger ones as you thread them on. Keep pushing everything tightly together because the wreath looks surprisingly sparse until you get to the last 15 ornaments.
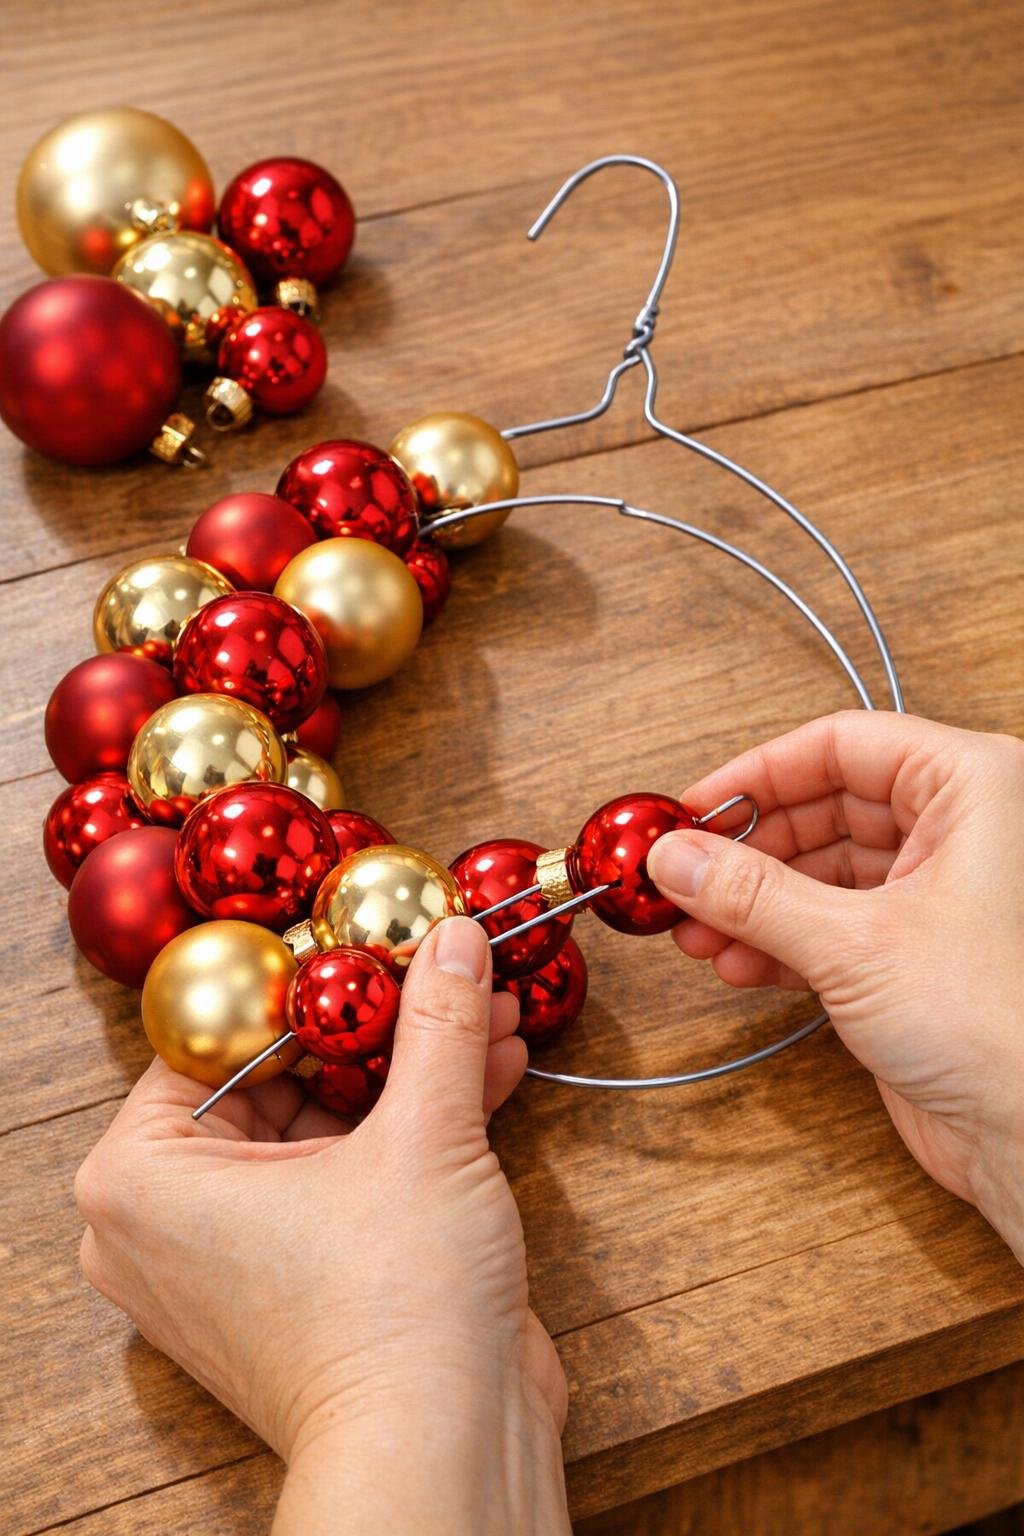
7. Finish by threading on the small ornaments, using them to fill visual gaps and add density. Continue turning the caps inward and compressing the group of ornaments after every few additions so the wreath stays packed and round.
8. Check the overall shape and gently redistribute ornaments if one area looks thin. You can nudge colors around a bit on the wire to make the mix feel balanced before closing it up.
9. When all 60 ornaments are on, pull the open wire end back up to the hanger neck and use pliers to re-twist it closed securely. Tuck the sharp end in tightly so it doesn’t snag the ribbon or scratch your door.
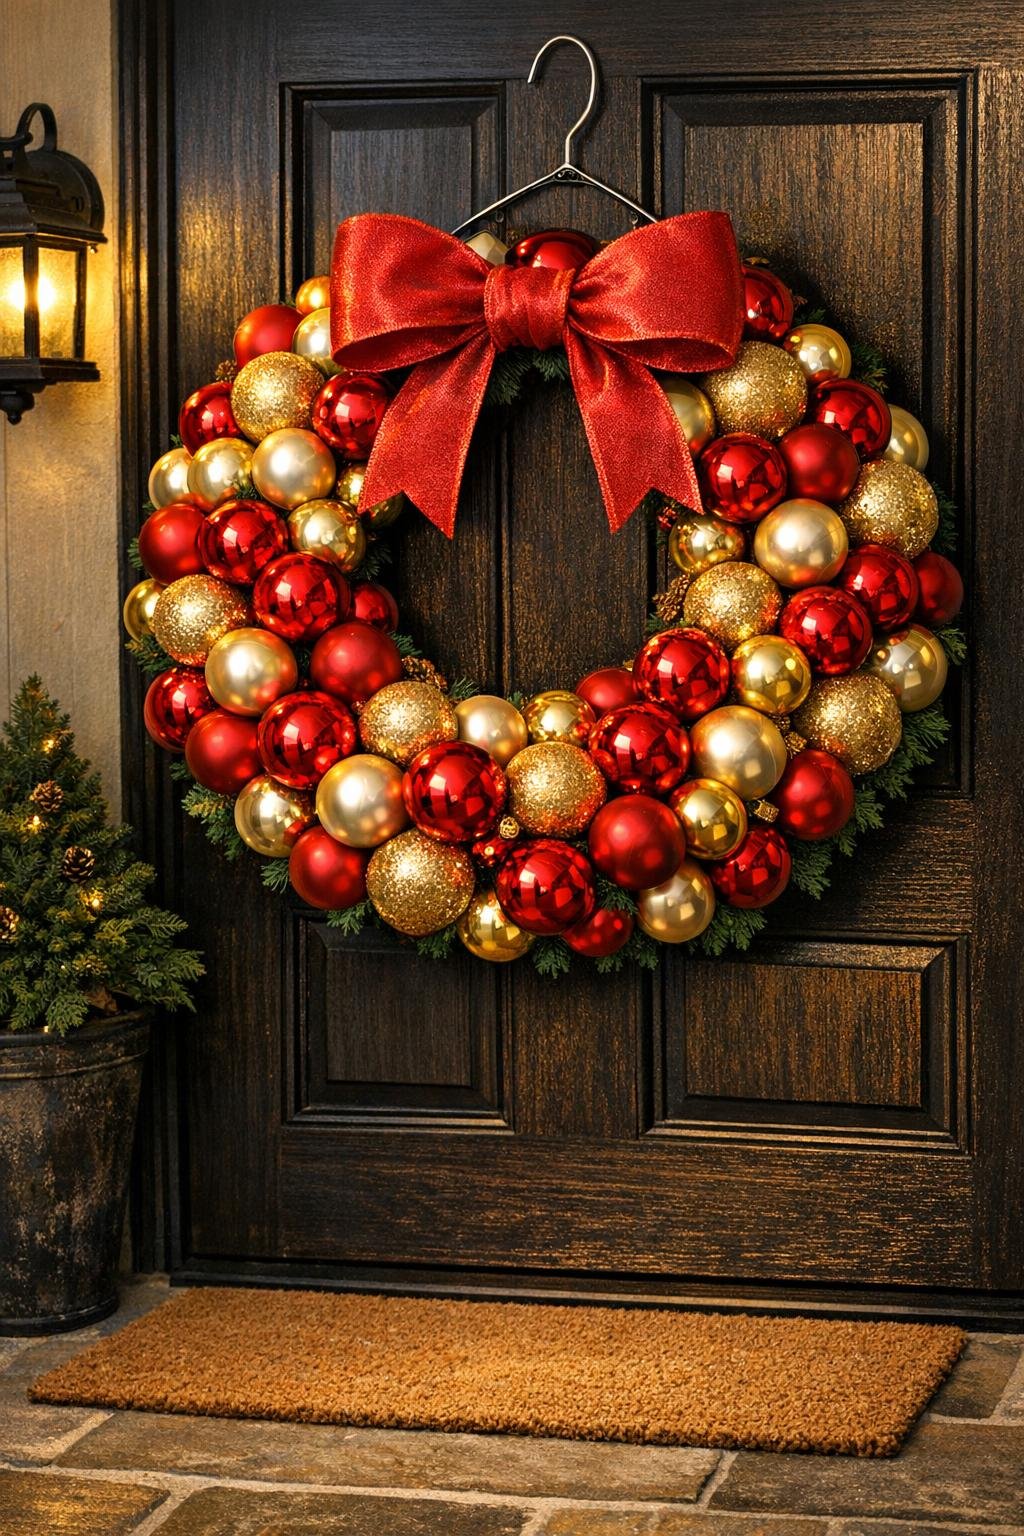
10. Cut a 24-inch length of ribbon and tie a full bow over the twisted join, covering the closure completely. Position the bow so it also disguises the hanger neck while leaving the hook exposed at the back to use as the wreath hanger.
11. Fluff the bow tails, rotate a few ornaments if needed, and hang the wreath for a final look. If you spot tiny gaps, shift the small ornaments into those spaces rather than adding more, since the packed look comes from placement as much as quantity.
Variations & Tips
Color Mix: Try all metallics for a dressier look, red and white for a candy-cane feel, or icy blue and silver if your holiday decor leans wintry instead of traditional.
Ornament Choice: Use shatterproof plastic ornaments only for this project. Glass ornaments make the wreath much heavier and are more likely to break while threading and storing.
Bow Upgrade: If you want a fuller topper, layer two ribbon styles together, like velvet plus sheer ribbon, before tying the final bow over the twisted hanger join.
Storage Tip: This wreath stores nicely in a large flat wreath bag or even a roomy gift box. I like projects that don’t fight for storage space, and this one slides away much more easily than bulky evergreen wreaths.
Gap Fix: If your wreath still looks thin, it usually means the ornaments need to be pushed tighter together, not that you need to buy a whole second batch. The last section fills in the shape dramatically.
Door Safety: For a painted front door, add a small felt pad or loop of ribbon on the back if the wire hook might rub. It’s a tiny extra step that protects the finish.