
There’s something about old family photos and paper folding that feels instantly nostalgic to me. This garland is a dressed-up version of a vintage paper craft my mom absolutely would have made from a magazine clipping or church bazaar booklet, and it turns a stack of photo copies into something polished enough for a holiday mantel, sideboard, or dining table centerpiece.
If you have a shoebox of snapshots you’ve been meaning to do something with, this is a lovely weekend project. The folding is simple and repetitive in the best way, and the finished stars look intricate without being fussy. I do want to say this up front: use color copies or reprints of treasured photos, not the originals, so you can crease and glue freely without a single regret later.
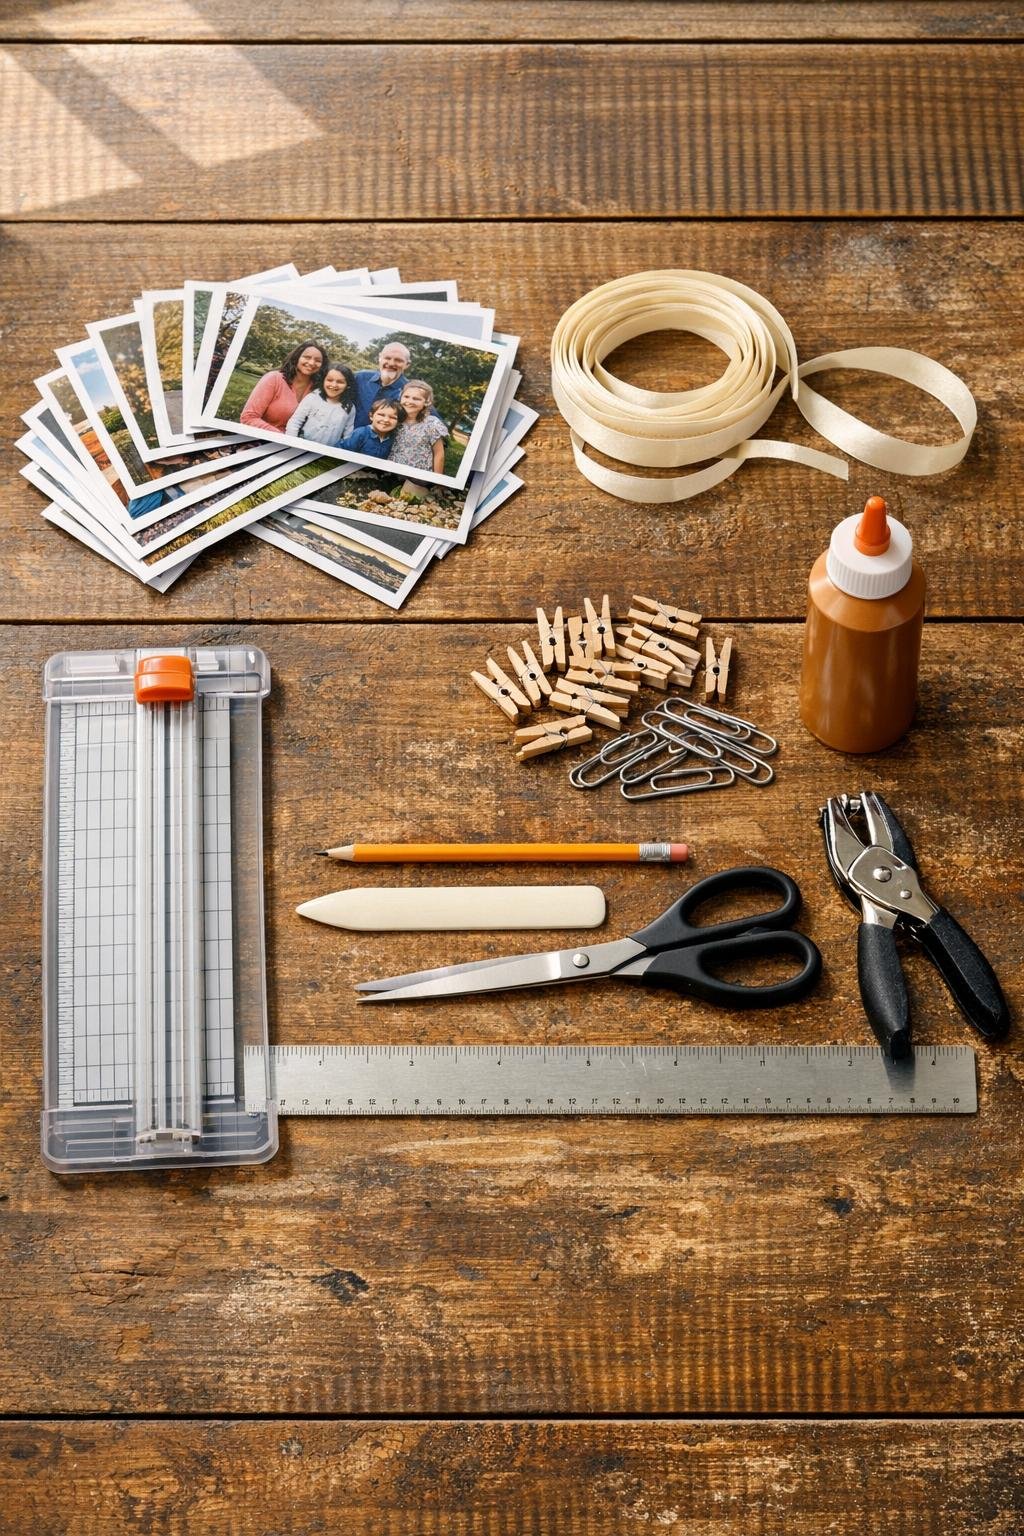
Materials
20 photo copies, 4 x 6 inches each, printed on lightweight matte photo paper or 32 lb presentation paper
Instructions
1. Sort through your photos and choose 20 copies that have good contrast, clear faces, and a similar size; horizontal 4 x 6 prints are easiest to fold evenly and give you 10 finished stars.
2. Trim every photo to exactly 4 x 6 inches if needed, because matching sizes are what make the stars look crisp and consistent once they’re strung together.
3. Lay one photo face down on the table, place the ruler across the short 4-inch side, and mark tiny pencil ticks every 1/2 inch along both long edges so each photo will have eight equal pleats.
4. Use the ruler to guide your folds and accordion-fold the photo in 1/2-inch sections from one short end to the other, pressing each crease firmly with the bone folder so the pleats stay sharp.
5. Repeat the same 1/2-inch accordion fold on all 20 photos, checking as you go that every pleat width matches; this is the part that makes the finished garland look vintage and tidy instead of homemade in the wrong way.
6. Fold each accordion-folded photo in half crosswise so the two short ends meet, then pinch the center hard to mark it clearly.
7. Open one folded piece slightly and place a small dot of tacky glue right at the inside center pinch, then press the middle together to create a fan shape and clip it for 5 to 10 minutes so it sets.
8. Make the remaining 19 folded photos into matching fans the same way, keeping the glue only at the center pinch so the outer pleats stay open and full.
9. Remove the clips and pair the fans by color or era, then run a thin line of glue along one outer folded edge of a fan and press it to one outer folded edge of a second fan to form a complete star.
10. Hold each glued pair together for a few seconds, clip if needed, and let the 10 stars dry flat on wax paper until they stay open on their own.
11. Punch one small hole near the top point on the back side of each star, about 1/4 inch down from the tip, and keep the hole placement consistent so the stars hang at the same height.
12. Cut your ribbon to the finished length you want; for a mantel or table-front swag, I like one 7-yard length with extra left on both ends for tying.
13. Thread the stars onto the ribbon through the punched holes, spacing them about 6 to 7 inches apart, and use the 12-inch scrap ribbon as a quick measuring guide so you don’t have to keep grabbing a ruler.
14. Once the spacing looks balanced, add a tiny dot of glue behind each punched hole where it meets the ribbon to keep the stars from sliding and twisting too much.
15. Let the glue dry completely, then fluff each star gently with your fingers so the pleats open evenly and the points read clearly from across the room.
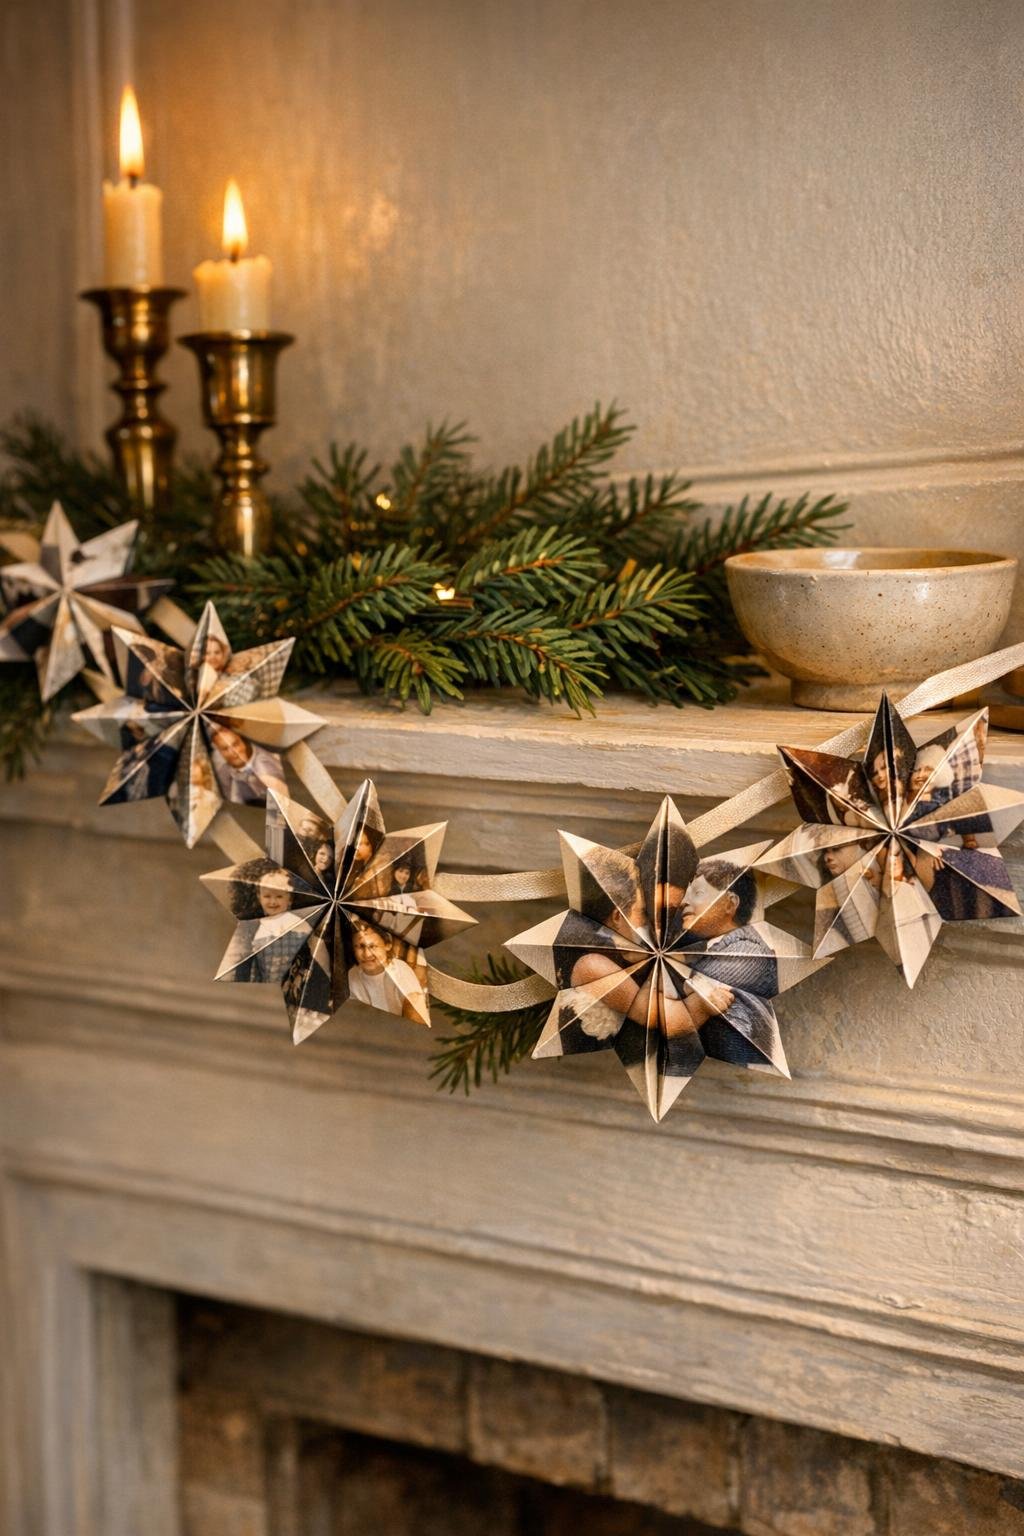
Variations & Tips
Best paper choice: If your photo copies are too thick, the folds fight you; if they’re too thin, the stars collapse. Lightweight matte photo paper or presentation paper is the sweet spot for clean pleats that still hold their shape.
For treasured originals: I really mean it about using copies. Scan and print the photos first, especially if they include irreplaceable family snapshots, because this project depends on firm creases and a little glue at the center.
Most important trick: Keep every pleat at the same 1/2-inch width. Even one star with uneven folds will look lopsided once it’s hanging next to the others.
Cleaner centers: Use only a dot of glue at the fan center before clipping. Too much glue seeps into the pleats and makes the star look stiff instead of full.
Stronger stars: If your garland will hang on a tree or be packed away year after year, add a second tiny dot of glue where the two fans meet at the back center for extra hold.
Different display ideas: This also looks beautiful draped down the center of a table, looped across a hutch, or hanging on a Christmas tree with the stars spaced a little closer together.
Color story: Black-and-white or sepia copies give the most vintage look, while mixed color snapshots feel more playful and personal. I like grouping by decade so the whole garland feels intentional.
Storage tip: Wrap the ribbon around a piece of cardboard and layer tissue paper between the stars before boxing it up. The pleats stay much sharper that way, and next year you only need a quick fluff.