
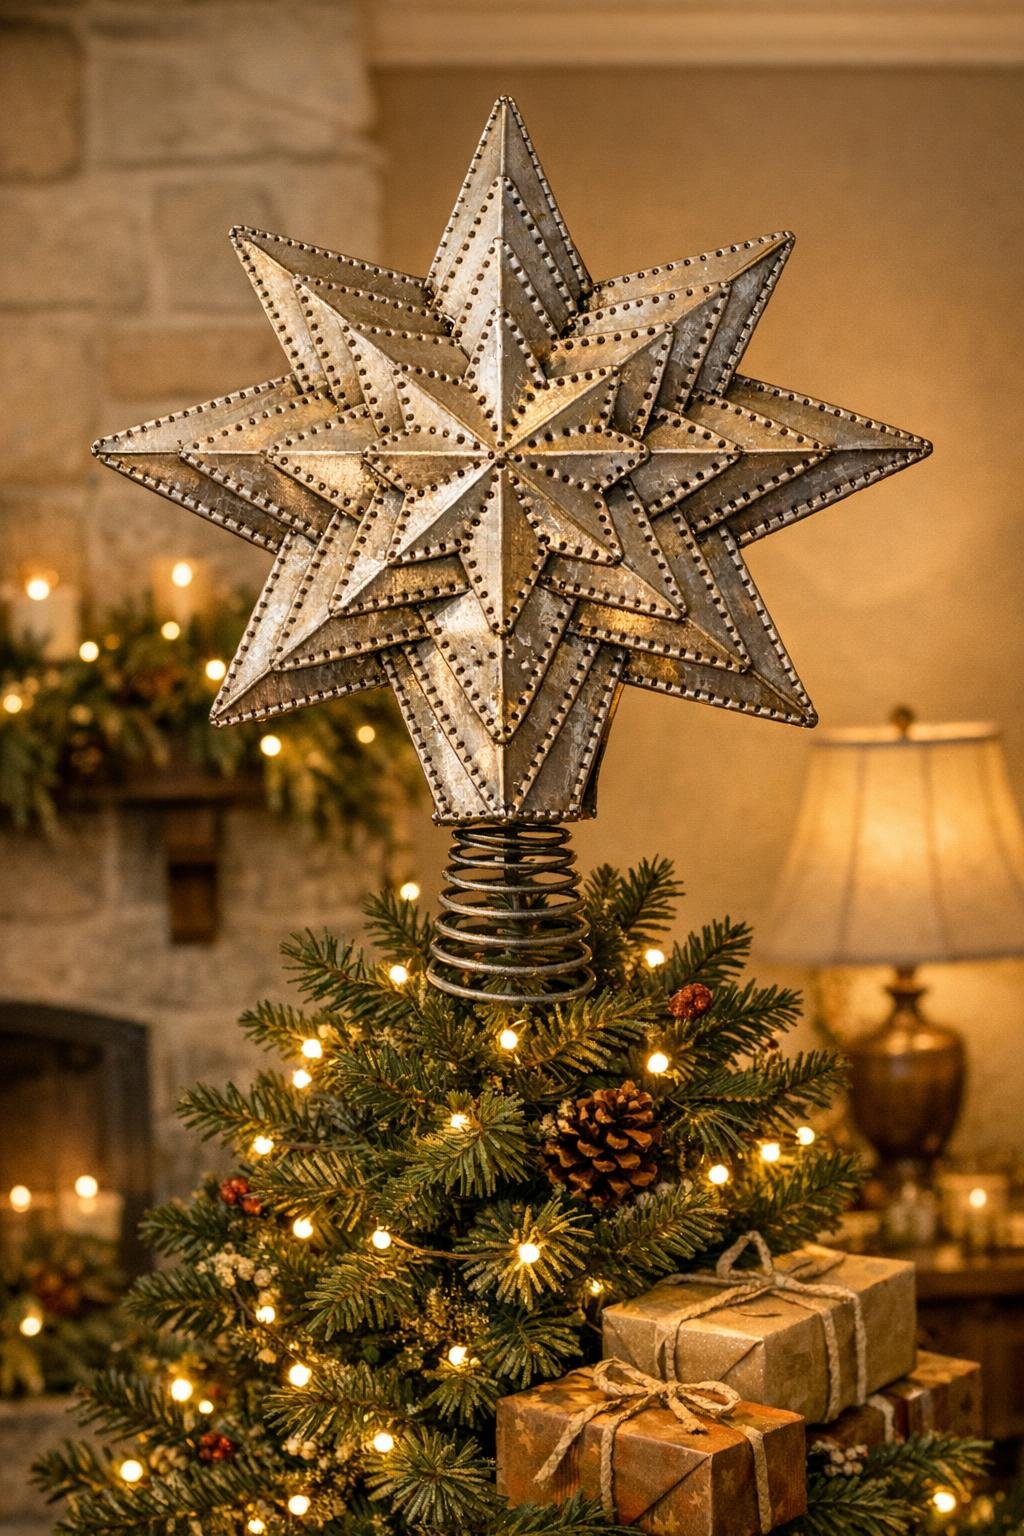
There is something so satisfying about turning a handful of old jar lids into a Christmas decoration that looks like it could have come straight out of a 1940s attic box. This punched-tin star tree topper is one of those old-fashioned makes that feels special the minute you set it on the tree, and if your mom or grandma ever saved pretty little handmade ornaments, this style will feel wonderfully familiar.
I love this project because the materials are humble, the patterning is simple, and the finished piece has that crisp, glowing, heirloom look that makes a tree feel dressed instead of just decorated. I am writing this so a careful beginner can follow it comfortably, step by step, and end up with a star that is polished enough for the top of the tree or even a mantel display.

Materials
Instructions
1. Wash and dry all 12 jar lids, then flatten any bent spots with your fingers or the side of the pliers so each lid sits as evenly as possible.
2. On the back of each lid, mark a 2 1/4-inch square centered on the flat middle area; this size gives you enough metal for pointed star pieces without making the points flimsy.
3. Cut out all 12 squares with tin snips, trimming slowly around the marked lines so the metal does not buckle too much as you work.
4. Stack the squares in pairs and lightly round off any sharp corners just a touch; this makes them safer to handle while still giving you crisp points later.
5. File every cut edge smooth with the metal file, then run a narrow strip of clear tape around especially sharp edges if any still feel rough when you touch them.
6. Use the ruler to draw an X from corner to corner on each square, then mark the center point where the lines cross.
7. From the center point, mark four lines to the middle of each side so each square is divided into eight equal wedges for easy, even punching and shaping.
8. Place one square face down on the scrap wood and use the nail and hammer to punch dotted patterns from the back, keeping the burrs on the front-facing side of the finished star and away from your fingers during assembly.
9. Repeat the same punched pattern on all 12 squares; I like a border of evenly spaced dots about 1/4 inch in from the edge and a smaller diamond or little starburst of dots in the center.
10. Cut from each corner straight toward the center point, stopping 3/4 inch before the center, so every square has four pointed sections still joined in the middle.
11. Fold every other point slightly inward on each square to create a pinwheel-like star piece, making 6 pieces that twist one direction and 6 that twist the opposite direction for a fuller layered look.
12. Poke a small wiring hole near the base of each point, about 1/4 inch from the center, using the nail on the wood block so you can fasten the layers neatly.
13. Arrange 5 star pieces into a back layer, overlapping their centers in a circle so the points radiate evenly and form a balanced five-point star silhouette.
14. Cut a 10-inch length of floral wire and thread it through the center holes and base holes where the pieces overlap, then twist tightly on the back with pliers to hold that first layer firm.
15. Add 5 more star pieces as the front layer, offsetting the points between the back layer points so the star looks full, bright, and dimensional rather than flat.
16. Wire the second layer through the center and overlap points the same way, tightening carefully until the whole star feels solid but not bent out of shape.
17. Use the last 2 star pieces to make a small raised center accent by folding their points in a little more and wiring them right at the middle, one over the other, for extra depth.
18. Shape the finished star gently with your fingers, lifting points forward or easing them back until the front looks even and the layers spread nicely.
19. Set the 4-inch dowel or twig against the back center of the star and wire it on securely with a fresh 8-inch piece of floral wire, wrapping around both the dowel and the star’s center wires several times.
20. Wrap the ribbon neatly around the wired stem to cover the mechanics, secure the end with a tiny dab of glue if needed, and slip the stem into the top of the Christmas tree.
Variations & Tips
Eight-point version: If you want a more traditional barn-star look, arrange 8 points in the back layer and 4 in the front layer instead of building a five-point silhouette. The 12 cut pieces still work beautifully; just keep the spacing even as you wire them.
Safer edges: If your lid metal feels extra sharp, do not skip both the filing and the tape. I would rather spend 10 extra minutes smoothing edges than have this become a frustrating project halfway through.
Pattern help: Simple punched-dot rows always look best. A border, a center ring, and a few straight dotted lines from center to point give that old-time look without needing fancy design skills.
For a brighter finish: If your lids are very dark or mismatched, you can lightly brush the finished star with silver metallic craft paint after assembly. Keep it thin so the punched texture and old tin character still show through.
Tree fit: If the top branch of your tree is skinny, use a twig stem; if it is thicker, use a short dowel and leave the back wire slightly open like a clip so it grips better.
Mantel display: This star is pretty enough to stand on a mantel too. Tuck the stem into a crock, greenery pick, or a small block with a drilled hole, and it becomes a lovely old-fashioned Christmas accent.
Family tip: If little ones want to help, let them plan the dot patterns with a marker while an adult does the cutting, punching, filing, and wiring. That keeps the project enjoyable and safe, which is always my favorite combination.