
There’s something so satisfying about turning a little stack of old Christmas cards into a decoration that looks elegant enough for a boutique window. This project is the classic woven Swedish card star, sometimes called a Froebel star, and once you get the strip size right and that first weave snug, the rest becomes a calm, rhythmic bit of folding that feels wonderfully old-fashioned.
My mom used to make these when I was little, and I still think of them as one of those cozy Scandinavian paper crafts that somehow make a room feel warmer the minute they’re hung up. If you like thrifty holiday projects with a polished finish, this one is for you—and I’m going to walk you through it slowly enough that even if your hands are a little stiff or you haven’t folded paper in years, you can still make a star you’ll be proud to hang on the tree, in the window, or across the mantel.
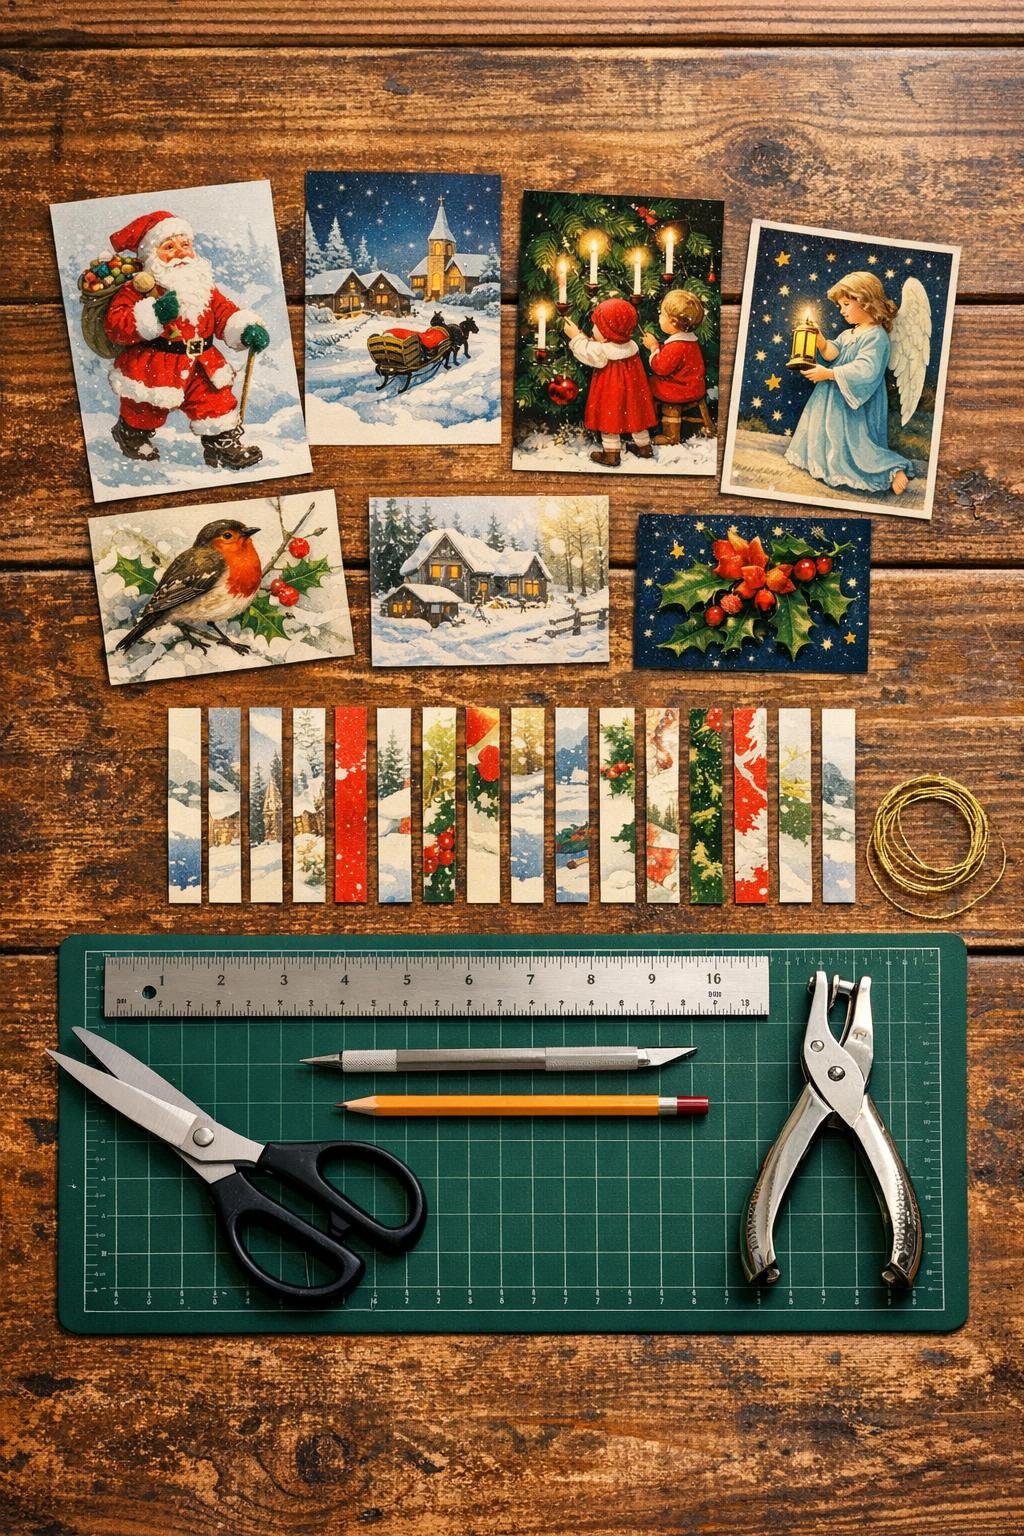
Materials
5 old Christmas cards, standard 5 x 7 inch size, enough to cut 20 strips total
Instructions
1. Choose five sturdy old Christmas cards with colors and patterns you like together, then flatten them if they’ve curled in storage. You need enough card stock to cut 20 strips total, so I like to mix prints for a rich, shop-window look.
2. Use the ruler and pencil to mark 1/2 inch lines on the backs of the cards, then cut 20 strips that are each exactly 1/2 inch wide and 11 inches long. If a card is shorter than 11 inches in one direction, cut lengthwise across multiple cards so every strip matches exactly.
3. Fold each strip in half with the printed side facing out, then crease it sharply. This gives you 20 doubled strips with a folded loop at one end and two cut tails at the other.
4. Set aside 16 strips for the star and keep 4 extras nearby in case one cracks, tears, or has a soft crease. For one full 16-point star, you will use 4 folded strips and the rest are your backup pieces or for making a second smaller ornament center later.
5. Take 4 folded strips and arrange them so the folded loops all point outward from the center like a cross. Slide one folded strip over and under the others to begin the square weave, following the classic over-under pattern until the fourth strip locks the first one in place.
6. Pull the woven center snug from all four directions before you fold a single point. This matters more than anything else: the center square should be tight, even, and flat, with no loose wobble.
7. Turn the woven piece so one pair of tails points up, and fold the upper right strip down over the square at a right angle. Fold the next strip over it, then the next, and tuck the last strip under the first fold to lock that flat point in place.
8. Repeat the same folding on the other three sides to make 4 flat points around the center. Press each crease firmly with your fingernail so the card stock holds a crisp shape.
9. Flip the star over and make the same 4 flat points on the back, again working one side at a time and tucking the last strip under the first. At this stage you should have 8 flat points and 8 loose tails remaining.
10. To form the raised points, choose one loose tail and fold it straight back behind itself, lining it up with the middle of the point on that same arm. Fold it forward into a small triangular point, then bend it around and tuck the tail through the pocket at the center of that arm.
11. Pull that tucked strip gently until the raised point sits firm and plump, not crushed. The point should stand up neatly from the surface like a little pyramid.
12. Make a second raised point on that same arm using the matching strip from the back side, then repeat the process on the other three arms. You’ll end up with 8 raised points total, 2 on each arm, plus the 8 flat points already formed.
13. Trim any tiny uneven ends so they disappear inside the tucked pockets, and add the smallest piece of clear tape inside only if one tuck feels loose. I rarely need tape if the weave started tight, but it can save a card strip that’s become a little soft.
14. Punch a small hole through one flat point near the top, or slip thread neatly under a woven section if you don’t want a hole. Tie on the gold thread or ribbon hanger and adjust it so the star hangs straight.
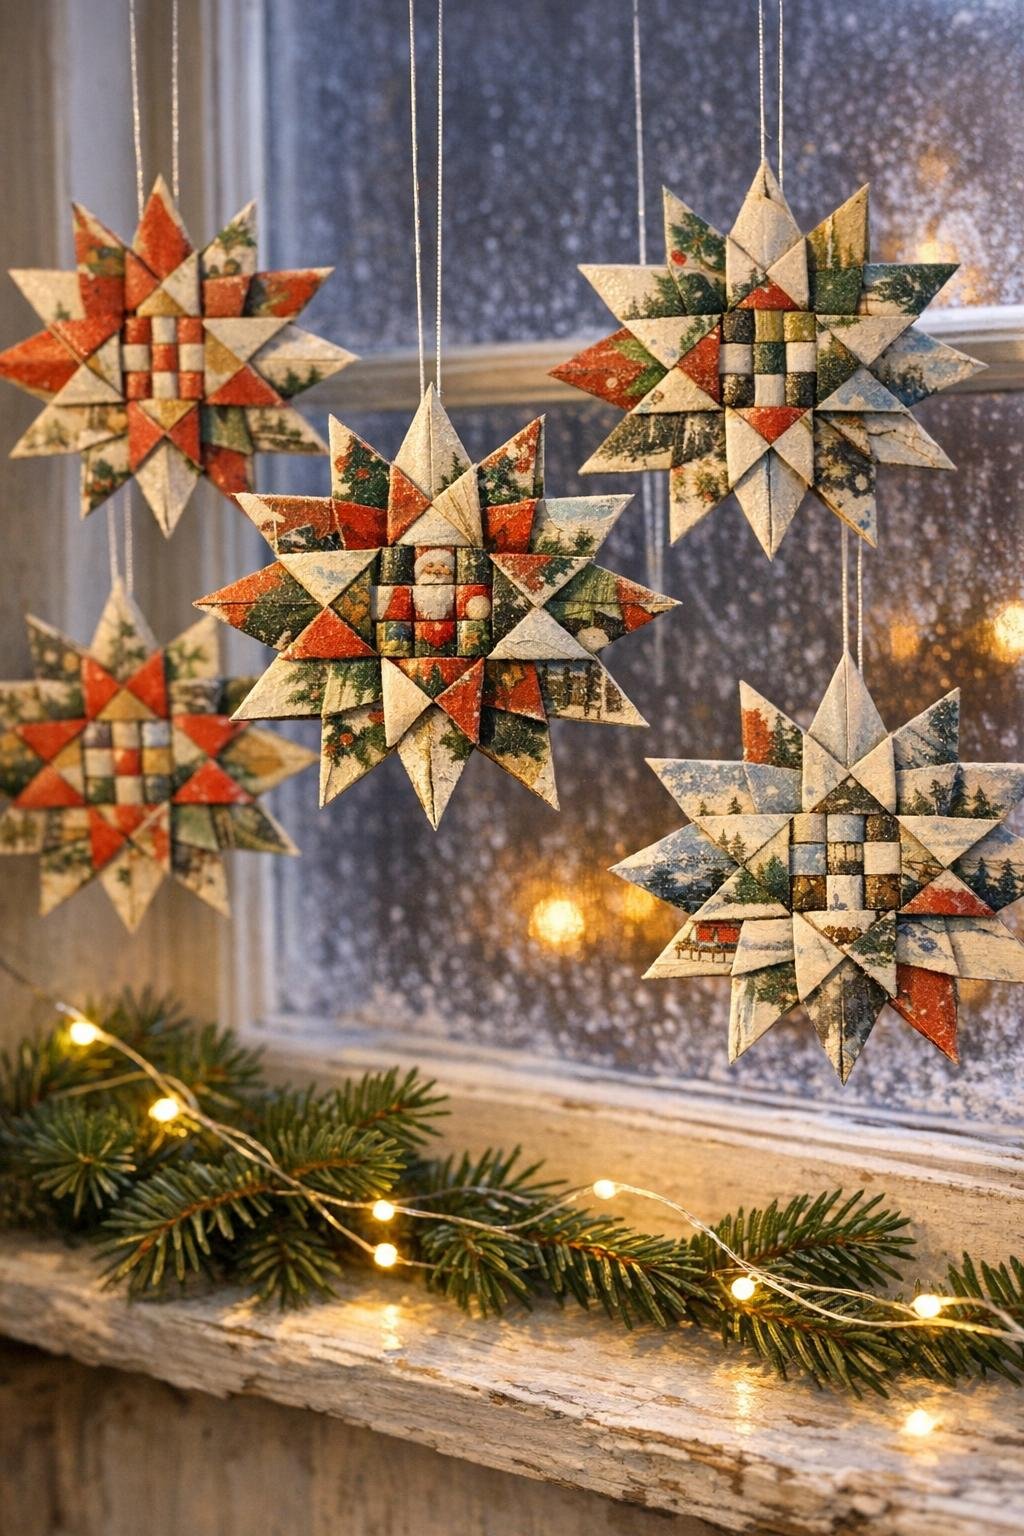
15. Fluff the points gently with your fingertips and give the star one last press at the center so it sits balanced and symmetrical. Hang it in a window, on the tree, or tuck several along the mantel where the card prints can catch the light.
Variations & Tips
For easier folding: If your cards are very thick or glossy, lightly score the fold lines with the back of the craft knife against the ruler before creasing. That helps the points come out crisp instead of springy.
For the prettiest mix: I like to combine 2 strips from one card design and 2 from another for each star, rather than using four identical strips. It gives that layered, collected look that feels a little more grown-up and special.
For older hands: Work under a bright lamp and fold one arm at a time, rotating the star instead of your wrists. I also find a metal ruler handy for pressing folds if my fingers are tired.
To avoid bulky stars: Keep every strip exactly the same width and trim ragged cut ends before weaving. Uneven strips make the center twist and the final points sit awkwardly.
If the center keeps loosening: Stop and retighten before making the flat points. Once those points are folded, it’s much harder to correct a loose weave, and the finished star won’t look as crisp.
For a mantel-worthy finish: Choose cards in coordinated reds, creams, forest green, gold, or icy blues, and use metallic thread for hanging. A little color planning is what makes these look collected and elegant instead of crafty.
For picky decorators: If bright Santa or snowman prints feel too busy, cut mostly from the patterned borders, snowy backgrounds, ornaments, or plaid areas of the cards. You still get the charm of reused cards without having too many faces or bold images interrupting the star shape.
To make a set: Cut all 20 strips at once assembly-line style, then weave several stars in one sitting. A cluster of three or five hanging together in a window is where this craft really starts to look stunning.