
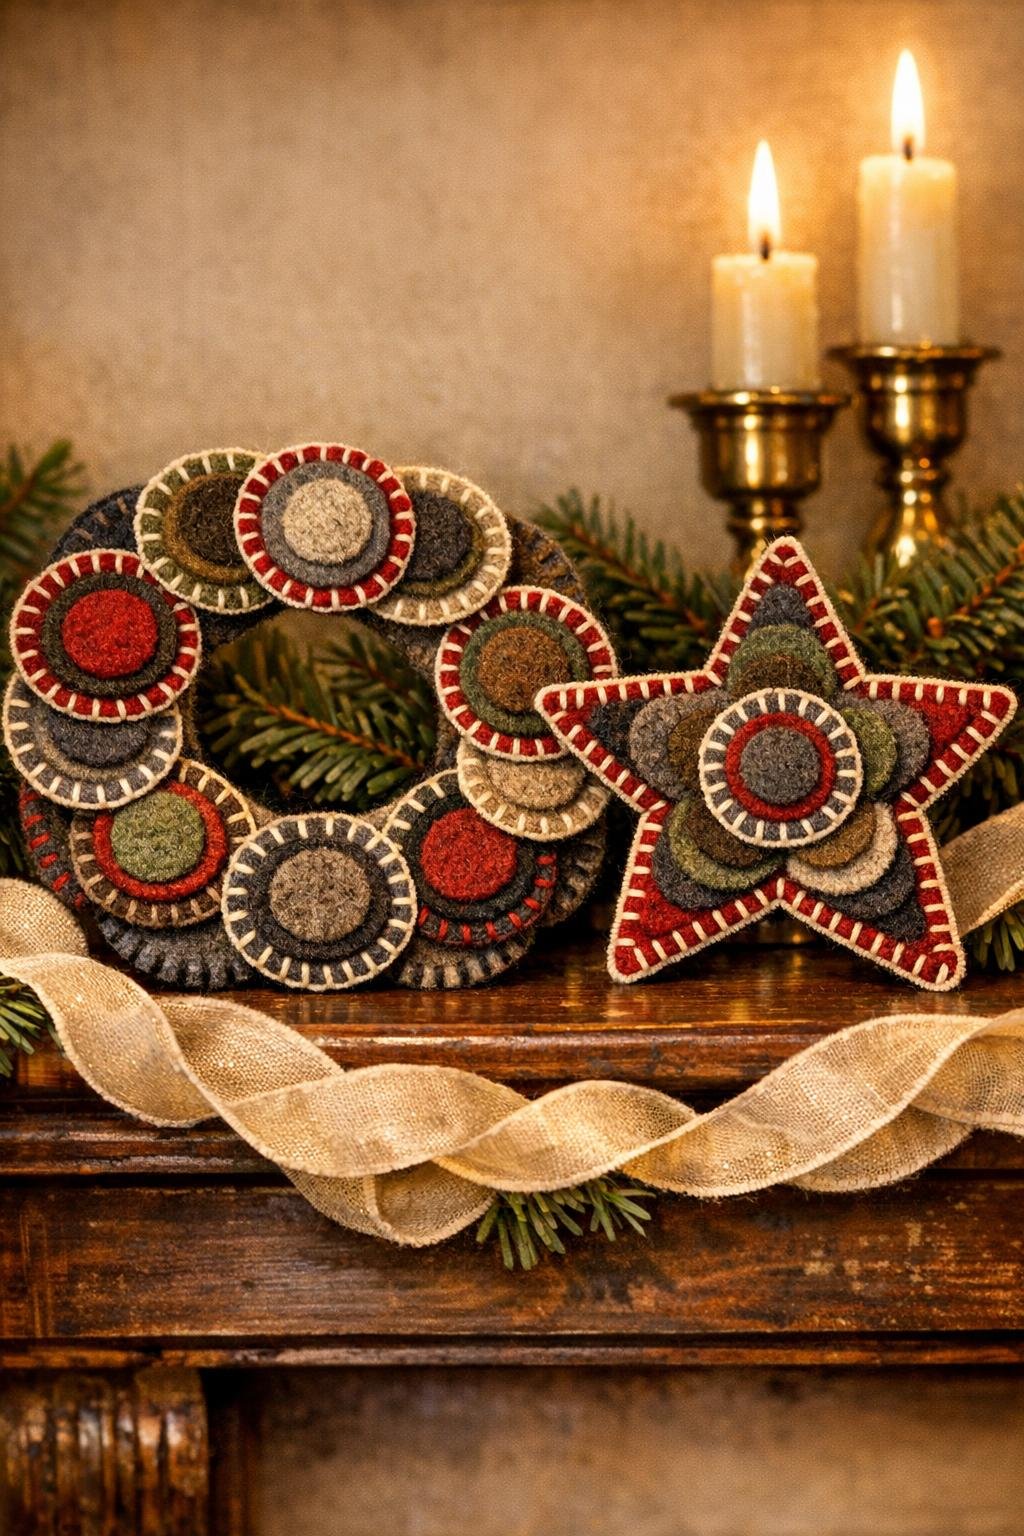
There is something so satisfying about turning a worn-out wool sock into something you would be proud to hang on a tree or tuck onto a mantel garland. This little project uses the old penny-rug method of layering wool circles and blanket-stitching them together, then shaping those stitched stacks into a handsome ornament with real old-fashioned charm.
My mother and grandmother both made penny-rug pieces, and this ornament version carries that same cozy Victorian spirit without asking for a giant project. If you can trace a circle, cut carefully, and sew a simple blanket stitch, you can make these—and the felted wool makes them sturdy, neat, and easy to handle.
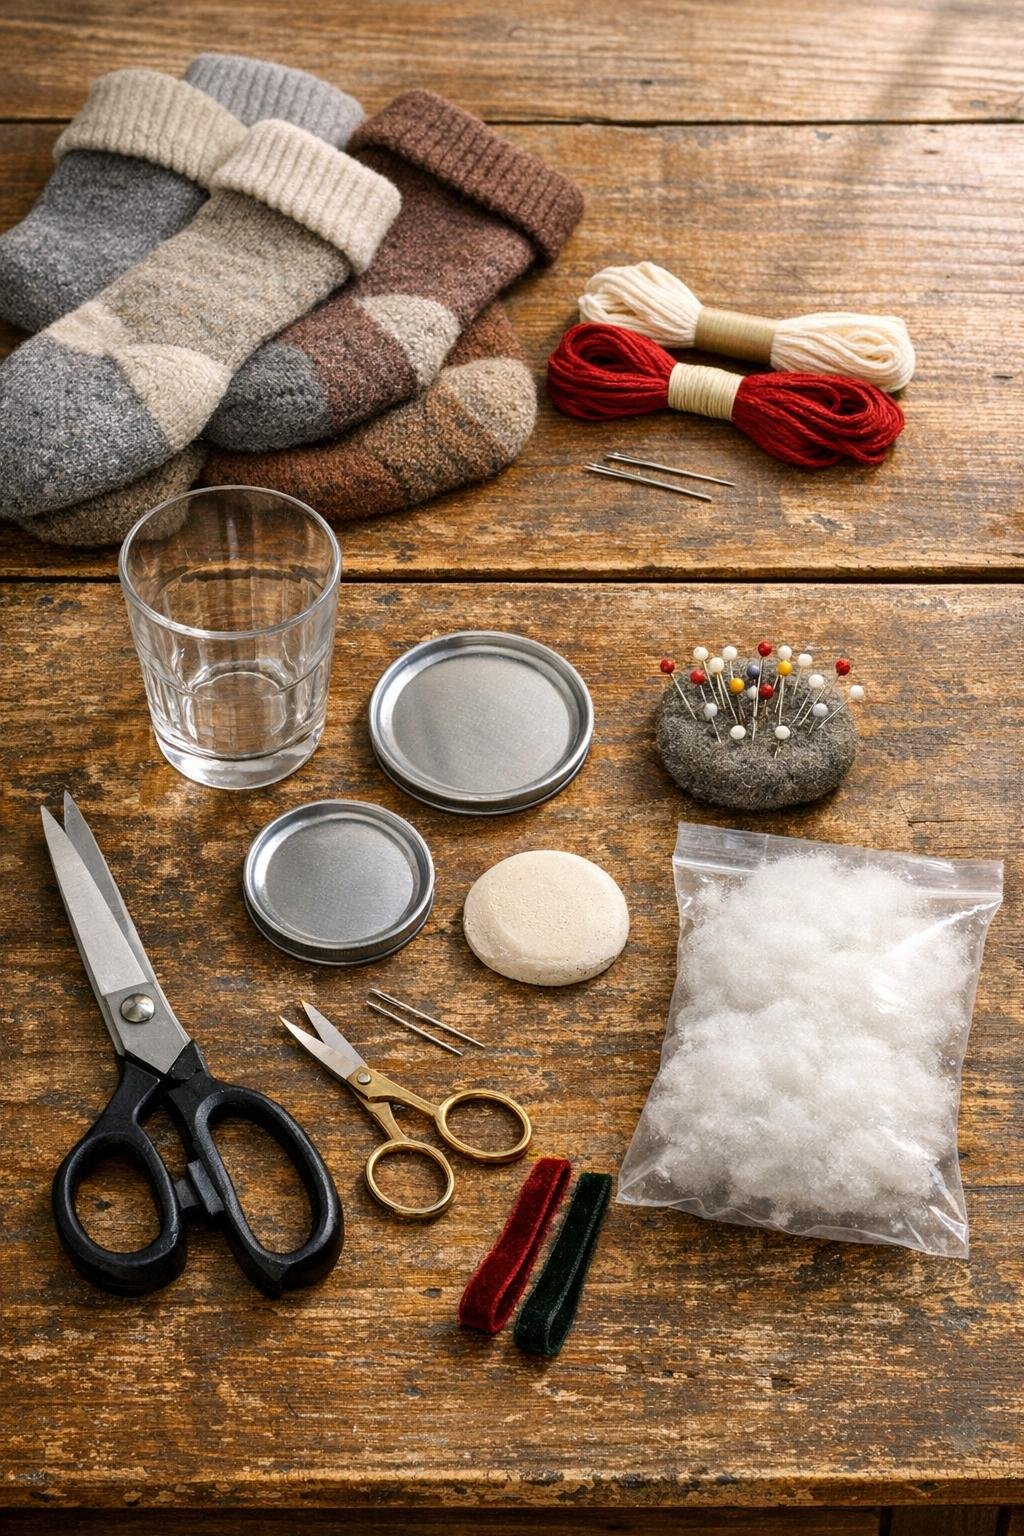
Materials
4 pairs 100% wool or mostly wool socks, washed and ready for felting
Instructions
1. Felt the wool socks first by washing them in hot water with detergent, then drying them on high heat; repeat once if needed until the knit shrinks and the fabric feels dense and fuzzy with no stretch left.
2. Lay the felted socks flat and cut along the seams so you can open the largest smooth sections for tracing.
3. Trace 18 circles at 2 inches, 16 circles at 1 1/2 inches, and 16 circles at 1 inch, then cut them out as neatly as you can; these counts make one full, balanced ring ornament and one five-point star ornament.
4. Sort the circles into 16 stacks of three by pairing one large, one medium, and one small circle in pleasing color combinations, then reserve 2 extra large circles for backing pieces.
5. Thread your needle with 18 inches of contrasting embroidery floss and knot the end, then blanket-stitch around the edge of each stacked trio, catching all three layers as you go and spacing the stitches about 1/4 inch apart.
6. Make 8 stitched circle stacks for the ring ornament and 8 stitched circle stacks for the star ornament, keeping your stitch size as even as possible so the finished pieces look polished.
7. Arrange 8 stacks in a circle with the large rounds slightly overlapping their neighbors by about 1/2 inch, then pin them in place until the shape looks full and even.
8. Sew the overlapped edges of the 8 stacks together with small whipstitches on the back only, working all the way around to create a firm ornament ring with an open center.
9. Cut one of the extra 2-inch circles in half and use one half behind the top of the ring as a hanger anchor; fold one ribbon piece into a loop, place the raw ends under that half-circle, and stitch it securely to the back of the ring.
10. Arrange the remaining 8 stitched stacks into a five-point star by forming 5 outer points and filling the inner spaces with 3 stacks, overlapping edges until the star looks generous and symmetrical.
11. Sew the star overlaps together from the back with tight whipstitches, then add tiny pinches of polyester stuffing under the center stacks if you want a softly padded, heirloom look.
12. Use the remaining extra 2-inch circle as a backer near the top point of the star, sew the second ribbon loop under it, and stitch the backer down neatly so the hanger is secure and the reverse side looks finished.
13. Check both ornaments for gaps, add a few extra joining stitches anywhere the layers shift, and trim any stray floss so the edges stay crisp and tidy.
Variations & Tips
Color planning: I like using three related wool colors in each stack—such as charcoal, heather gray, and burgundy—because it gives the ornament depth without making it look busy.
For picky decorators: If your family prefers simpler holiday decor, stick to cream floss on all stacks and use just two wool colors for a cleaner, more classic look.
Best sock choice: Thick dress socks, hiking socks, and old wool trouser socks usually felt the best; avoid cotton blends because they will fray and won’t hold that tidy penny-rug edge.
Easier stitching: Cut your floss lengths short, about 18 inches at a time, so it does not tangle; that one habit makes hand-sewing much more pleasant, especially if your hands tire easily.
Make them gift-worthy: A tiny jingle bell sewn at the bottom of the ring or a narrow velvet bow at the top of the star adds just enough finish without covering the stitched circles.
Scale option: If you want larger ornaments for a mantel garland, enlarge every circle by 1/2 inch and add two extra stacked units to the ring so it stays full rather than skimpy.
Storage tip: Wrap each ornament in tissue and store it flat in a small box; that keeps the wool from getting crushed and helps the points and curves hold their shape from year to year.