
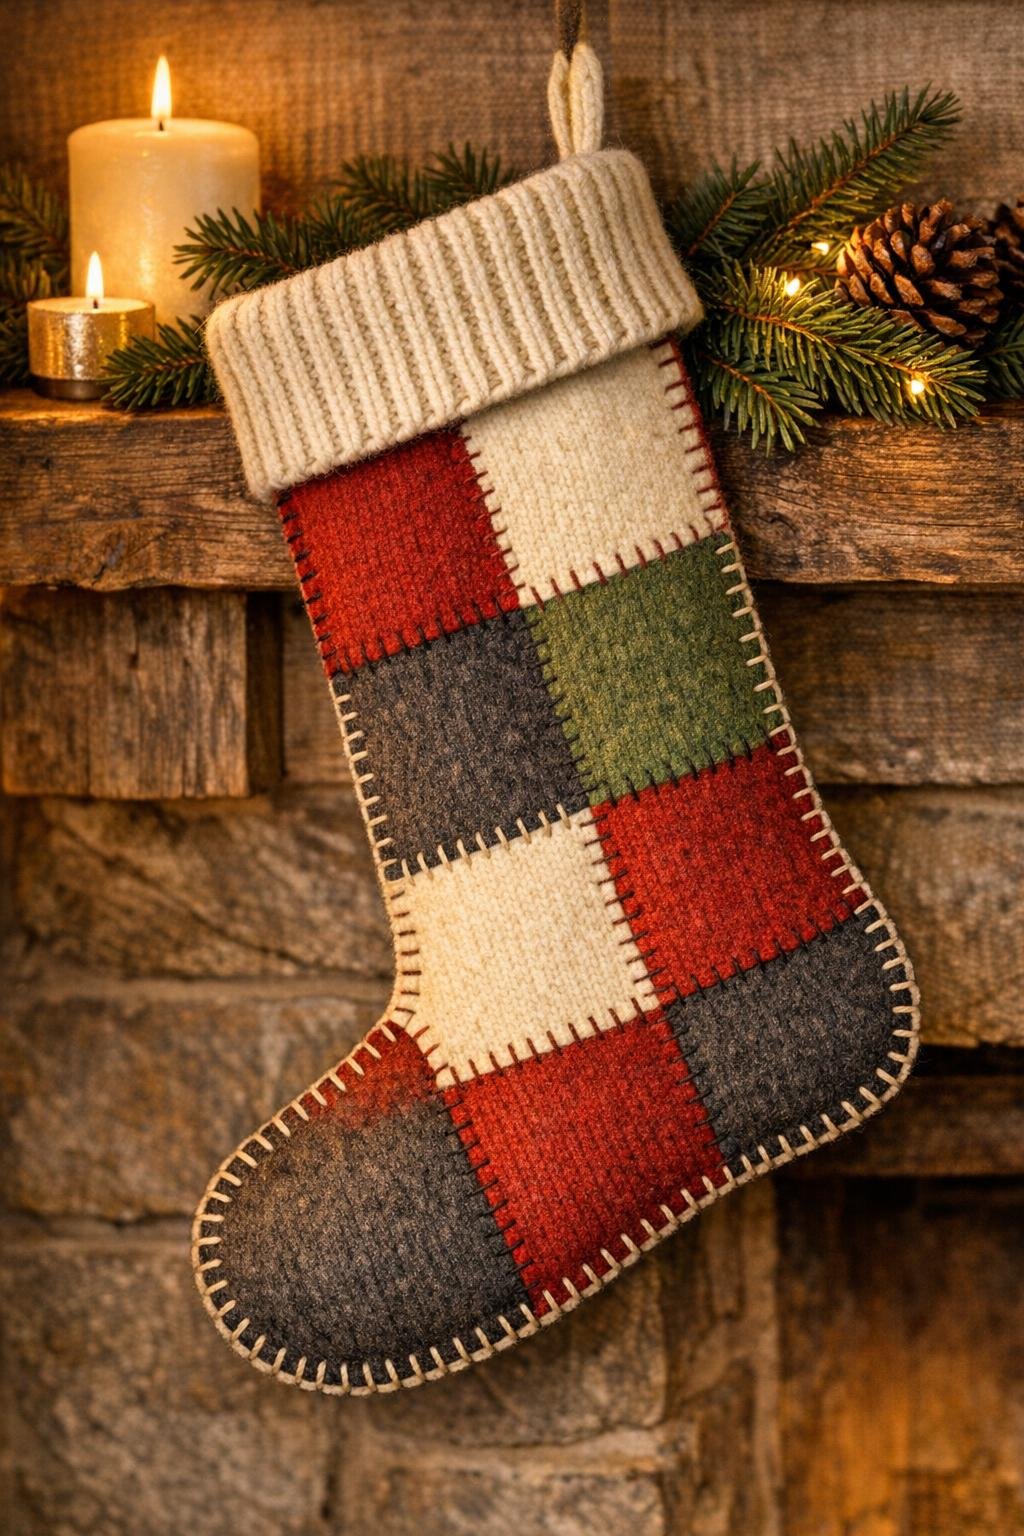
There is something especially satisfying about turning a too-small wool sweater into a Christmas stocking that looks like it has been in the family for years. This is the old-fashioned kind, the sort my mom and grandma would have recognized right away: soft, sturdy, blanket-stitched by hand, and made from a sweater that had already lived a whole life before it ever made it to the mantel.
If you can cut simple shapes and sew a basic stitch, you can make this. The key is felting the wool first in a hot wash and hot dryer so the fabric thickens and the cut edges stay neat without fraying, then using the ribbed hem as the cuff so it folds over naturally and gives that heirloom finish without extra fuss.
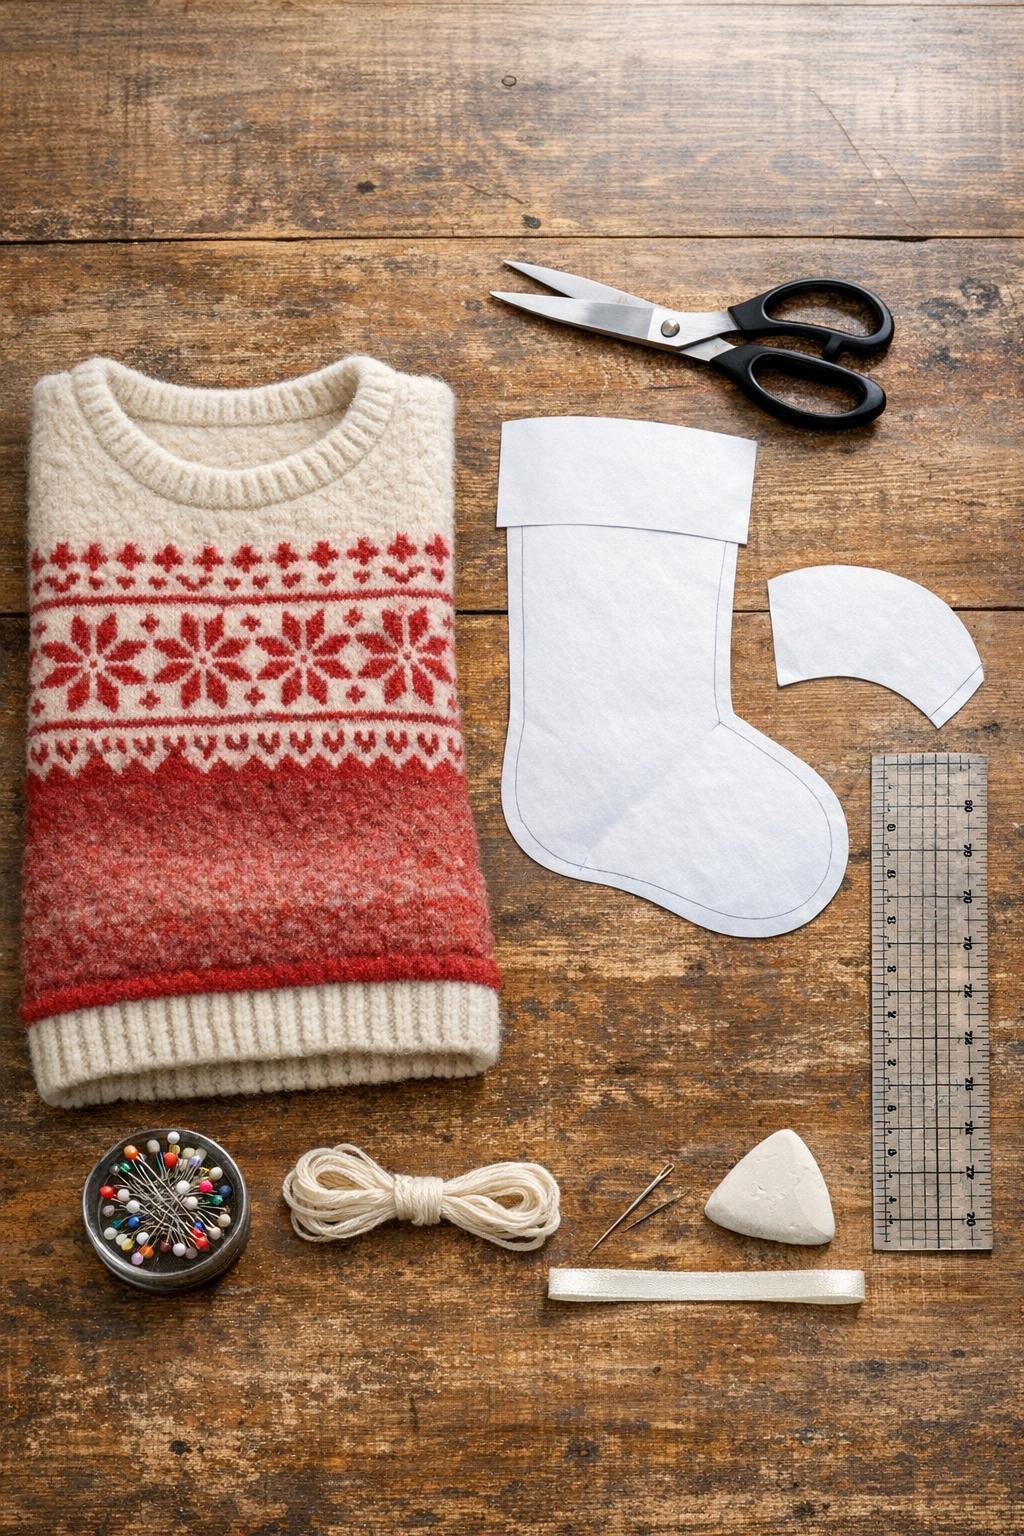
Materials
1 adult 100% wool sweater, washed and dried until fully felted and shrunken
Instructions
1. Felt the wool sweater before you cut anything by washing it in the hottest water your machine allows with a small towel, then drying it on high heat until it is thick, dense, and noticeably smaller.
2. Smooth the felted sweater flat and check that the torso and lower ribbed hem are still large enough for your stocking pieces; a medium or large adult sweater usually gives plenty of room for one generous stocking.
3. Make a simple stocking pattern from paper that measures about 17 inches tall from top edge to toe, 8 inches wide across the leg, and 10 inches from heel to toe, then cut it out.
4. Cut 8 squares from the sweater, each 4 1/2 x 4 1/2 inches, using the sleeve and torso areas with the least wear; set them aside for patchwork placement on the stocking front and back.
5. Lay 4 squares into a tall rectangle for the front and 4 squares into a matching rectangle for the back, arranging colors or textures so the mix looks balanced and old-fashioned rather than busy.
6. Stitch each set of 4 squares together by hand with small whipstitches or a tight ladder stitch along the edges, making 2 larger patchwork panels; press the seams flat with your fingers as you go.
7. Place your stocking pattern on the patchwork front panel and trace around it, centering the prettiest square arrangement on the leg and foot; repeat for the back panel, flipping the pattern so you get a left and right side.
8. Cut the front and back stocking body pieces out carefully, then trim any bulky seam allowances inside the shape so the finished stocking hangs smoothly.
9. Cut the cuff from the sweater's original ribbed hem, making 2 rectangles each 8 inches wide by 6 inches tall, keeping the factory-finished ribbed edge as the future folded top.
10. Sew the 2 cuff rectangles together at the short sides to make a loop, then fold the ribbing over on itself by about 2 1/2 inches to test the finished look; the cuff should hold that fold naturally.
11. Pin the stocking front and back together with right sides facing out if you want the blanket stitch visible from the start, then cut a gentle 1/8-inch smoothing trim anywhere the edges do not match perfectly.
12. Thread your needle with a doubled 36-inch length of embroidery floss and blanket-stitch around the stocking sides and foot, starting at the top edge and keeping the stitches about 1/4 inch deep and 3/8 inch apart.
13. Slip the folded cuff over the top of the stocking body with the cuff seams lined up at one side, and tuck the raw cuff edge just inside the stocking opening by 1/2 inch.
14. Fold the ribbon or twill tape into a loop and insert the raw ends between the cuff and stocking body at the inside back corner, then pin it securely in place.
15. Blanket-stitch all the way around the top opening through the cuff and stocking body together, catching the hanging loop firmly as you pass that spot.
16. Fold the cuff down neatly over the outside, shape the toe and heel with your hands, and trim any stray fibers or uneven stitches so the stocking looks clean and finished enough for a mantel display.
Variations & Tips
For a plainer classic look: Skip the patchwork effect and cut the full stocking body from the sweater torso in two solid pieces. You will still get that vintage handmade feel, especially if the wool has a nice tweed, cable, or heathered texture.
If your sweater is thin: Felt it a second time, or line the stocking body with another layer cut from a second sweater. Older, softer sweaters often need an extra hot wash and dry cycle to become dense enough.
Best wool to use: 100% wool works best because it shrinks and locks together. Wool blends can work, but they often stay too loose and the cut edges may not hold as neatly.
Choosing the cuff area: Use the original ribbed hem, not the sleeve cuff, whenever possible. The wider ribbing from the bottom of the sweater folds over beautifully and gives a fuller, more substantial top edge.
Keeping the shape generous: Do not make the foot too small. A stocking around 17 inches tall has enough presence to look right on a mantel and still holds treats, cards, or a small orange and candy cane like the old ones did.
Thread tip: Embroidery floss in a contrasting color makes every blanket stitch show up in the nicest way. I love cream on deep red, forest green, charcoal, or oatmeal wool because it instantly reads handmade and traditional.
To personalize it tastefully: Add a tiny felted patch near the cuff with a hand-stitched initial, or sew on one old button from the sweater near the hanging loop. Keep it simple so the stocking still feels timeless.
Storage tip: After the holidays, stuff the stocking lightly with tissue so the toe keeps its shape, then store it flat in a breathable cotton bag. That little bit of care helps it look just as good next December.