
There’s something especially satisfying about taking the most ordinary, inexpensive supply and turning it into something that looks delicate and collected. This project starts with humble paper doilies and a simple glue-and-water mixture, then uses a little layering and shaping to create a finish that feels almost porcelain-like once it dries.
I love projects like this because they give you a lot of visual payoff without asking for fancy tools or advanced craft skills. If you’re comfortable with a foam brush and don’t mind a bit of drying time, this is an easy afternoon make that works beautifully for winter decorating, mantel styling, or a table centerpiece that looks far more expensive than it is.
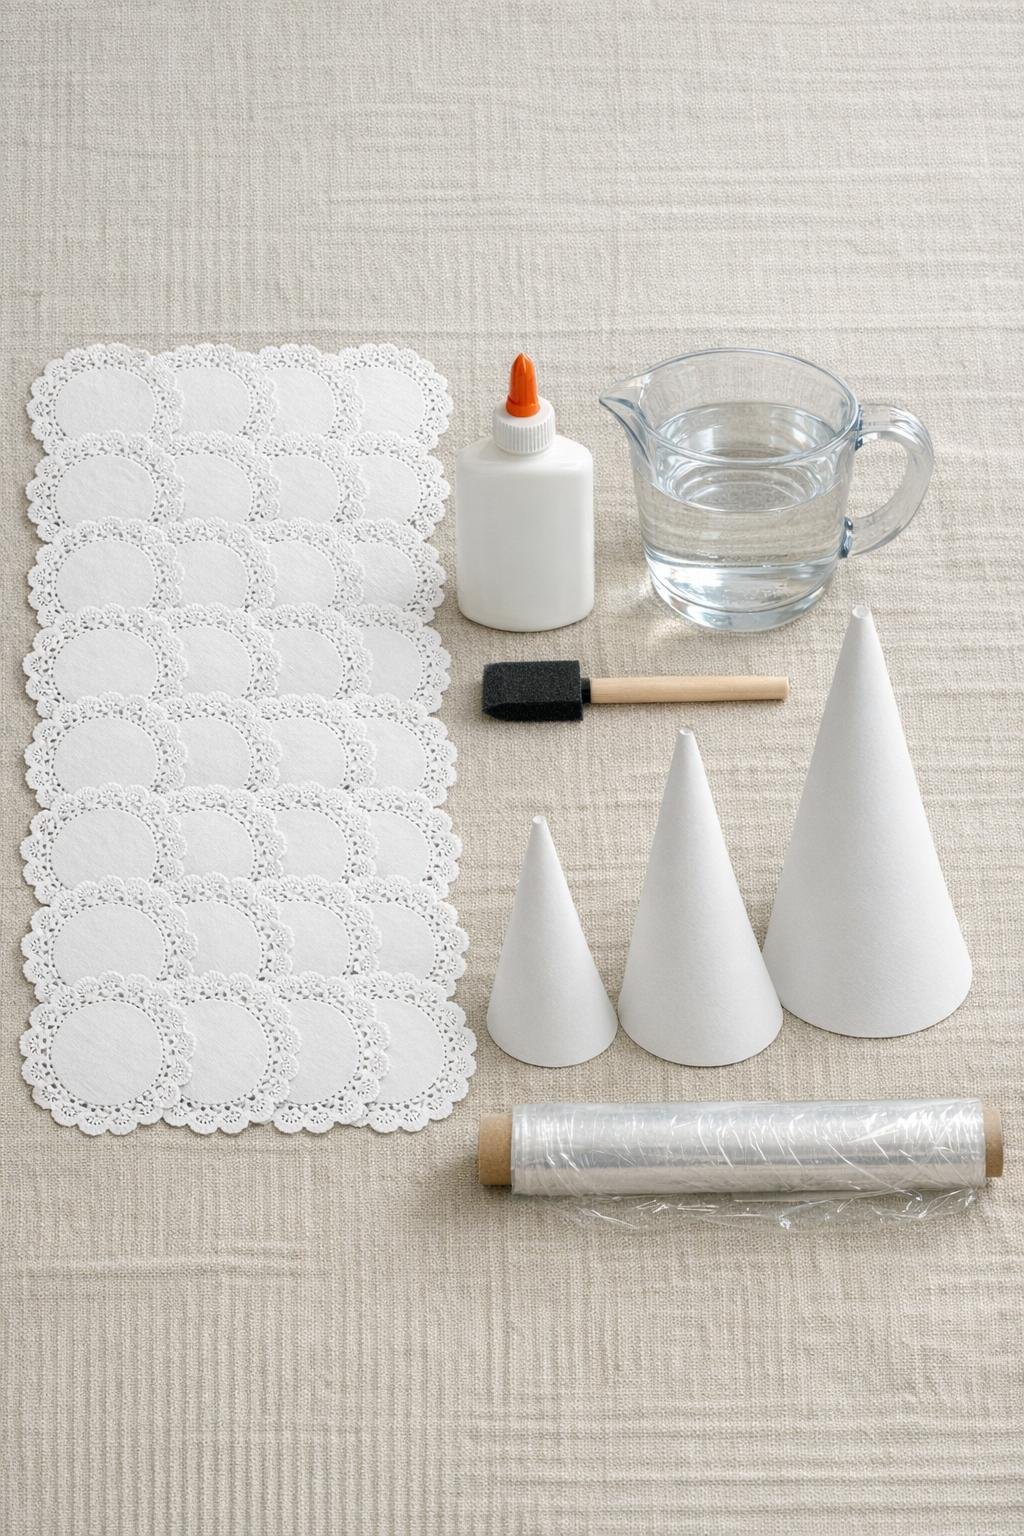
Materials
Instructions
1. Cover your work surface with wax paper or parchment, then pour the glue and water into a shallow bowl and stir until completely smooth and milky.
2. Wrap each poster board cone snugly in plastic wrap, twisting or tucking the excess underneath so the wet doilies won’t stick as they dry.
3. Lay out the 24 doilies in rows so you can work quickly, then brush one side of each doily with the glue water until the paper is evenly wet but not tearing.
4. Drape the first wet doily over the largest wrapped cone, centering it near the top and gently pressing it down so the lace pattern follows the cone shape.
5. Add a second and third doily to the large cone, overlapping the edges by 1 to 2 inches and rotating the lace patterns so the holes and scallops create full coverage without large gaps.
6. Continue layering until the large cone is covered with 8 doilies, smoothing lifted edges with the foam brush and adding a little more glue water anywhere that looks dry.
7. Repeat the same process on the medium cone with 8 doilies, starting at the top and overlapping each piece so the cone looks richly layered rather than thin.
8. Cover the small cone with the remaining 8 doilies, tucking scalloped edges neatly around the base so it has a finished silhouette once dry.
9. Brush a final light coat of glue water over all three cones, especially across overlaps and loose lace points, to lock the layers together.
10. Let the cones dry completely for 12 to 24 hours, rotating the tray once or twice if needed so air can reach the lower edges.
11. When the doilies feel stiff and crisp, gently slide each lace shell off its cone form and peel away the plastic wrap from the inside.
12. Trim any uneven paper threads with small scissors if needed, then dab on white acrylic paint only where overlaps or glue spots need a more uniform soft-white finish.
13. For a polished look, brush on a very thin coat of pearl or clear glitter sealer and let it dry fully so the cones keep their crisp shape and catch the light.
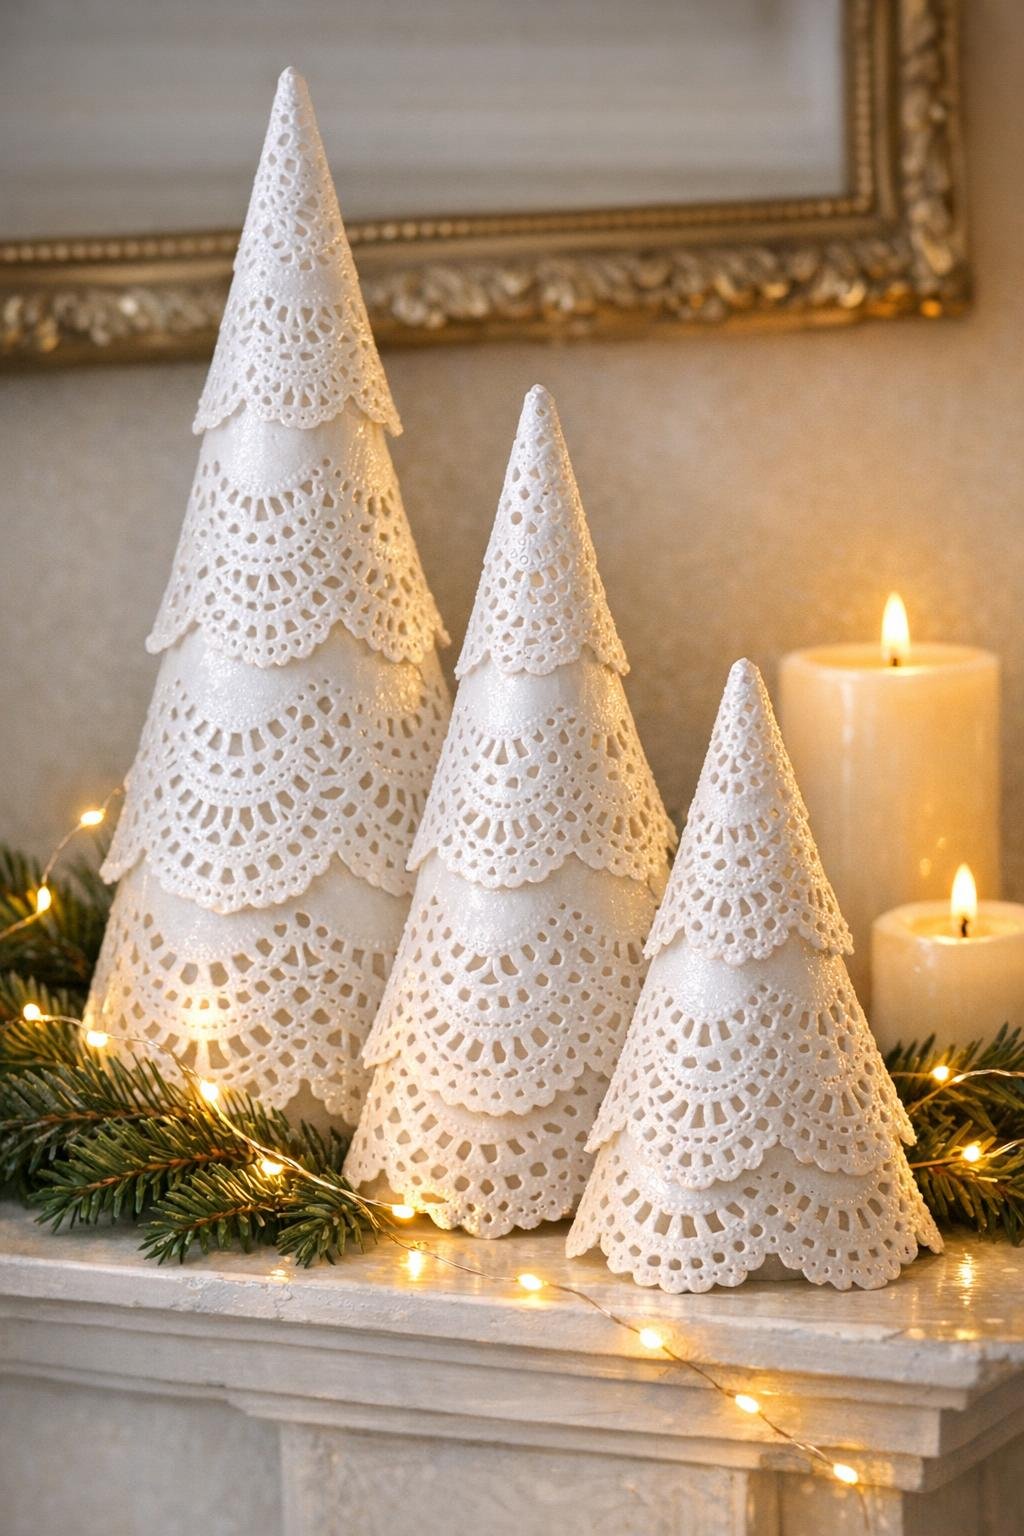
14. Arrange the three finished cones together by height, and if you like, tie a narrow ribbon at the top of one or place fairy lights around the base for display.
Variations & Tips
For a fuller look: Use slightly different doily patterns if you can find them. Mixing edge shapes and cutout designs gives the cones more depth and makes the finished surface look intricate and layered.
If the paper tears: Don’t worry. Wet doilies are fragile, so I handle them like fresh pasta sheets in the kitchen—gentle support underneath makes all the difference. Lift from two sides or use a skewer to help move them onto the cone.
For extra stiffness: Add one more light coat of glue water after the first drying hour, once the doilies have settled into place. That second thin coat helps the trees hold their shape beautifully.
For a snowy finish: Use iridescent glitter sealer instead of clear sealer. It keeps the project elegant, but gives just enough shimmer to stand out in evening light.
For centerpiece styling: Cluster the cones on a tray with candles, faux snow, or evergreen clippings. Grouping them tightly makes the set feel more substantial and gives that “little winter village” charm without adding more work.
For storage: Keep the cones in a dry box lined with tissue paper. Because they’re lightweight and crisp, they store well as long as nothing heavy gets stacked on top.