
There are a handful of projects that look wonderfully dramatic at the end but are surprisingly simple in the middle, and this is one of them. We’re taking something most of us usually toss without a second thought and turning it into a soft, sculptural décor piece with a delicate wintery finish. If you like easy crafts with a big visual payoff, this one is especially satisfying.
I’m always charmed by projects that rely on repetition more than precision, a bit like making dumplings or layering a good baked pasta: the individual pieces are humble, but together they become far more beautiful than you’d expect. This is a lovely weekend craft for anyone who enjoys seasonal decorating, gentle glow, and low-cost materials that are easy to handle.
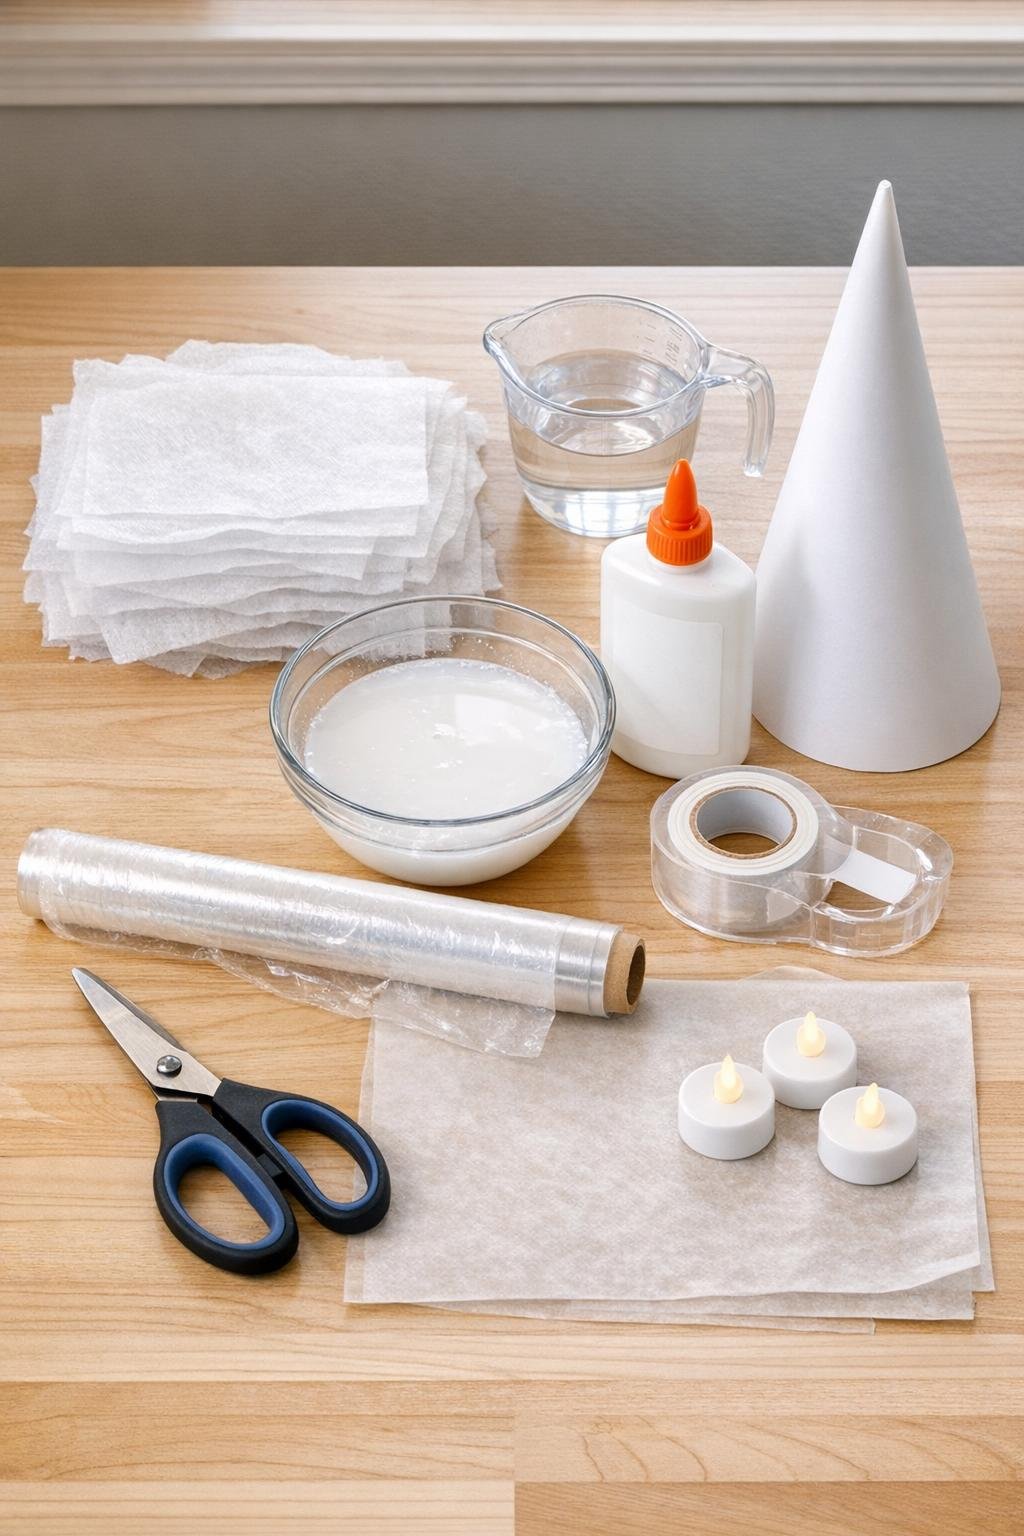
Materials
30 used white dryer sheets, unscented or lightly scented if possible
Instructions
1. Roll the poster board into a tall cone about 14 to 16 inches high, trim the bottom edge flat so it stands evenly, and tape the seam securely.
2. Wrap the entire cone in plastic wrap, smoothing it as much as you can so the dried layers will release later without sticking to the poster board.
3. Set the wrapped cone on parchment or wax paper, then mix the glue and water in the bowl until the liquid looks smooth and milky.
4. Dip one dryer sheet fully into the glue water, let it soak for a few seconds, then lift it out and gently squeeze off the excess so it stays wet but not dripping heavily.
5. Drape the first wet sheet over the cone from tip to base, letting natural wrinkles and folds form; smooth only enough to help it cling to the shape.
6. Repeat with 9 more dryer sheets, overlapping them in different directions until the cone is fully covered and no large gaps show through.
7. Add a second layer with 10 more soaked dryer sheets, concentrating extra folds near the bottom half to build a fuller, snowy texture.
8. Use the final 10 dryer sheets to fill any thin spots, add dimension around the base, and create a dense, layered surface that looks soft and cloudlike rather than flat.
9. If you want extra sparkle, dust the wet surface lightly with fine iridescent glitter while the last layer is still damp.
10. Let the cone dry completely for 12 to 24 hours, turning it once or twice if needed so the lower edges dry evenly and become stiff.
11. When fully dry, gently slide the dryer sheet shell off the cone form and peel away the plastic wrap from the inside.
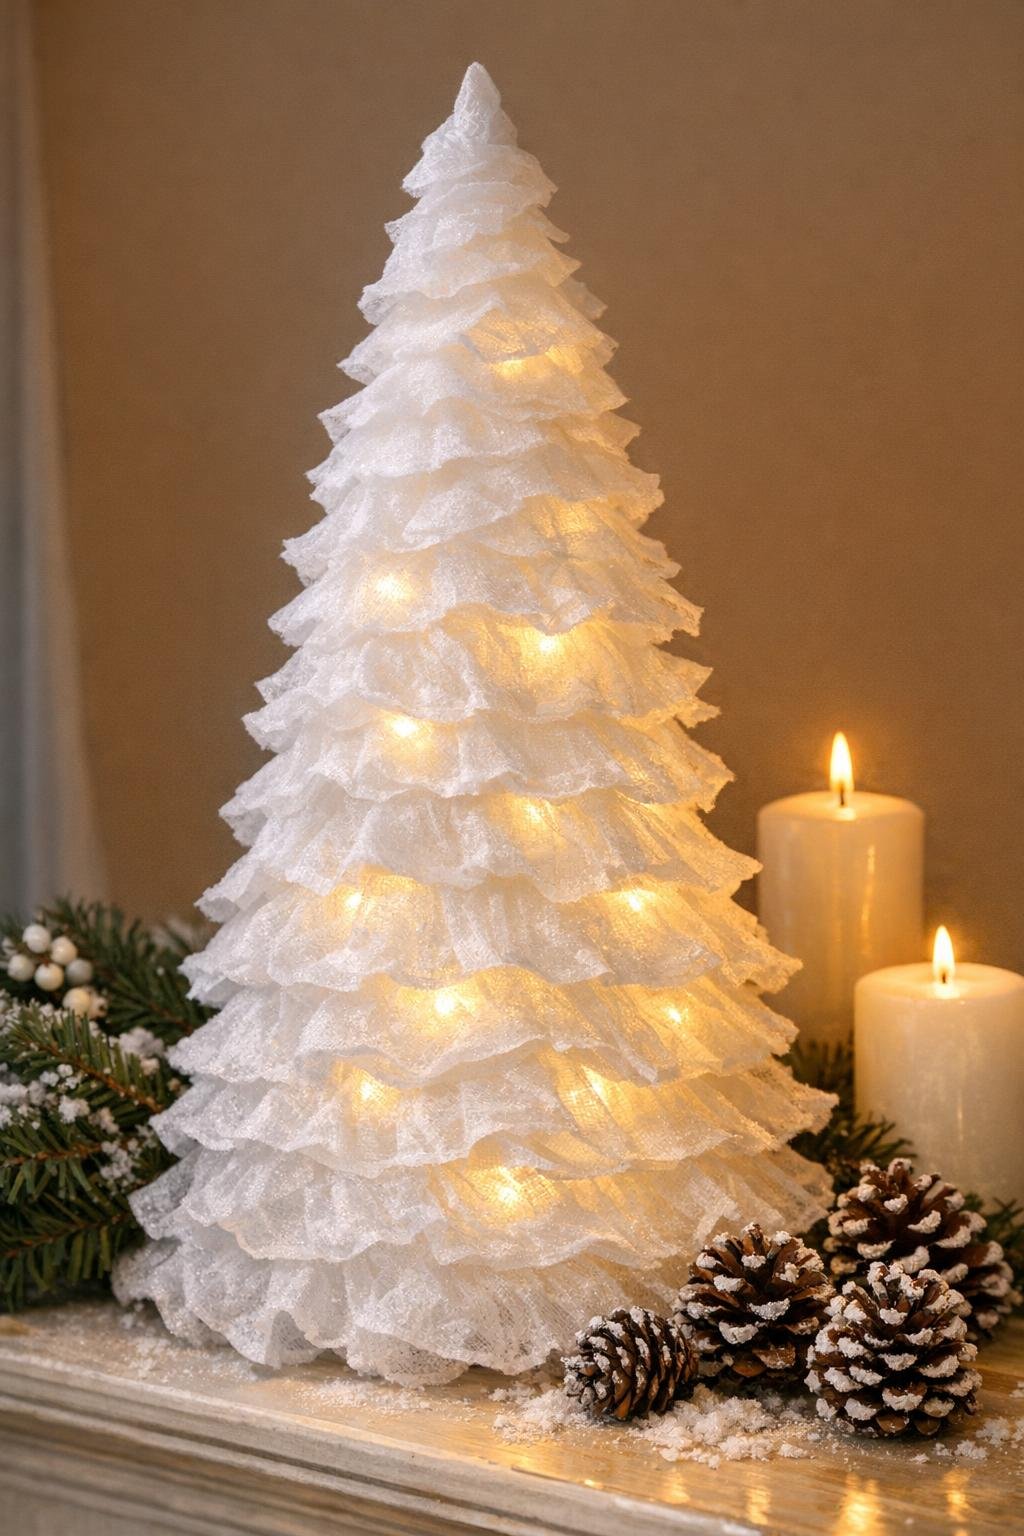
12. Trim the bottom edge with scissors if needed so the piece sits level, then place 2 or 3 LED tea lights inside to create a soft glow through the frosted layers.
Variations & Tips
For a taller tree: Use a larger piece of poster board and keep the same glue-to-water ratio; you’ll usually need 40 to 45 dryer sheets for a cone around 20 inches tall.
For more texture: Twist or scrunch a few of the wet sheets lightly before draping them so the surface has deeper ridges and more of that snowy, frosted look.
For a cleaner finish: Trim away any stringy dried glue threads at the base with small scissors after the shell hardens; that little cleanup makes the whole piece look much more polished.
For sparkle without mess: Skip loose glitter and instead brush on a very light coat of pearly white craft paint just on the outer ridges after drying.
Lighting tip: Only use battery-operated LED tea lights inside this project, never real candles, since the dried dryer sheets need cool, safe illumination.
Make a grouping: I like these best in a cluster of three different heights because the layered texture catches the light differently on each one and looks especially magical in the evening.