
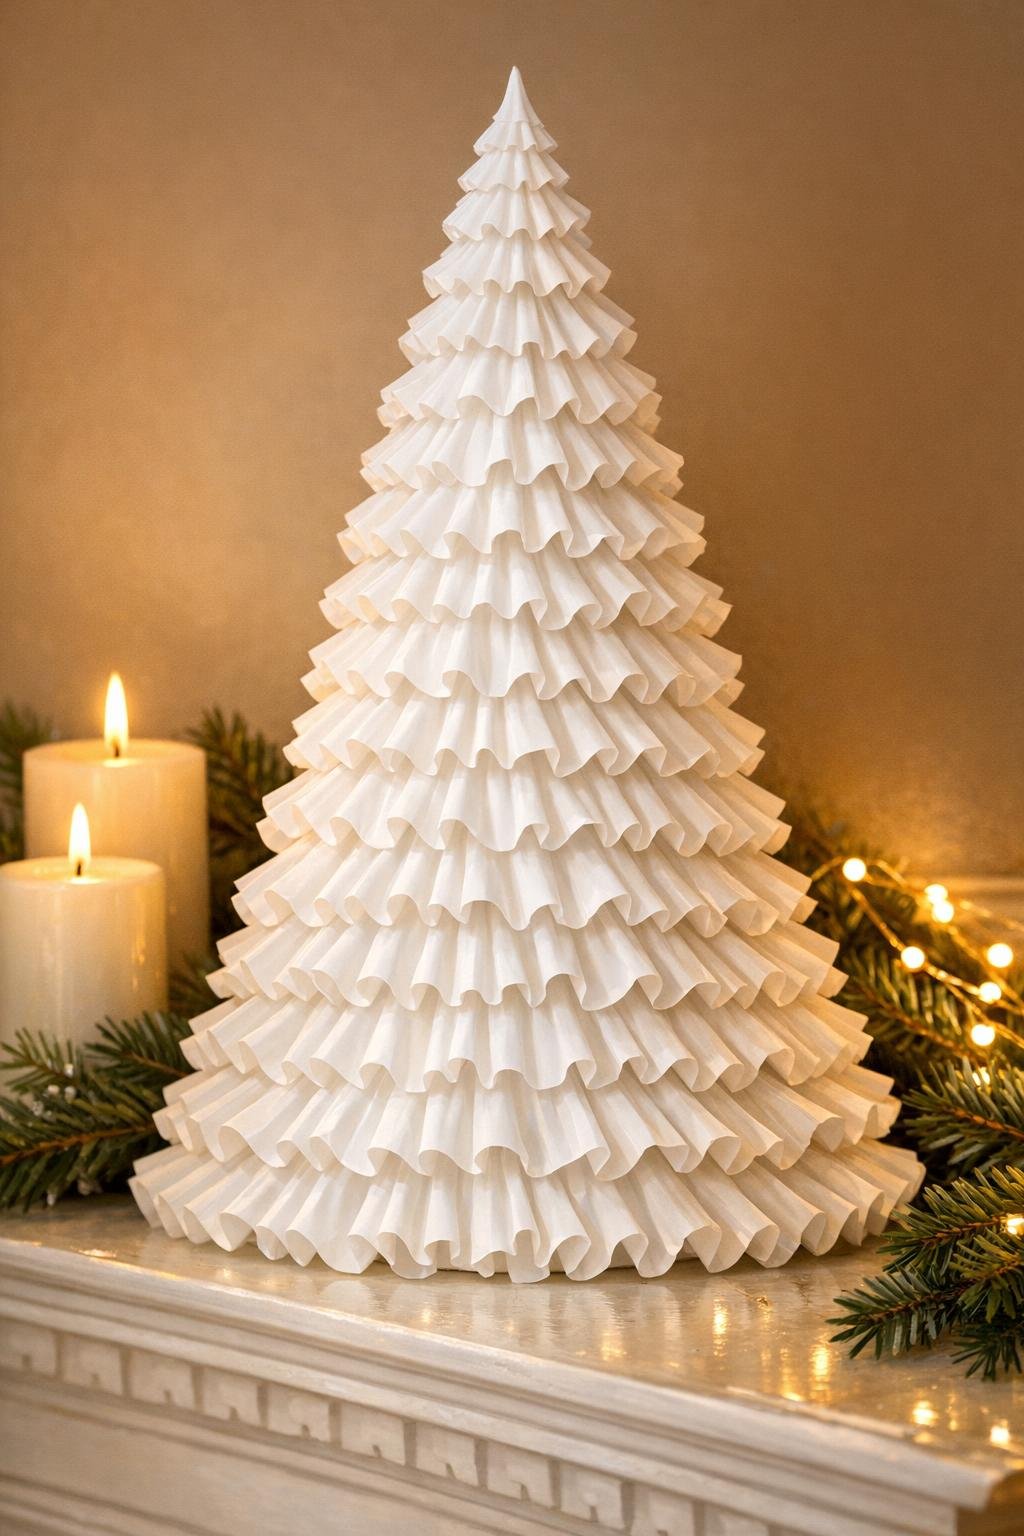
There are a handful of simple materials I keep around because they have a way of turning into something far more elegant than they ought to, and coffee filters are high on that list. When they’re dipped in glue and dried, they take on a delicate, almost ceramic-like texture that feels surprisingly refined, with crisp edges and soft folds that catch the light beautifully.
This project is ideal if you want a holiday decoration with plenty of visual payoff but very little technical fuss. If you can dip, dry, fold, and glue, you can make this—and because the ruffles build up layer by layer, it’s one of those wonderfully forgiving crafts that looks more impressive with every step.
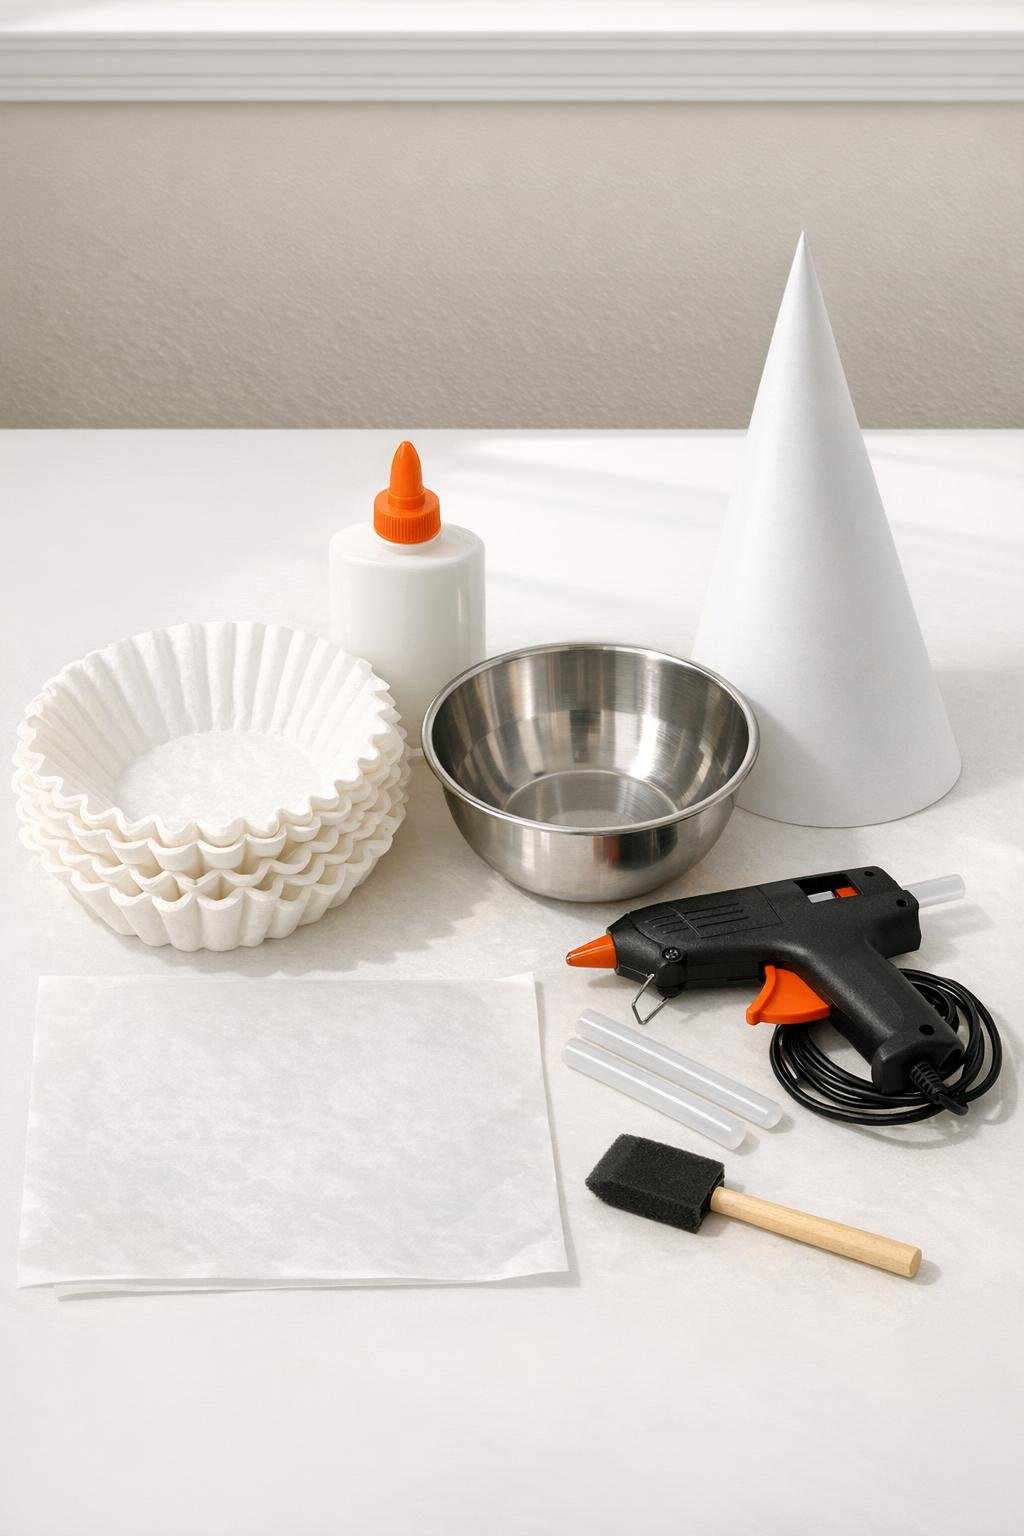
Materials
60 white basket-style coffee filters
Instructions
1. Cover your work surface with parchment or wax paper, then set the poster board cone upright on a cardboard circle if you want a steadier base while you work.
2. Pour the white school glue into the bowl and stir in 1/2 cup water until the mixture is smooth and the consistency of heavy cream.
3. Dip one coffee filter into the glue mixture, press it down gently so it gets fully saturated, then lift it out and lightly squeeze off the excess without wringing it.
4. Open the wet filter back up and lay it flat or softly crinkled on the covered work surface; repeat with all 60 filters, leaving them to dry until they are stiff but still slightly flexible, usually 6 to 12 hours.
5. Once dry, pinch the center of each filter and twist lightly at the base to create a loose ruffled blossom shape with open frilly edges.
6. Starting at the bottom edge of the poster board cone, add a bead of hot glue and attach the first row of ruffled filters side by side, packing them closely so the cone does not show through.
7. Build the second row directly above the first, overlapping the bottom row by about 1 inch so the ruffles cascade downward and create dense coverage.
8. Continue gluing filters in overlapping rows all the way up the cone, rotating the cone as you work and staggering the placement slightly to avoid visible gaps.
9. For the top section, use the smallest and neatest ruffles, angling them upward slightly so the tree narrows gracefully and looks full right to the tip.
10. Finish the top by rolling one dried filter tightly into a bud, fluffing the edges a bit, and gluing it over the point of the cone to hide the last seam.
11. Step back and fill any thin spots with extra ruffled filters, tucking them into open areas until the entire surface looks lush, layered, and evenly covered.
Variations & Tips
Add a soft shimmer: If you want a dressier finish, lightly dry-brush the outer ruffle edges with pearl craft paint after the tree is assembled. It keeps the white look intact but adds lovely depth in lamplight.
Use a sturdier base: For a taller tree, glue the cone to a cardboard or wood round before adding the filters. I like this especially if the piece is going on a buffet or mantel where it may get bumped during the season.
Work in batches: I often dip half the filters one evening and the rest the next, the same way I break up kitchen prep when I’m making a big holiday meal. The project stays easy, and the dried filters are much more pleasant to shape when you’re not rushing.
Keep the coverage dense: The secret to the luxurious look is overlap. If you can see much of the cone, add another filter—this is one of those times when abundance is what makes the finished piece feel special.
Try a winter centerpiece version: Make a shorter cone, around 10 to 12 inches tall, and cluster two or three finished trees together on a tray. They look especially beautiful with candles, pinecones, or a few clipped evergreen branches.