
I love a project that turns the sort of thing I’d usually toss without a second thought into something genuinely lovely, and this one absolutely does that. If you’ve been saving used tea bags and wondering whether they’re good for anything besides compost, this is one of those little rainy-afternoon makes that feels almost magical by the time the lights go low.
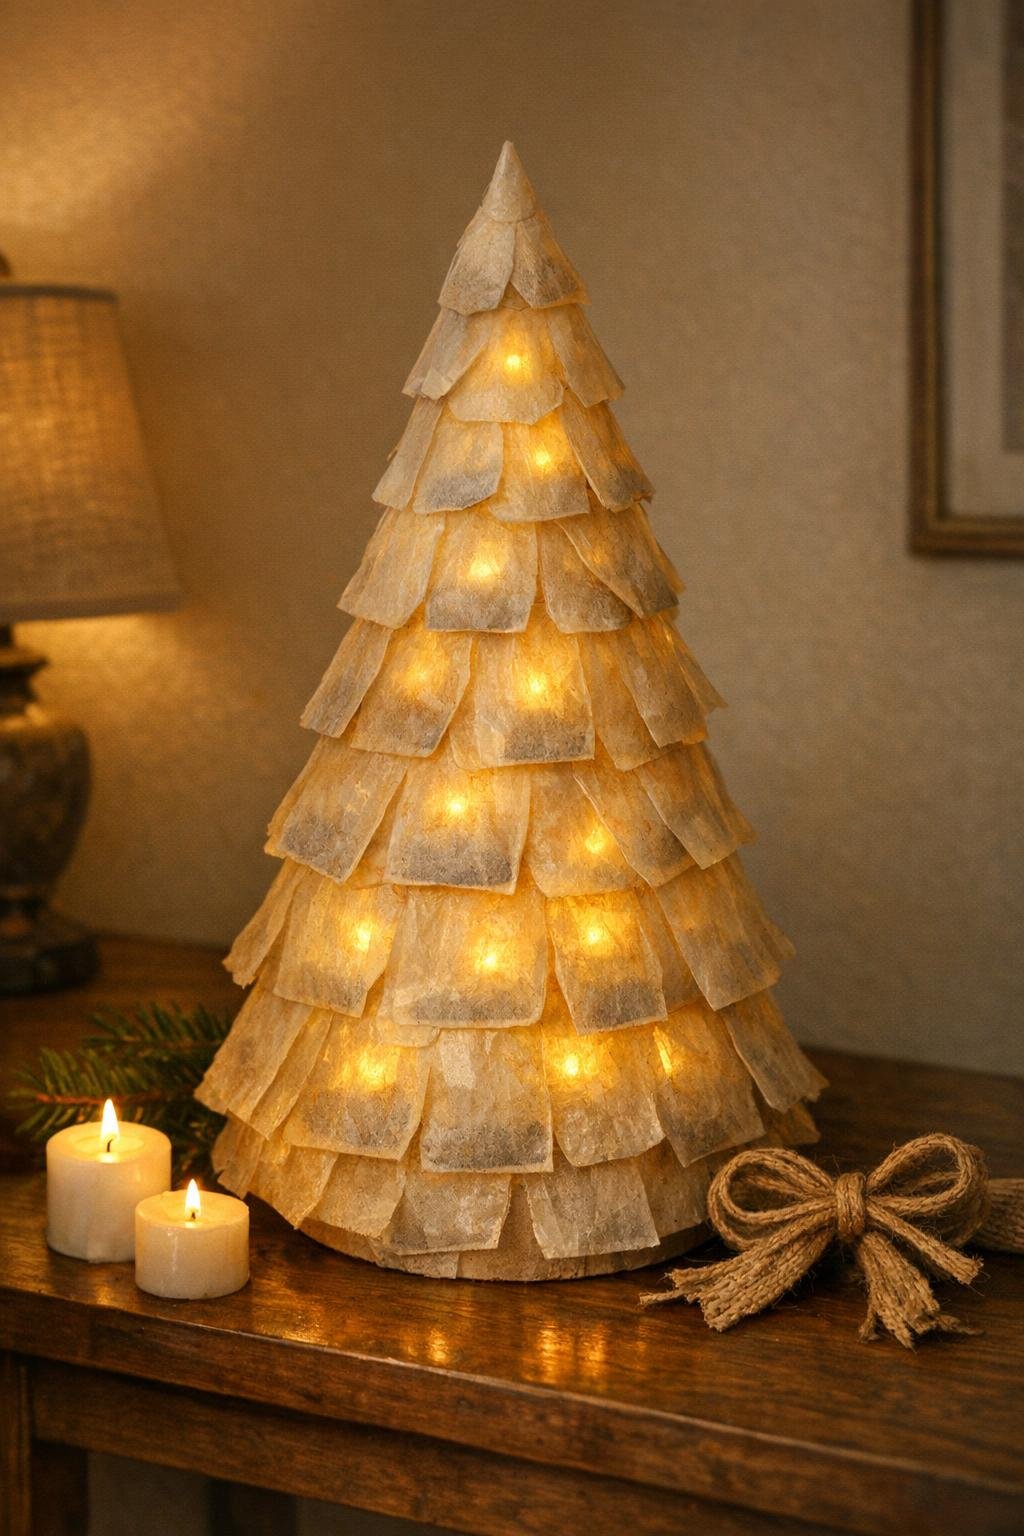
This is a simple craft with a big payoff, and it’s especially nice if you enjoy cozy décor that looks warm and handmade instead of fussy. The wax gives the tea bags a parchment-like glow, and with a basic cone form and a few LED tea lights, those humble tea bags become a soft, luminous piece you’ll want to set out all season long.
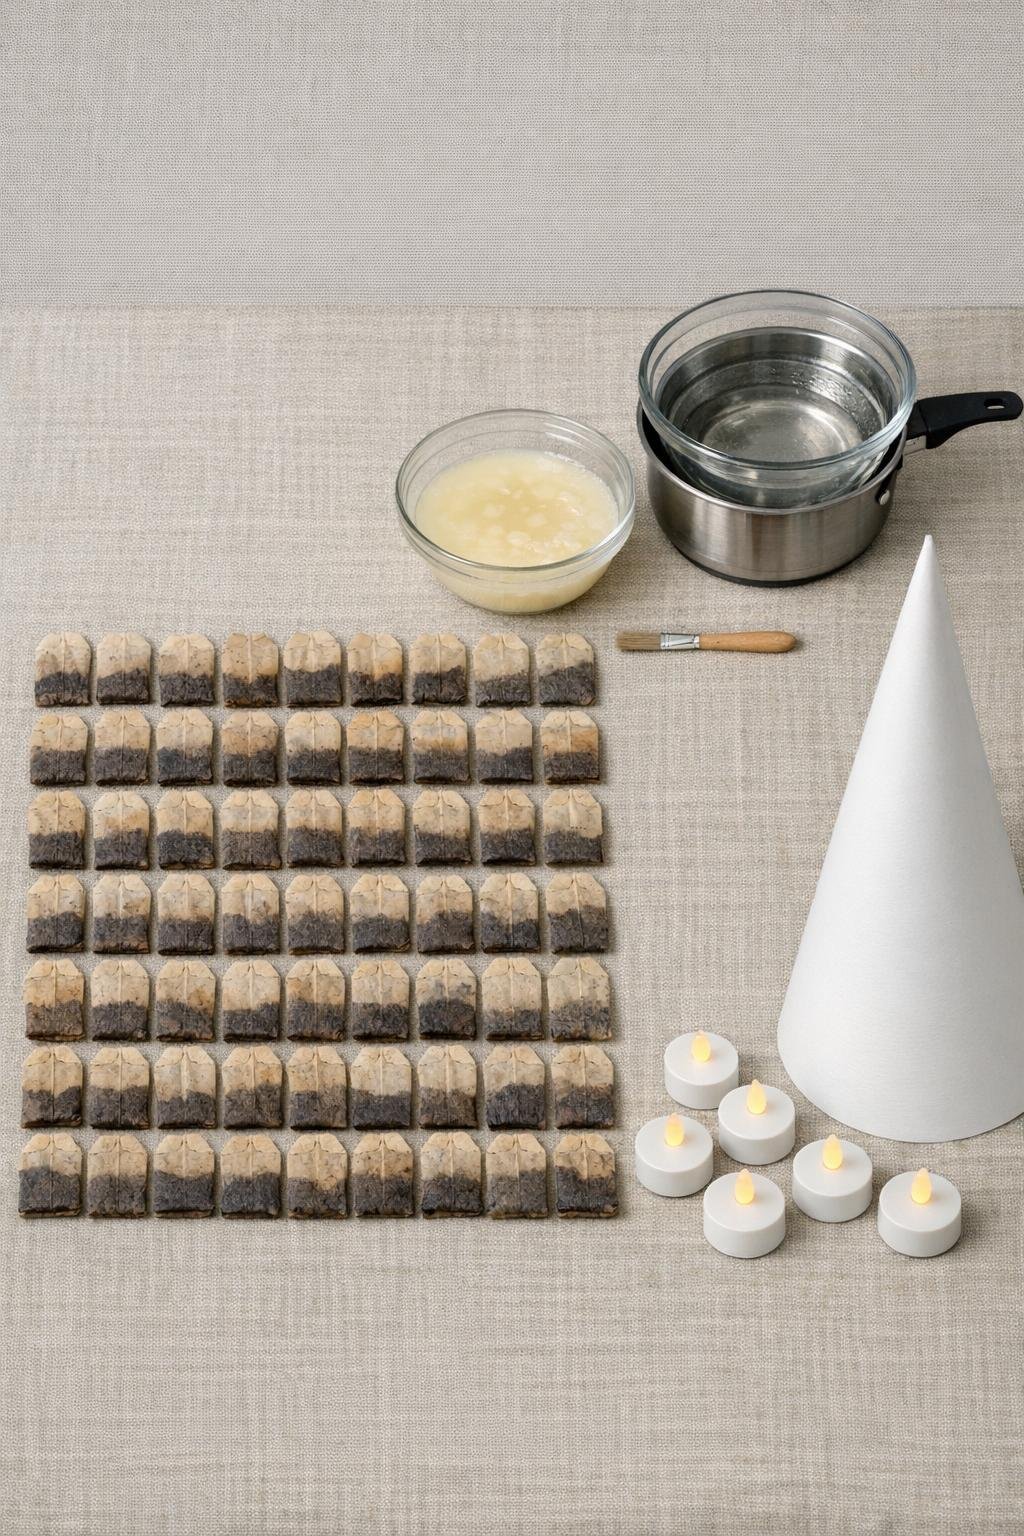
Materials
60 dried, used tea bags, with strings and tags removed
Instructions
1. Empty, rinse if needed, and fully dry your used tea bags, then carefully remove any staples, strings, and tags so each bag lies flat. If any are torn, save them for the back side of the tree where small overlaps can hide imperfections.
2. Set up a double boiler and melt the candle wax over low heat until fully liquid, then line your work surface with parchment paper. Keep the wax warm but not simmering so it brushes on smoothly without soaking the bags too heavily.
3. Brush a thin coat of melted wax over one side of each tea bag, flip, and coat the other side, then lay them flat in rows to dry until glossy and lightly stiffened. Work in batches so the wax stays even and the tea bags keep their soft parchment look instead of becoming thick and opaque.
4. Roll the poster board into a tall cone about 16 inches high with a 6-inch-wide base, then trim the bottom edge flat so it stands evenly. Staple the overlap near the top and bottom, then reinforce the seam with a line of hot glue.
5. Punch or poke 10 to 12 small holes around the cone, spacing them from lower middle to near the top. These let the LED light glow through more evenly and keep the inside from looking too dark.
6. Starting at the bottom edge, hot-glue the tea bags onto the cone with the bag openings facing downward and the tops slightly overlapping like shingles. Use 14 to 16 tea bags for the first row so the base looks full and generous.
7. Build the second and third rows upward, overlapping each new row by about one-third of the tea bag height. Turn and vary the bags slightly as you go so the layers look soft and natural instead of too rigid.
8. Continue adding rows, reducing the number of tea bags slightly as the cone narrows, until the entire cone is covered. At the tip, fold and glue 3 or 4 tea bags snugly so the top looks tidy and finished.
9. Place 4 to 6 LED tea lights inside the cone through the open bottom, spacing them in a loose circle so the whole tree glows instead of just one spot. Test in a dim room and shift the lights until the illumination looks even from top to base.
10. If you’d like, tie a simple jute twine bow near the top or glue a narrow ribbon loop at the peak for a polished finishing touch. Wipe away any visible glue strings, then set the tree on a tray, mantel, or table and switch on the lights for the full reveal.
Variations & Tips
For a fuller look: If your tea bags are on the small side, use 70 instead of 60 and make tighter overlaps near the base. A dense bottom row is what makes the whole tree look lush and finished.
For picky decorators: In my house, somebody always likes things “plain” and somebody else wants sparkle, so I’d keep one tree simple with just twine and make another with a very light dry-brush of gold on the edges. The natural version is beautiful, but a tiny bit of shimmer catches the glow in such a pretty way.
Tea bag prep tip: Let the used tea bags dry for at least a day before waxing them. Damp bags are harder to flatten and won’t take the wax as evenly.
Safer lighting: Only use battery-operated LED tea lights inside this project. Real candles and paper products never belong together, no matter how tempting that warm glow may be.
Color variation: Tea bags from black tea usually dry to a richer tan, while herbal teas can be lighter. Mixing shades together gives the tree a more dimensional, parchment-like finish.
Make a centerpiece grouping: Try making a second and third cone in smaller sizes for a clustered display. Three glowing trees together on a tray make a lovely table centerpiece without much extra work.
Storage tip: Store the tree in a roomy box with tissue paper around it so the waxed tea bags don’t get crushed. I like to leave the LED lights out until next season and tuck them into the box separately.