
There’s something so satisfying about turning a stack of saved gift tissue into one of those old-school paper decorations that opens with a little bit of magic. This project is the classic fold-and-glue honeycomb bell many of us remember from childhood, but when you take your time and use a full stack, the finished piece looks charming enough for a mantel, a window, or even a Christmas tree branch.
My mom and grandma both made versions of these, and I still love crafts like this that feel thrifty, nostalgic, and genuinely pretty at the same time. If you can fold paper neatly and follow the glue pattern exactly, you can make this. The biggest secret is simply alternating the glue lines the right way so the bell opens into that crisp honeycomb shape instead of sticking flat.
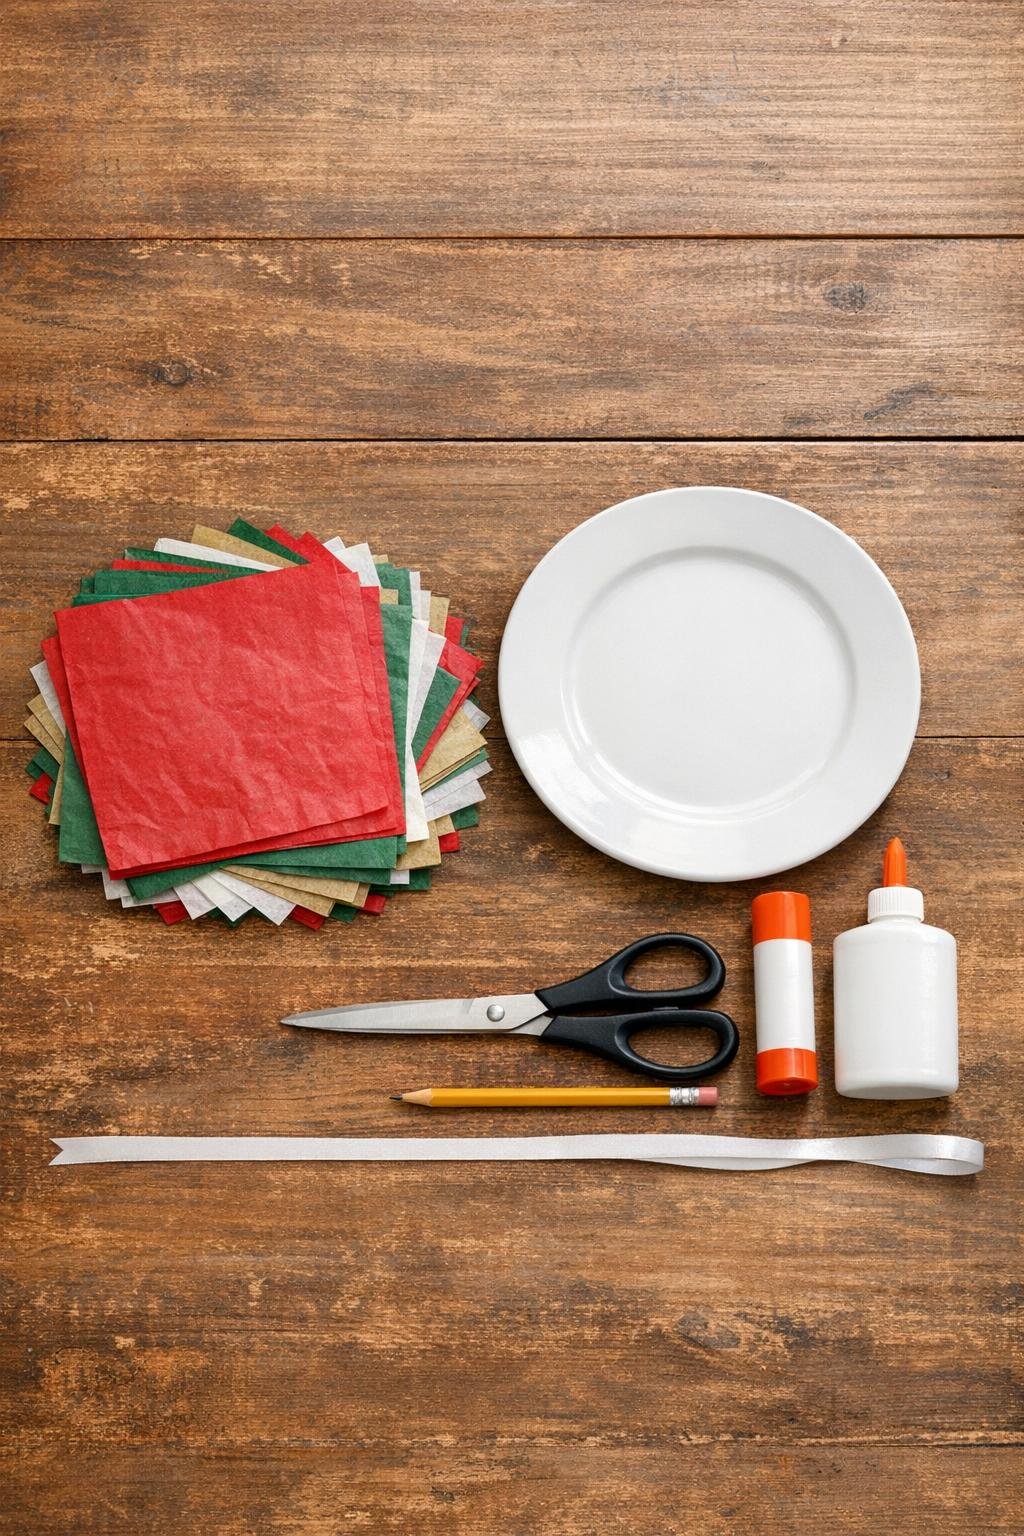
Materials
Instructions
1. Flatten your tissue paper and cut or trim it into 48 even squares measuring 8 x 8 inches each. Count twice before you start gluing, because a full stack gives the bell its nice, dense honeycomb.
2. Place the cardboard on the table and set one tissue square on top, smoothing it gently with your hand. Keep all the squares facing the same direction so the edges line up as evenly as possible.
3. On the first square, apply one thin line of glue straight down the center from top edge to bottom edge. Keep the line light and narrow; too much glue will wrinkle the tissue and make the bell stiff.
4. Lay a second tissue square directly on top and match the edges carefully. Press very lightly with flat fingers so the tissue sticks without tearing.
5. On this second square, apply two thin glue lines: one about 1/2 inch in from the left edge and one about 1/2 inch in from the right edge, both running from top to bottom. This is the alternating pattern that creates the honeycomb opening.
6. Add the third square on top, line up the edges, and smooth it gently. Repeat the pattern all the way through the stack: center line on one layer, edge lines on the next layer, alternating until all 48 squares are attached.
7. After the last square is added, let the stack rest for 10 to 15 minutes so the glue can set enough to cut cleanly. If your tissue wants to shift, clip the sides loosely with the paper clips.
8. Fold the glued stack in half from top to bottom so you have a rectangle measuring about 8 x 4 inches, and crease it very gently. This fold gives you a perfectly matched bell shape when you cut both sides at once.
9. Place the dinner plate so its curve helps you draw a rounded bell top on the folded stack, then sketch the lower flare of the bell with a soft outward sweep toward the bottom. Leave the folded side uncut so the bell will open like a fan.
10. Cut through the folded stack along your drawn line, taking slow, even snips so the shape stays smooth. Trim a tiny notch at the top point if you want a cleaner place to tie the ribbon later.
11. Unfold the cut stack carefully and lay it flat again with the glued layers still together. Run a very thin line of glue along one outside flat side of the bell shape.
12. Cut the ribbon in half if you want a hanging loop and a small bow, or leave it full length for one simple loop. Glue or tie one end at the top center on the inside of the bell before closing it.
13. Bring the two outer flat sides together slowly to open the honeycomb, and match the edges from top to bottom. Press the outer sides together gently so the bell holds its full rounded shape.
14. Fluff the honeycomb openings with your fingertips and adjust any stuck sections by easing them apart one cell at a time. Let the finished bell dry fully before hanging or setting it on display.

Variations & Tips
Color planning: If your saved tissue papers are mixed, alternate colors as you stack them instead of keeping the whole pile random. I love doing deeper colors toward the center with lighter sheets near the outside because the opened bell looks richer and more layered.
Glue control: A glue stick is usually the least messy option for tissue, but if your paper is older and slippery, add a tiny amount of white school glue right over the stick line for extra hold. The key is still using very thin lines, not heavy beads.
Make the pattern foolproof: If you tend to lose your place, say it out loud as you work: “middle, edges, middle, edges.” On busy weeknights, that kind of little rhythm saves me from having to peel apart a whole stack later.
For a larger bell: Use 10 x 10 inch tissue squares and trace a bigger bell shape, but keep the same 48-sheet count. You’ll get a dramatic decoration that looks lovely in a window or hanging from a doorway.
For tree ornaments: Cut 6 x 6 inch squares instead of 8 x 8 and keep the same method for a smaller version. These are especially sweet clustered together on a branch instead of hanging one by one.
For a polished finish: Add a narrow ribbon bow at the top or glue on a tiny loop of metallic cord for hanging. That one extra touch makes it feel vintage and intentional rather than like a school sample.
Storage tip: If you want to reuse the bell year after year, skip gluing the final side shut and use a tiny paper clip to hold it open while displayed. Then unclip it, flatten it carefully, and store it between sheets of tissue in a shallow box.