
I keep a donation bag in my closet year-round, and wool sweaters are usually the first things I toss in once they shrink a little, pill too much, or just feel dated. A while back, I stopped myself before hauling a stack out the door and turned three of them into cozy autumn throw pillow covers instead, and honestly, it felt like one of those rare projects that is both practical and genuinely pretty when you're done.
This is a great DIY if you want fall decor that looks warm and layered without spending much, and it's especially nice for busy people because the sewing is very straightforward. We're making three envelope-back pillow covers from old wool sweaters, with simple finishing details that make them look polished on a sofa, chair, or bed.
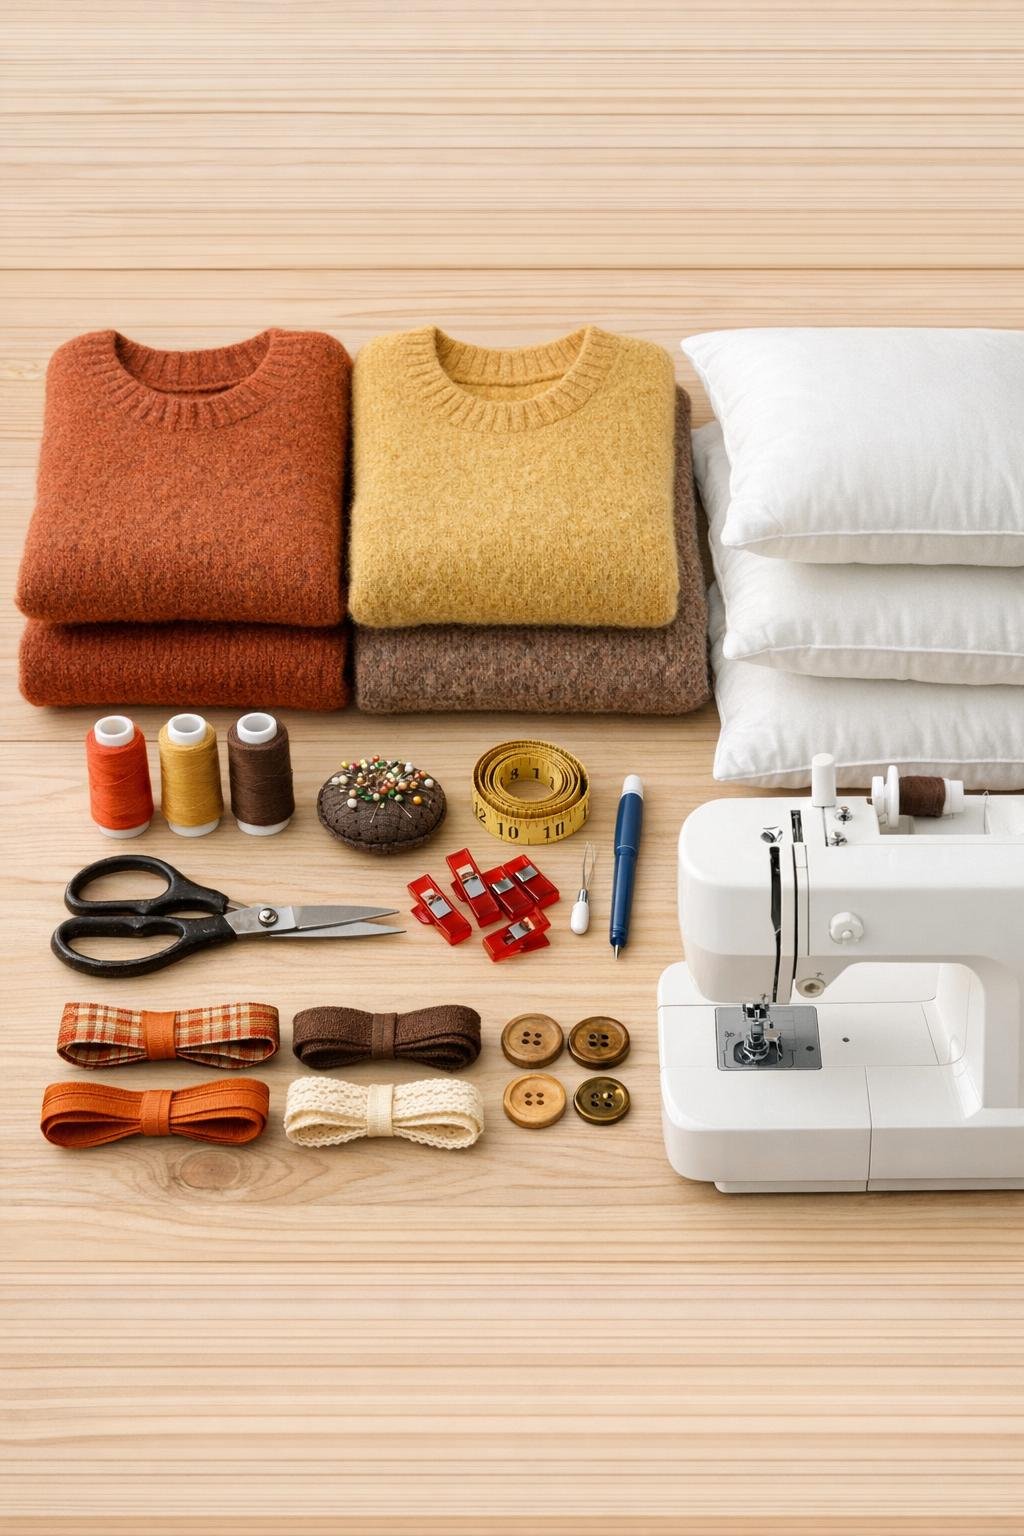
Materials
3 old wool sweaters, adult medium to extra-large, one for each pillow cover
Instructions
1. Wash and dry the wool sweaters on a warm or hot setting if they are not already felted, because a slightly tightened, denser fabric is much easier to cut and sew into sturdy pillow covers.
2. Lay each sweater flat and smooth it out, then measure the widest usable area on the front and back so you can choose the best placement for an 18 x 18 inch cover.
3. Cut one 19 x 19 inch square from the front of each sweater for the pillow front, centering any cable knit, ribbing, or interesting texture so the finished pillows look intentional.
4. Cut two back pieces for each pillow cover, each measuring 19 inches wide by 13 inches tall, using the remaining sweater fabric so the two pieces will overlap and create an envelope opening.
5. If any cut edge feels loose or overly stretchy, sew a quick zigzag stitch around that edge or trim away unstable sections before assembly.
6. Hem one long edge on each of the six back pieces by folding it under 1 inch, then folding again 1 inch, and sewing straight across to create clean inner flap edges.
7. Place one front piece right side up, then lay the two back pieces right side down on top of it with the hemmed edges overlapping in the center by about 4 to 5 inches.
8. Pin or clip all four outer edges well, especially at the overlap, because wool can shift a little more than regular cotton when you sew it.
9. Sew around the entire outer edge of the pillow cover with a 1/2 inch seam allowance, backstitching at the beginning and end and again where the envelope overlap crosses.
10. Trim the corners to reduce bulk, then turn the cover right side out through the envelope opening and gently push the corners into shape with your fingers.
11. Repeat the same cutting and sewing steps for the other two sweaters so you end up with a set of three coordinating covers that still have slightly different textures and tones.
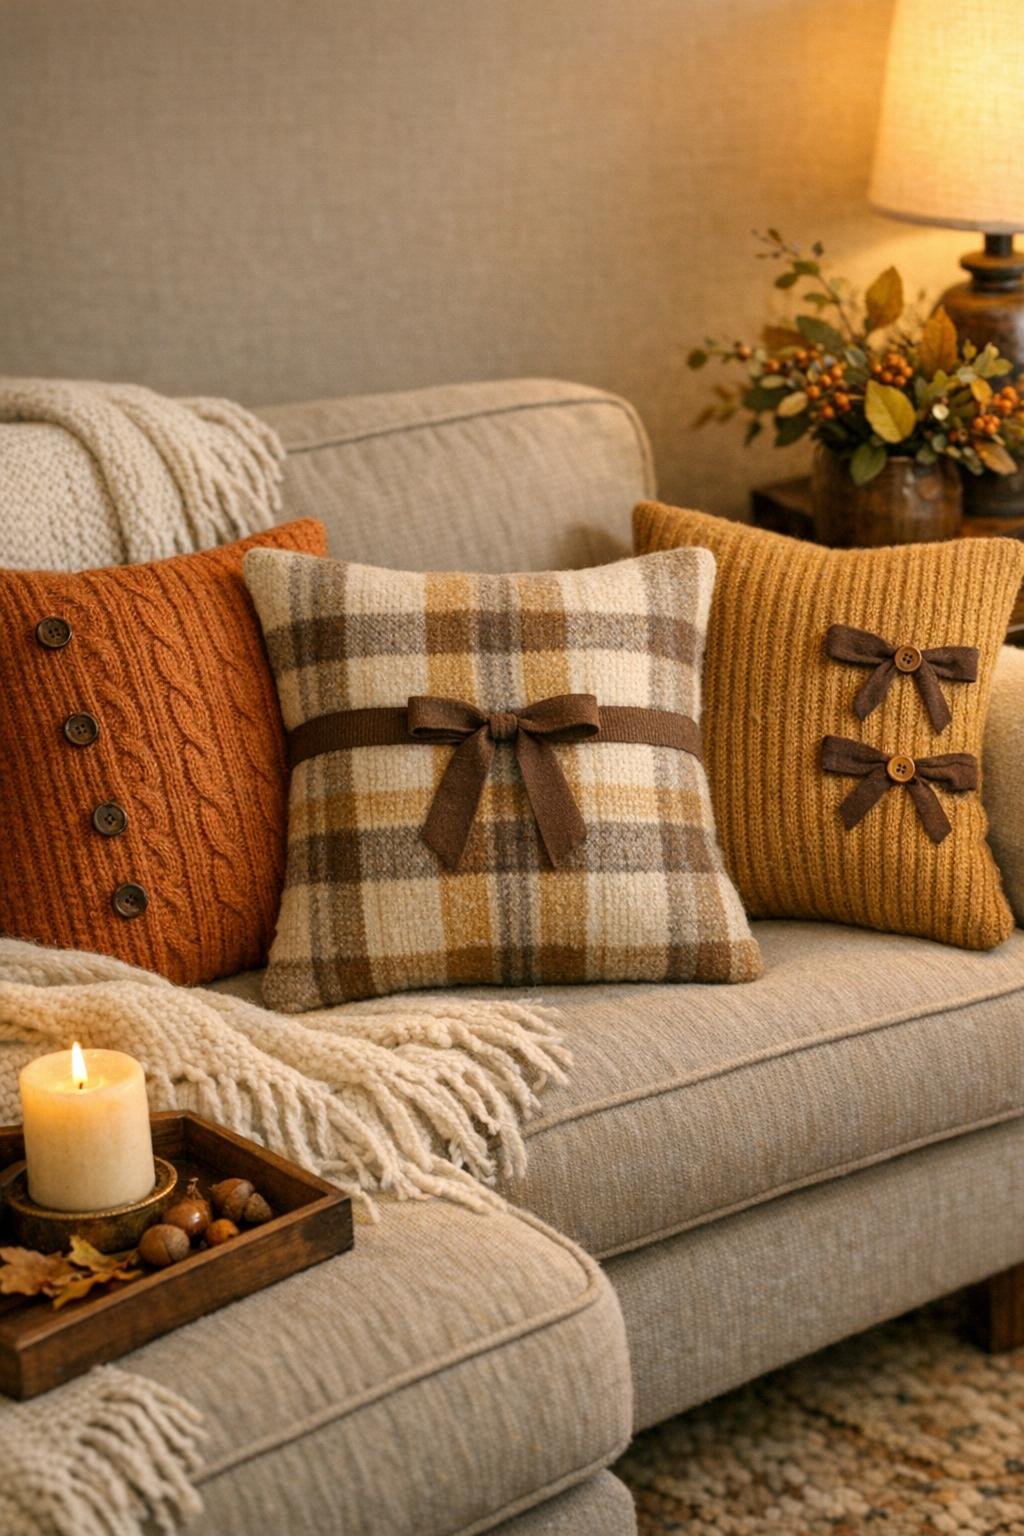
12. Hand-sew two or three buttons onto one corner or along the center overlap of one or two pillow covers if you want an extra finished detail that looks custom rather than homemade.
13. Tie small ribbon tabs or bows and stitch them securely onto a pillow corner or seam edge if you like a softer, more decorated fall look, then seal ribbon ends with a dab of fray check.
14. Insert an 18 x 18 inch pillow form into each cover, fluff the corners, and adjust the sweater knit so the fronts sit smooth and full.
Variations & Tips
Mix knit textures: I love combining one cable-knit sweater, one smoother fine-knit sweater, and one ribbed sweater so the set looks collected and layered instead of too matchy.
Use slightly oversized inserts: If you have 18 inch covers, a plump 20 inch insert can make them look extra full, but only use that if your sweater fabric has enough stretch.
Hide worn spots strategically: If a sweater has elbow wear or a stain near the hem, just place your pattern pieces around the damaged area and use the best sections for the front panels.
Add a patchwork front: If one sweater is too small, piece together two or more sweater sections for the front and keep the back simple; it ends up looking very boutique, especially in fall colors.
Keep washing simple: Because these are covers, I usually remove the inserts and hand wash or use a gentle cold cycle, then lay the covers flat to dry so they keep their shape.
Plan your color palette first: Cream, oatmeal, rust, olive, camel, and charcoal work beautifully together for autumn, and choosing that palette ahead of time makes the final trio feel much more styled once it's on your couch.