
I am always looking for small kitchen upgrades that make busy weeknights feel less chaotic, and these pantry bin labels are one of my favorite quick wins. The project is exactly what it sounds like: small acrylic photo frames clipped right onto wicker baskets, with simple cardstock tags that slide in and out whenever you want to relabel a bin. It gives that tidy, custom pantry look without committing to permanent stickers or dragging out a label maker for every little change.
If you use wicker baskets for snacks, baking supplies, lunchbox items, or potatoes and onions, this is such a practical project. I love it because it looks polished, but it is also very forgiving and easy to update when real life happens and one basket suddenly changes from “granola bars” to “holiday cookies.”
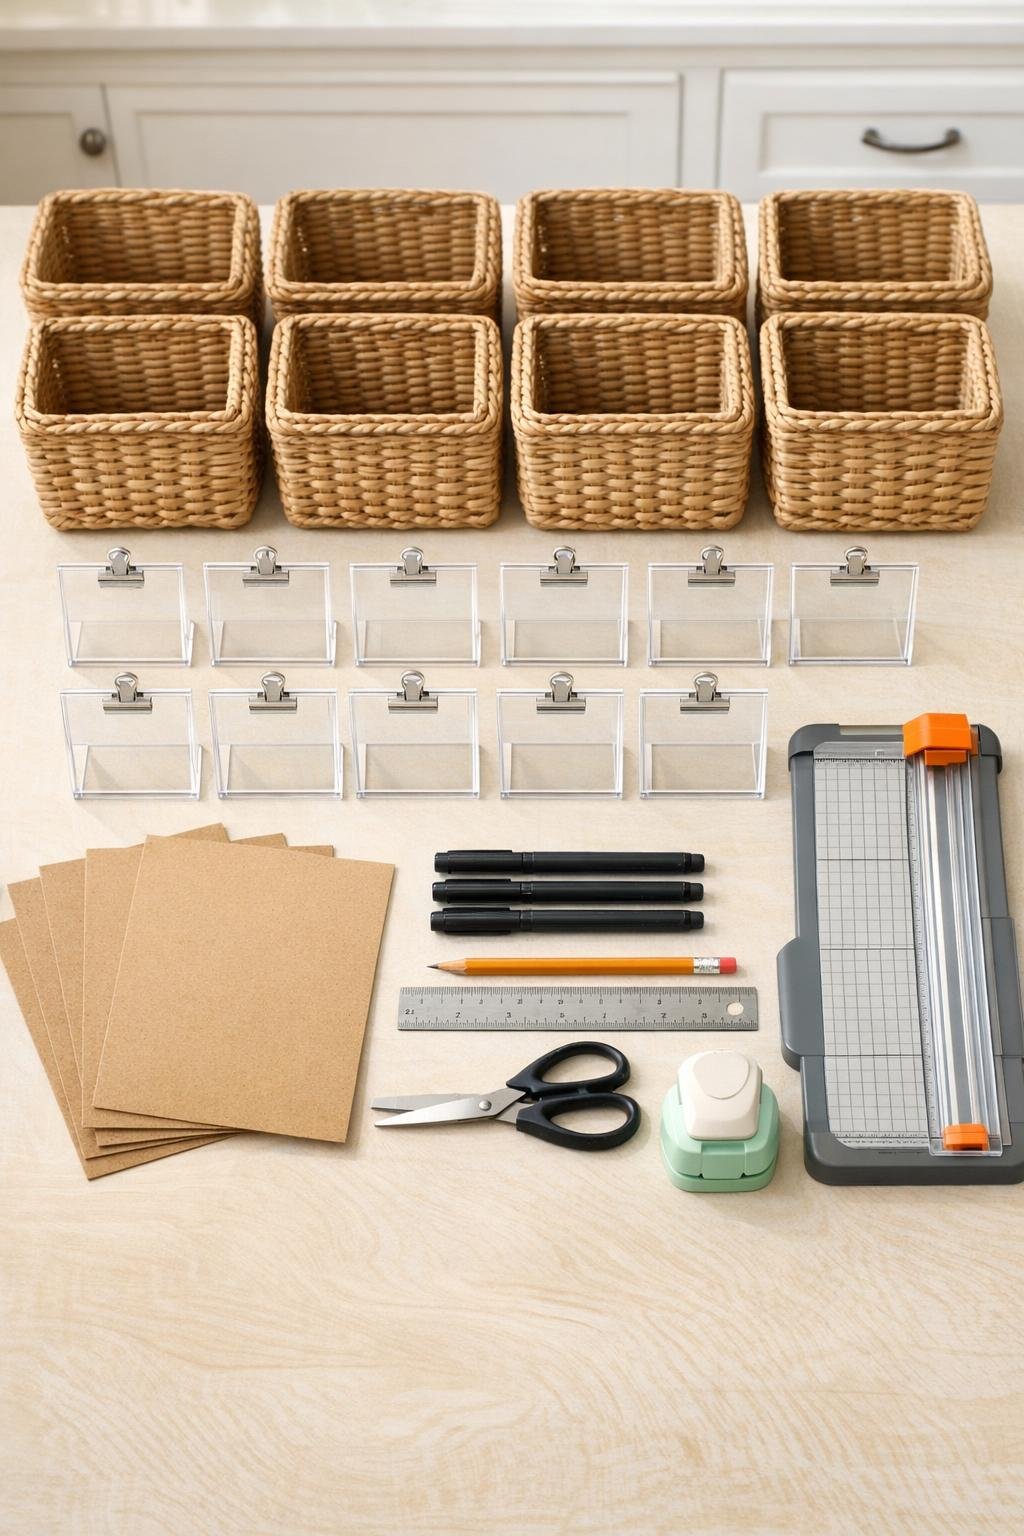
Materials
8 small wicker storage baskets, approximately 12 to 14 inches wide each
Instructions
1. Line up your wicker baskets on the counter or pantry shelf and decide what each one will hold so you can make all of the labels in one batch. I like to group mine first, because it saves me from making a label that ends up too specific a week later.
2. Measure the visible insert area inside one acrylic photo frame, then subtract about 1/8 inch from both the height and width so the tag slides in easily. Write that finished insert size down and use it for every tag.
3. Cut a test insert from plain printer paper and slide it into a frame to check the fit before cutting your cardstock. If it catches at the corners, trim just a hair off until it slips in smoothly.
4. Use the test insert as a template and cut 8 cardstock tags from the kraft sheets with your paper trimmer. For a softer finished look, round the corners with a corner punch or trim them gently with scissors.
5. Lightly pencil centered guide lines on each tag so your lettering stays even. Keep the writing area in the middle third of the card so the labels look balanced once framed.
6. Letter each tag with a black fine-tip paint pen or archival marker, using simple category names like Snacks, Pasta, Baking, Tea, Produce, Breakfast, Lunchbox, or Treats. Let the ink dry fully before handling so it stays crisp and doesn’t smudge on the acrylic.
7. Slide each finished cardstock tag into an acrylic frame and check that the wording sits straight and centered. If one looks off, pull it back out and trim or reposition it before clipping it onto the basket.
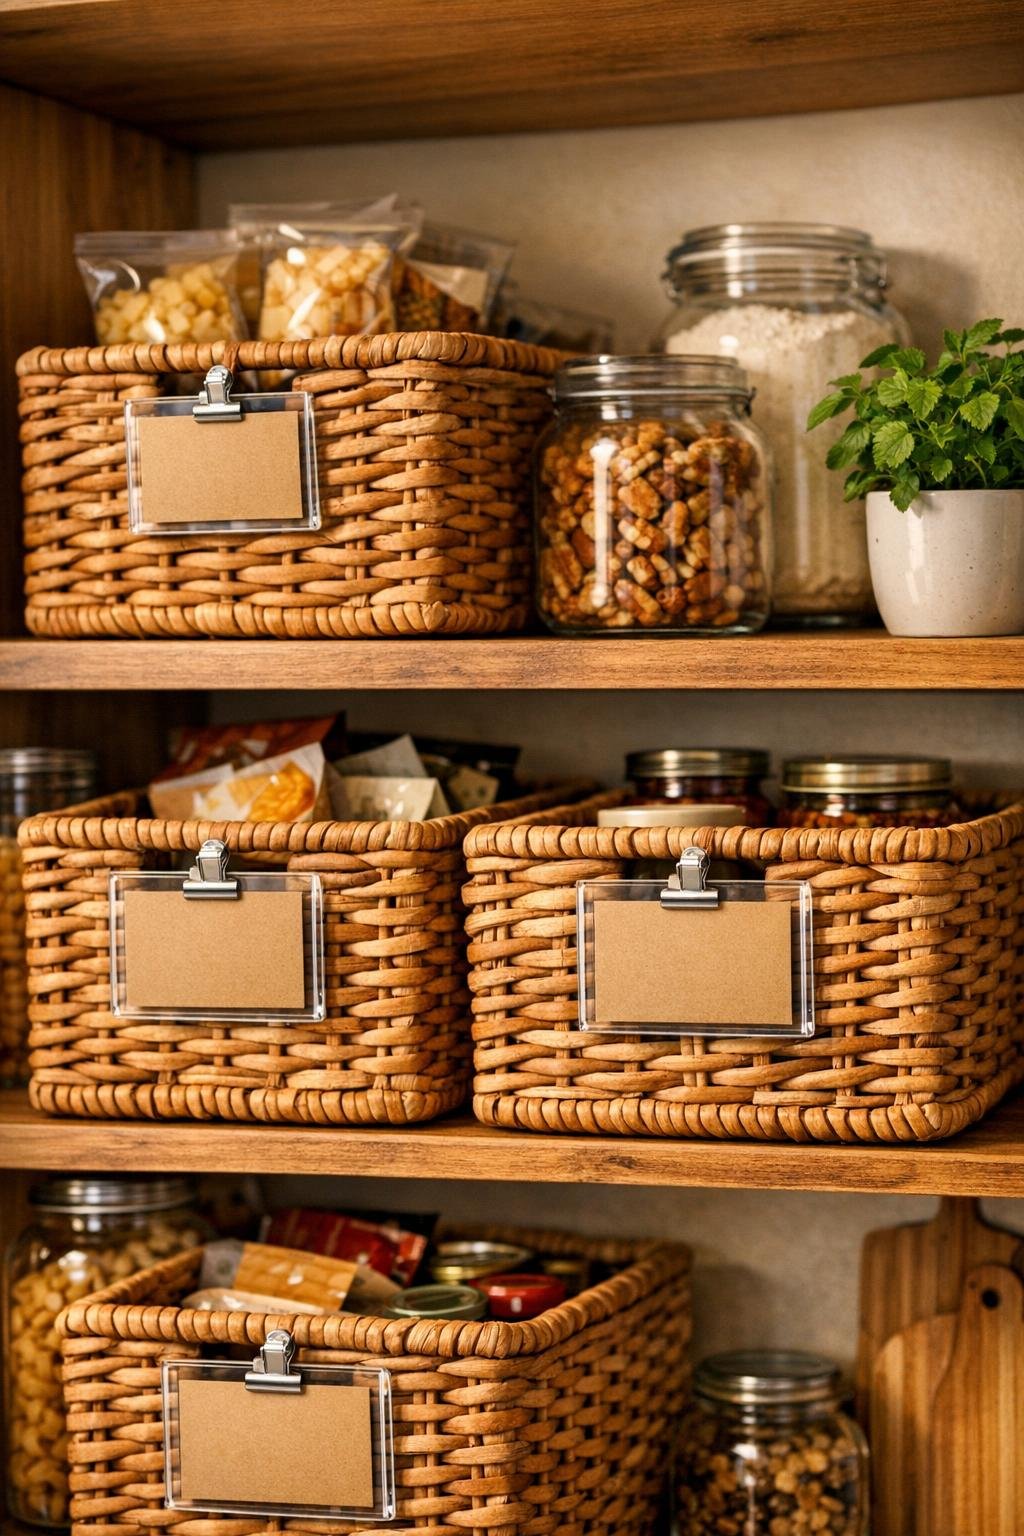
8. Clip one framed label onto the front center of each wicker basket, catching a sturdy woven section so the frame sits flat and secure. Press gently and make sure the clip grips tightly without distorting the wicker.
9. Fill the baskets and place them back on the pantry shelves with heavier items toward the bottom bins and everyday grab-and-go items at eye level. This is the step where the whole project suddenly looks custom and intentional.
10. Make 2 or 3 extra blank cardstock inserts and tuck them into a kitchen drawer so you can relabel baskets anytime. That little bit of prep is what keeps this system useful instead of just pretty.
Variations & Tips
For a cleaner look: Use the same basket size throughout the pantry and keep all of the frames clipped at the same height. That one detail makes the shelves look much more high-end.
For easy seasonal resets: Keep a small envelope of pre-cut blank inserts with your pantry supplies. I do this because our snack situation changes constantly during school breaks and holidays.
For a softer style: Use ivory or oatmeal cardstock instead of kraft if your kitchen is lighter or more modern. You still get the warmth, just with a slightly brighter finish.
For neater lettering: Sketch the words in pencil first, then trace with pen once the spacing looks right. This is especially helpful if you want the labels to match but do not want to fuss with printing them.
If your basket weave is uneven: Clip the frame slightly off center to catch a tighter woven section, then straighten the insert inside the frame. The frame looking level matters more than the clip placement being mathematically perfect.
To make them even more polished: Add a tiny line border around each cardstock tag before sliding it into the frame. It takes less than a minute, but it makes the labels look thoughtfully finished.