
I have a soft spot for old wire baskets, especially the kind that once rode on the front of a bicycle and then somehow ended up forgotten on a thrift-store shelf. This project turns one of those rusty little workhorses into a warm, richly textured decorative basket by crocheting chunky burnt orange yarn right through the wire frame. It looks clever when it’s finished, but the method is pleasantly simple, and that’s my favorite kind of project.
If you can manage a basic single crochet and don’t mind working a little slower than you would on a regular crochet piece, you can make this. I especially love it for folks who enjoy cozy autumn color, cottage style, or upcycling with a purpose. The wire frame does the shaping for you, so you end up with a sturdy basket that looks far fancier than the effort would suggest.
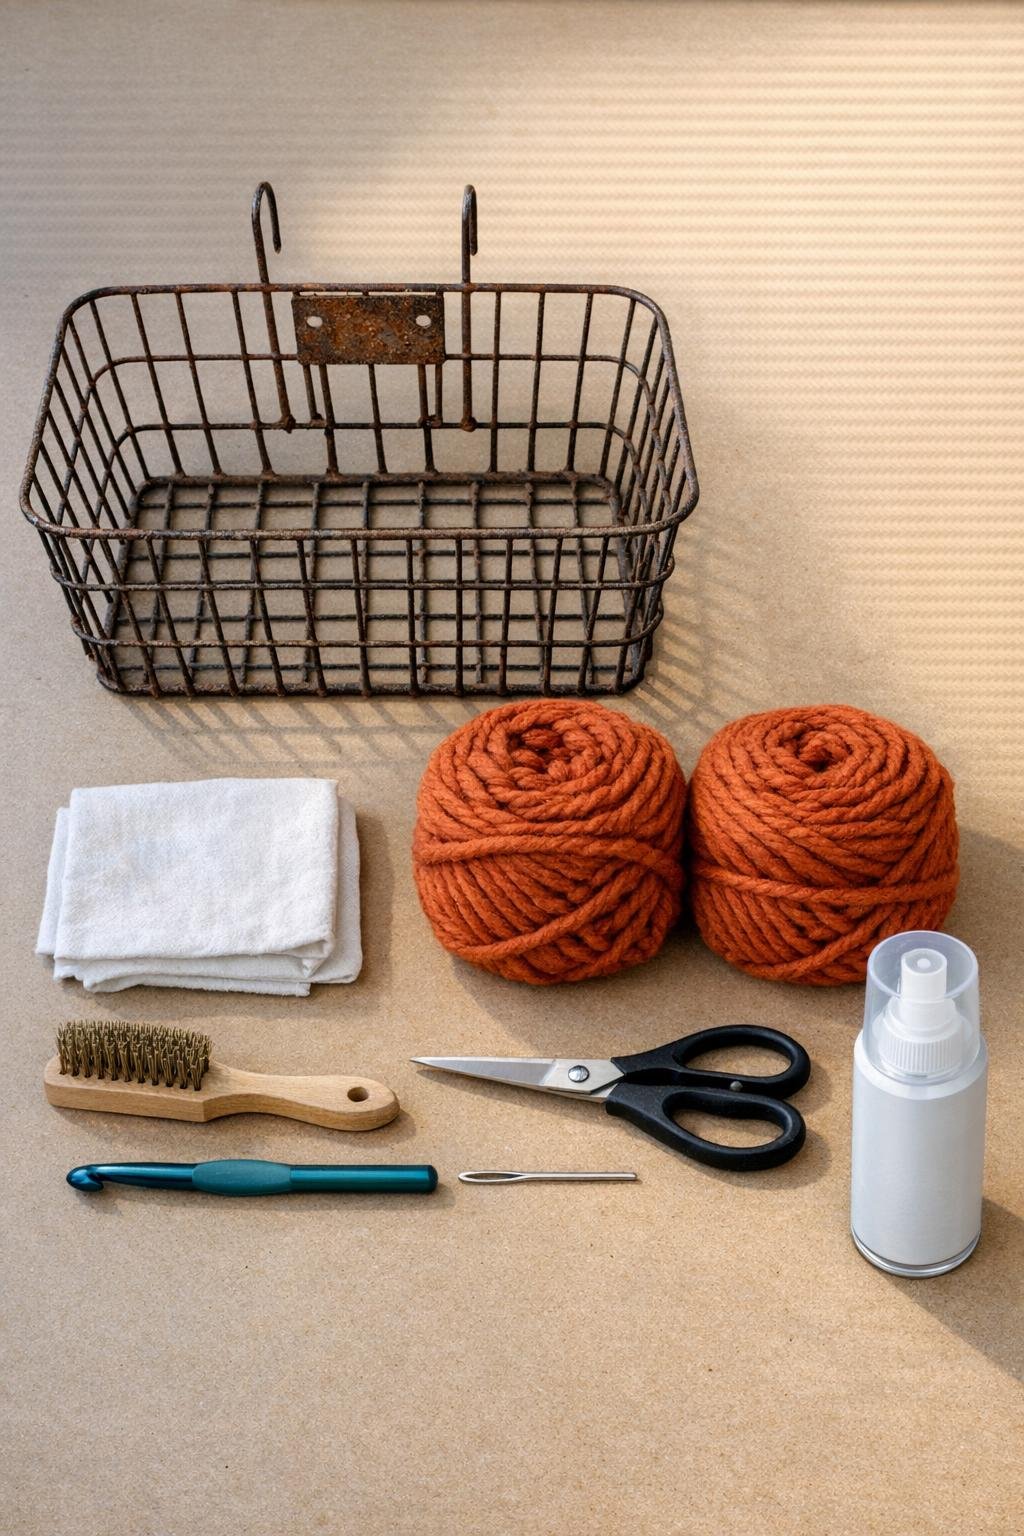
Materials
Instructions
1. Brush the basket all over with the wire brush to remove any loose rust, flaking paint, and grit, then wipe it down well with the cloth so the yarn won’t drag through dust.
2. Spray the basket lightly with clear matte sealer and let it dry completely; this keeps the rusty finish looking vintage while helping prevent rub-off on the yarn and your hands.
3. Cut a starting tail about 8 inches long and tie the yarn securely around one lower side wire near a back corner, placing the knot on the inside of the basket where it will be less noticeable.
4. Work single crochet directly around the vertical and horizontal wires along the outside lower edge, treating each wire span like your foundation and packing the stitches snugly side by side until the bottom perimeter is covered.
5. Continue upward in rows, inserting your hook through each open wire section and drawing the yarn around the metal so the stitches wrap and soften the frame instead of sitting loosely on it.
6. Keep the stitches firm and close together as you move across each side, gently nudging them into place with your fingers so very little wire shows between the rows.
7. At each corner, add one extra single crochet around the corner wire wherever needed so the fabric turns cleanly without pulling; the goal is a smooth wrap, not a pinched edge.
8. Crochet across the broad back panel first, then the two narrower side panels, building up a dense burnt orange covering while leaving the very top rim wire exposed for a tidy vintage outline.
9. Work the front panel last, checking every few rows that the coverage matches the other sides and that the rusty wire still peeks through only in small, intentional places near the rim and corners.
10. If your basket has a more open bottom grid, weave the yarn back and forth through the base wires and anchor it with single crochet around the crossbars to create a cushioned bottom that visually connects to the sides.
11. Add a final edging row of slip stitches or tight single crochet around the uppermost worked row beneath the rim to even out the top line and give the basket a finished, tailored look.
12. Cut the yarn with an 8-inch tail, thread it onto the yarn needle, and weave the end through several stitches on the inside, then repeat with the beginning tail so nothing can work loose.
13. Fluff and straighten the crocheted rows with your fingers, tucking in any uneven spots and making sure the basket sits level with the wire shape still clearly defining it.
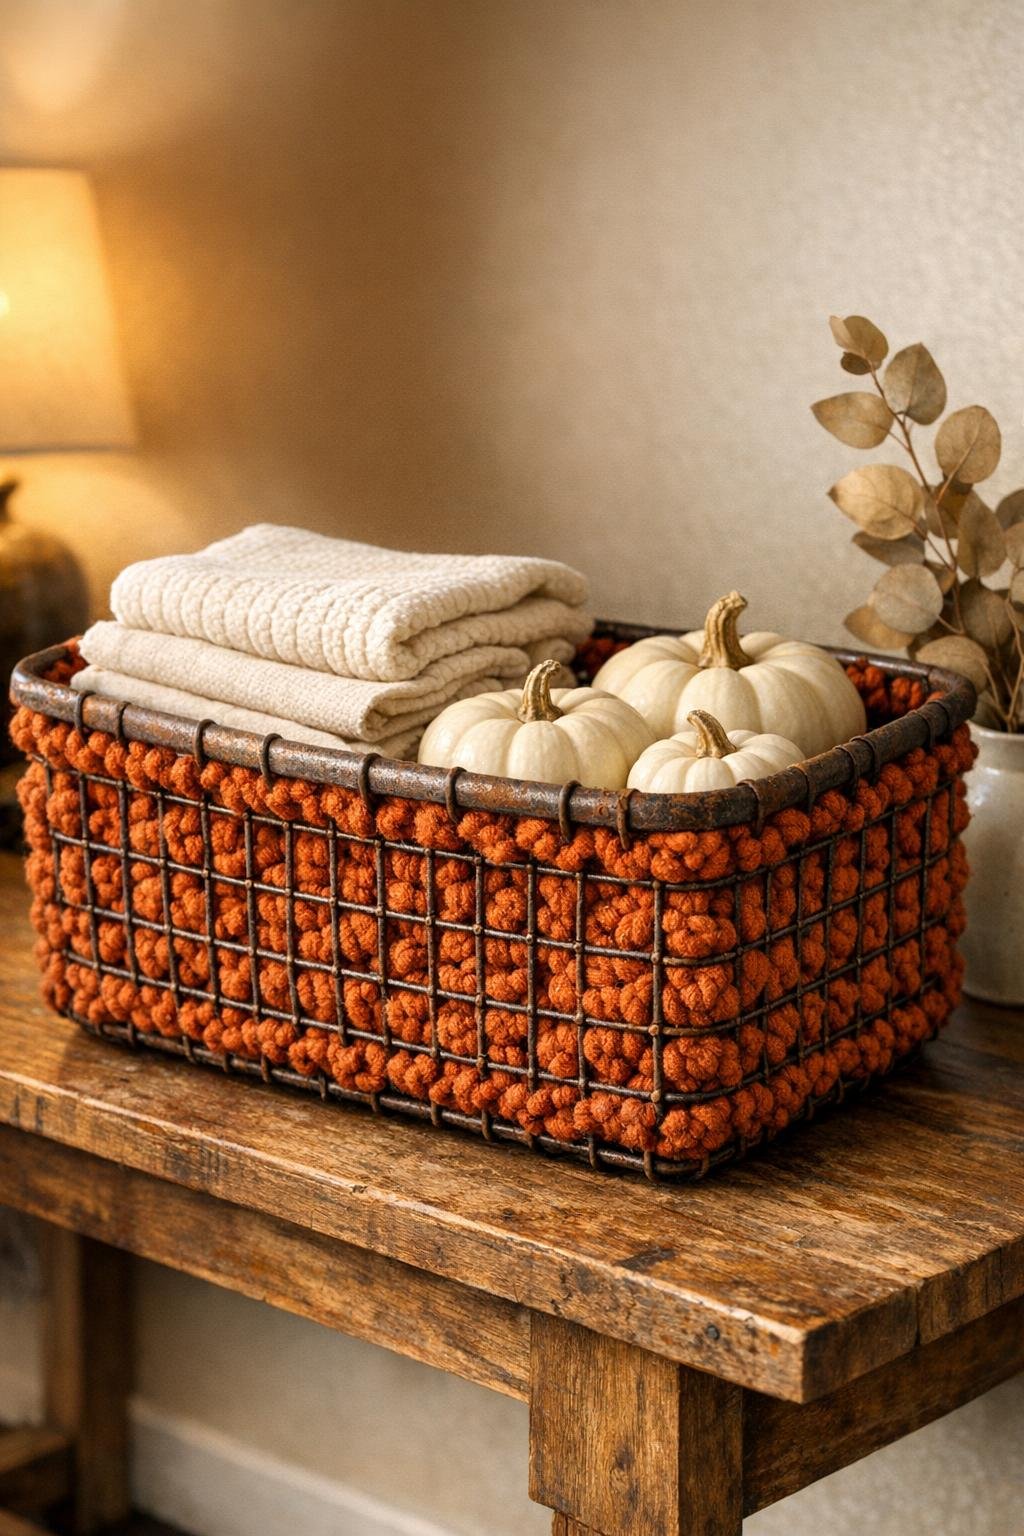
Variations & Tips
For a fuller look: Use all-over tight stitches with almost no gaps showing; this project looks best when the crochet feels generous and cushy rather than skimpy.
If the rust is heavy: Give the basket an extra coat of matte sealer after brushing it clean. I’ve found old metal can be charming, but only if it’s stable enough not to stain everything it touches.
Color idea: Burnt orange is beautiful for autumn, but mustard, olive, oatmeal, or deep cranberry also suit vintage wire nicely and keep that cozy, thrifted charm.
For beginners: Don’t worry about counting every stitch. I work by eye on a project like this, focusing more on even coverage and corner shaping than on strict stitch totals.
To use it around the house: This basket is lovely for rolled hand towels, yarn skeins, mail, seed packets, or seasonal décor. I’d avoid anything very delicate unless the inside coverage is nice and dense.
Make it more polished: If you want a softer interior finish, cut a simple rectangle of muslin or cotton liner fabric to fit the bottom and tack it in by hand after crocheting.
Thrift-store tip: Choose a basket with a solid shape and firm wire, even if the finish is ugly. Around here, the homeliest old pieces often clean up into the prettiest things once you give them yarn and a little patience.