
I have a hard time throwing away anything that looks even remotely craftable, and paper egg cartons are one of those things I always seem to save “just in case.” This project is exactly why. With a stack of cartons, a little paint, and one easy base, you can turn something headed for the recycling bin into a statement piece that looks surprisingly charming and full once it all comes together.
If you like low-cost crafts that feel a little bit dramatic without being complicated, this one is such a good weekend project. It’s especially nice for anyone who wants something cheerful for a table, mantel, or entryway but doesn’t want to fuss with delicate supplies or advanced techniques. I made mine in batches over a couple of evenings after work, and it was the kind of repetitive, satisfying crafting that lets your brain fully exhale.
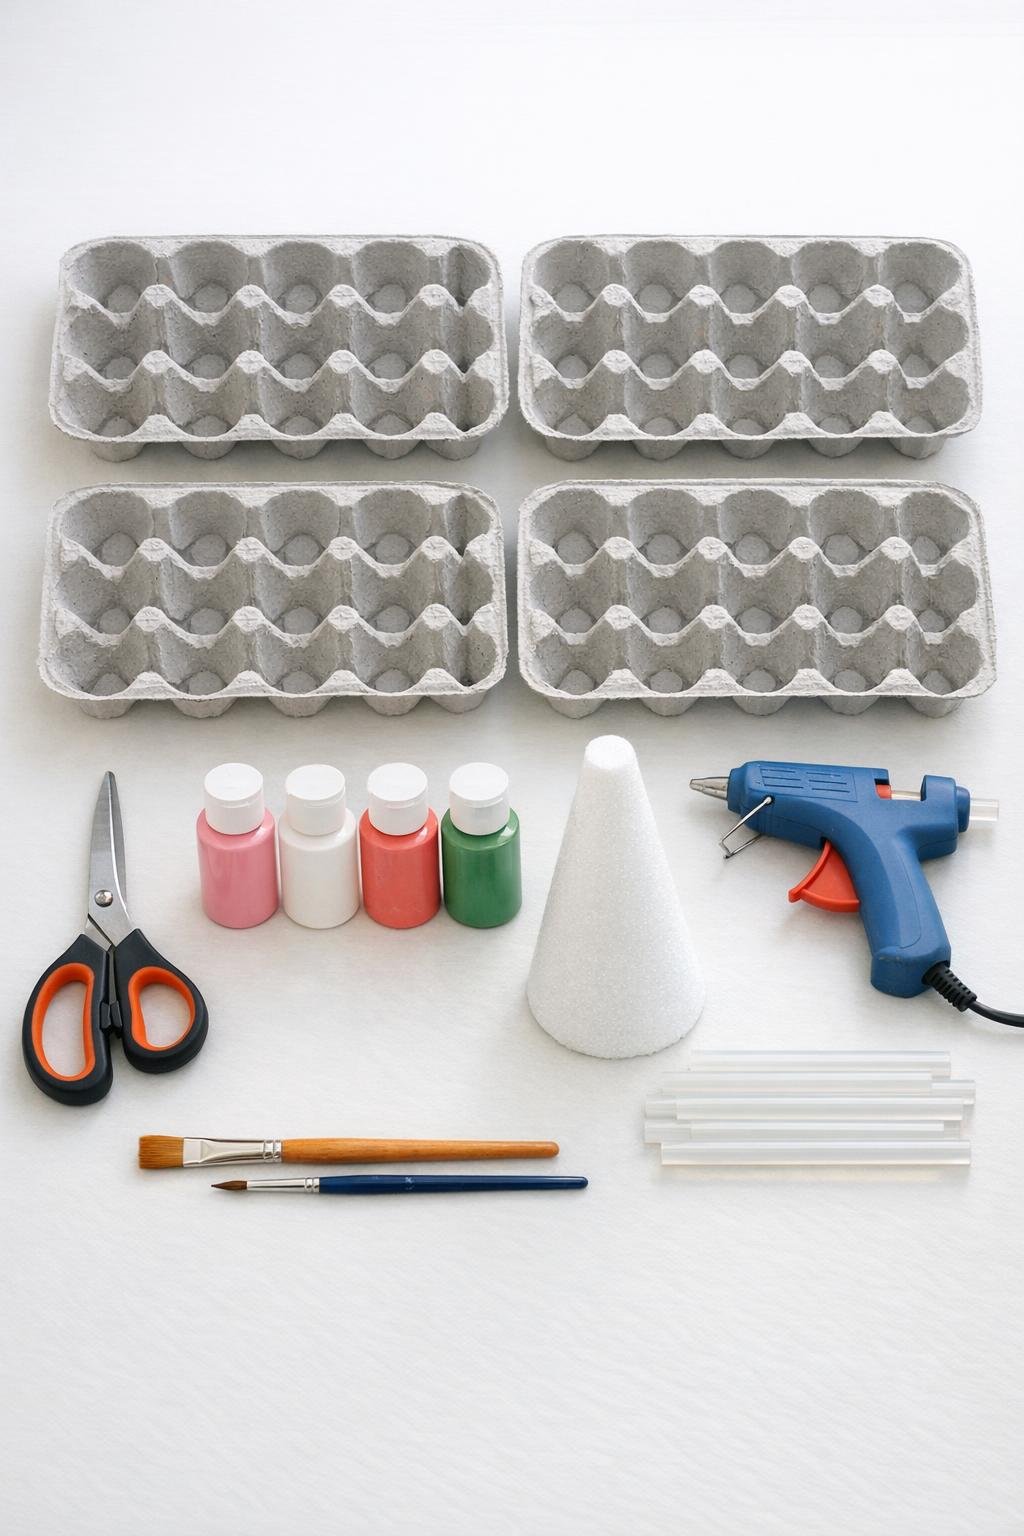
Materials
5 paper egg cartons, 12-cup size, for 60 cups total
Instructions
1. Separate all 60 egg cups from the cartons by cutting around each cup, then trim away any jagged edges so each piece has a clean, rounded shape.
2. Cut small petal shapes around the rim of each cup, making 4 to 6 rounded or pointed petals per cup so every piece starts to resemble a blossom.
3. Gently pinch, curl, and open the petals with your fingers so the flowers look fuller and less uniform; vary them a little because that mix makes the finished piece look much more natural.
4. Paint the outside and inside of the blossoms in a mix of light pink, white, and coral, leaving a few petals softly blended with two colors for extra depth; paint about 20 flowers in each main color family.
5. Paint the foam cone soft green, including the base edge, so any tiny spaces between the flowers blend in neatly once everything is attached.
6. Let all painted pieces dry completely before gluing; if needed, add a second coat to any flowers that still show too much gray carton underneath.
7. Starting at the bottom edge of the cone, hot glue the largest blossoms in a tight ring, placing them side by side with almost no gaps.
8. Build the next row just above the first, slightly overlapping the flowers so the cone gets dense coverage and the base layer looks lush instead of spotty.
9. Continue gluing flowers upward in rows, alternating colors as you go and tucking smaller blossoms into open areas to keep the surface full.
10. As you near the top, use the smallest and most tightly shaped blossoms so the point stays neat and rounded rather than bulky.
11. Glue one final blossom directly on the tip to finish the top, then check the whole cone from every angle and fill any visible gaps with extra flowers or trimmed petal pieces.
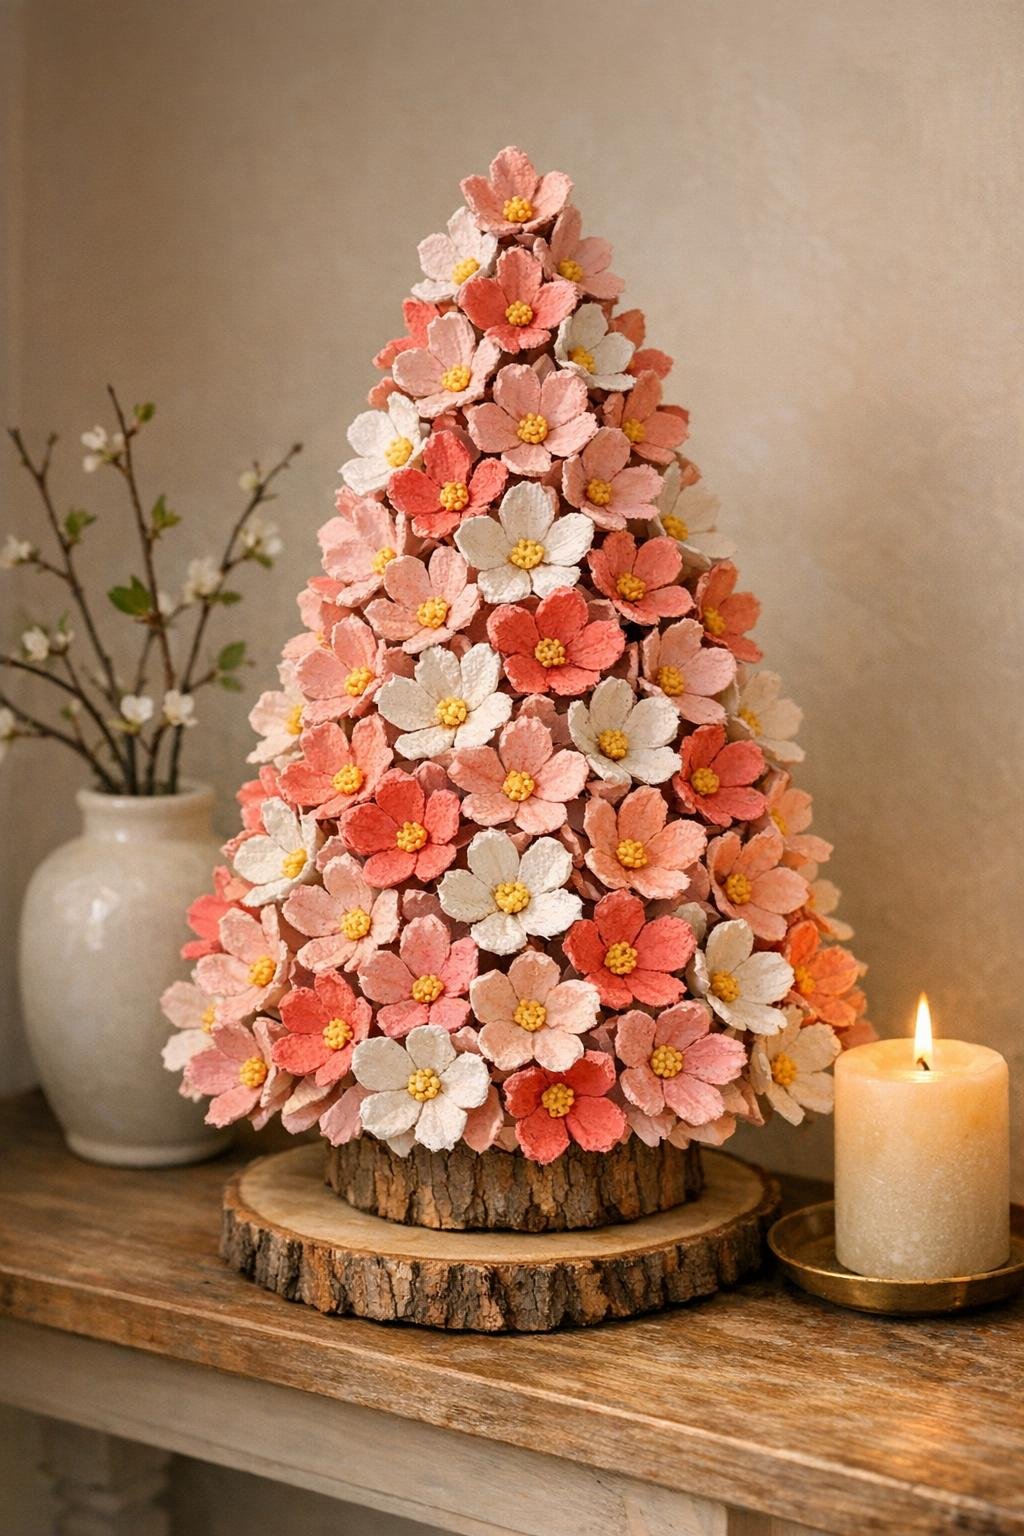
12. Set the piece on a wood slice or plate stand if you want a more finished display, and let the glue cool fully before moving it to its final spot.
Variations & Tips
Color palette: If pinks aren’t your thing, try cream, lavender, and pale yellow for a softer spring look, or go bold with coral, peach, and white for something brighter.
Make it faster: I like to cut all 60 cups first, then shape them all, then paint in batches assembly-line style. It feels much less messy that way, especially on a weeknight.
Petal variety: Don’t make every flower identical. A mix of rounded petals, pointed petals, and slightly deeper cuts gives the finished piece that fuller “store-bought but better” look.
Better coverage: If your cone still looks sparse, the fix is simple: make a few extra mini blossoms from carton scraps and glue them into open spaces. Those little filler flowers make a huge difference.
Display idea: This looks especially pretty on a mantel, kitchen shelf, or entry table where the shape can be seen from more than one side. I love using it when I want seasonal decor that feels cheerful but not fussy.
Glue gun tip: Work in small sections so the glue stays hot enough to grab quickly. I usually hold each flower in place for 5 to 8 seconds before moving on.
Storage: Because the flowers are paper, keep the piece indoors and away from moisture. I store mine in a tall gift bag with tissue around it so the petals don’t get crushed.