
I have a real soft spot for old kitchen pieces that have done their duty and still have a little life left in them. If you’ve got a stack of worn metal bakeware with scratches, discoloration, or that “I should probably get rid of this” look, this is exactly the kind of project that turns it into something charming enough to display proudly instead of hiding in a cabinet.
This one is especially nice for anyone who wants a quick, affordable makeover project without a lot of tools or fuss. It’s simple enough for a relaxed afternoon at the kitchen table, but the finished piece has that tall, gathered, layered look that makes people ask where you bought it.
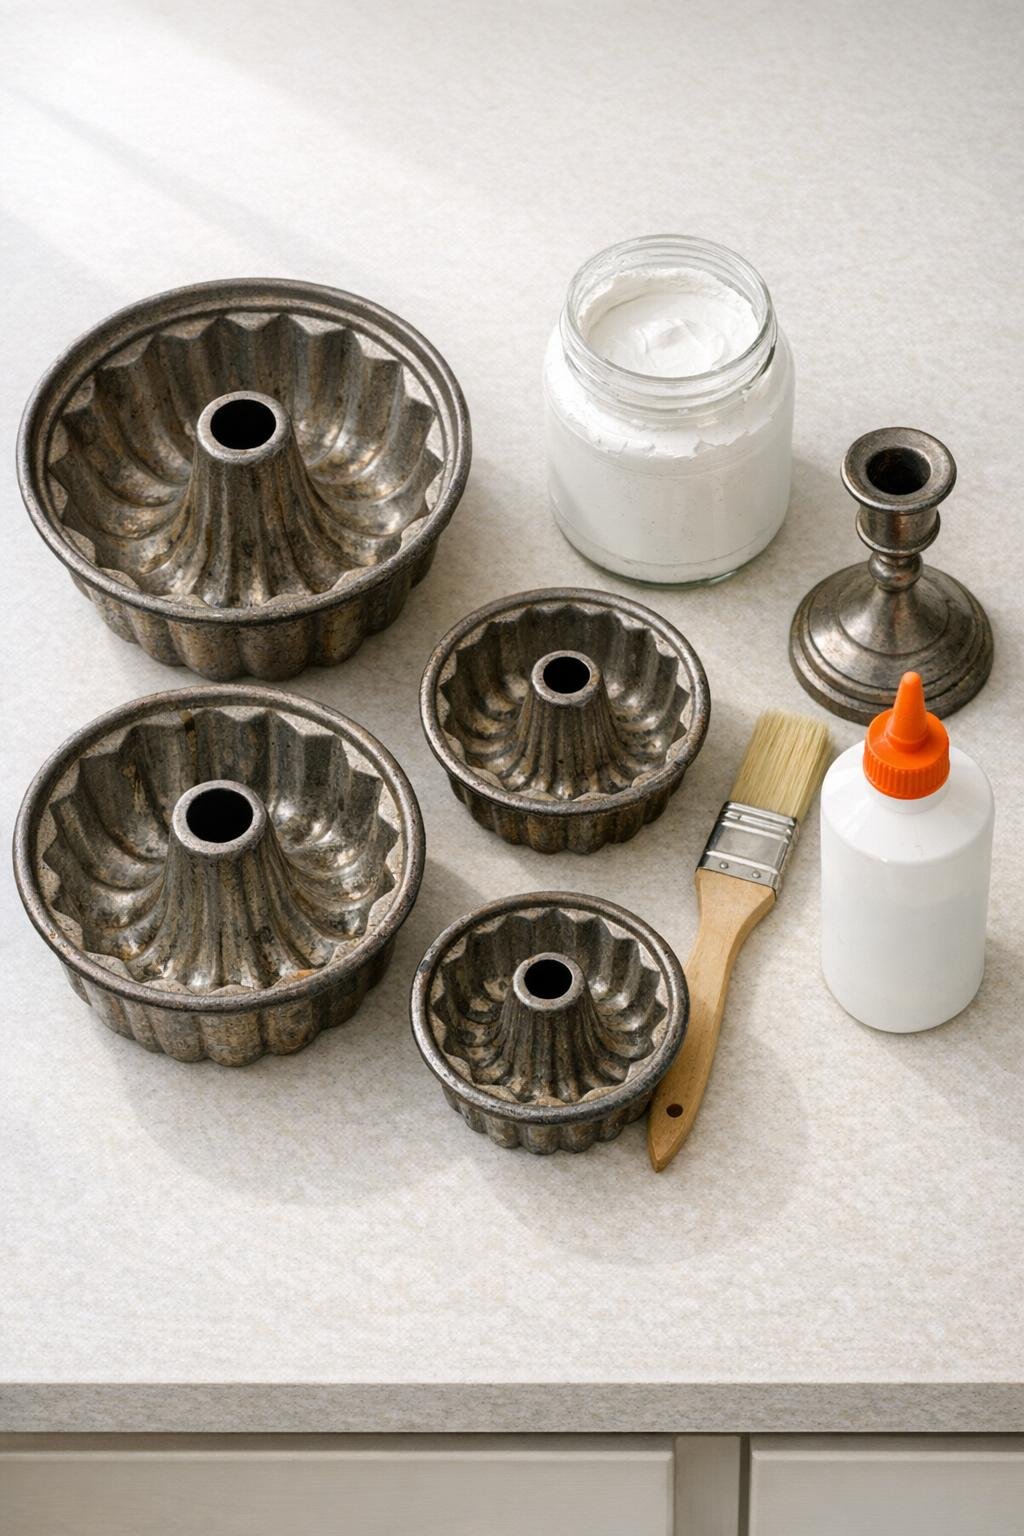
Materials
4 old metal bundt pans in graduated sizes, about 10 inch, 8 inch, 6 inch, and 4 to 5 inch diameter
Instructions
1. Wash all four bundt pans and the candlestick with warm soapy water, then dry them completely so the paint and glue will stick well.
2. Lightly scuff the outside surfaces of the bundt pans and the candlestick with sandpaper, focusing on shiny spots, then wipe away all dust with a damp cloth.
3. Brush on the first coat of white chalk paint over the outside of each bundt pan and over the entire candlestick, using smooth strokes and working paint into the ridges.
4. Let the first coat dry fully, then add a second coat to all pieces for solid coverage and a soft matte finish.
5. If you like a gently timeworn look, lightly sand a few raised edges and ridges after the paint dries so a hint of metal peeks through.
6. Turn the largest bundt pan upside down and glue the candlestick upright in the center hole, pressing it firmly and keeping it straight as the base support.
7. Glue the next largest bundt pan upside down on top of the first, centering it carefully so the stacked shape stays even and balanced.
8. Repeat with the third bundt pan, then the smallest pan on top, lining up each center opening and pressing each layer into place before adding the next.
9. Allow the glued stack to cure according to the glue directions without moving it so the layers set securely.
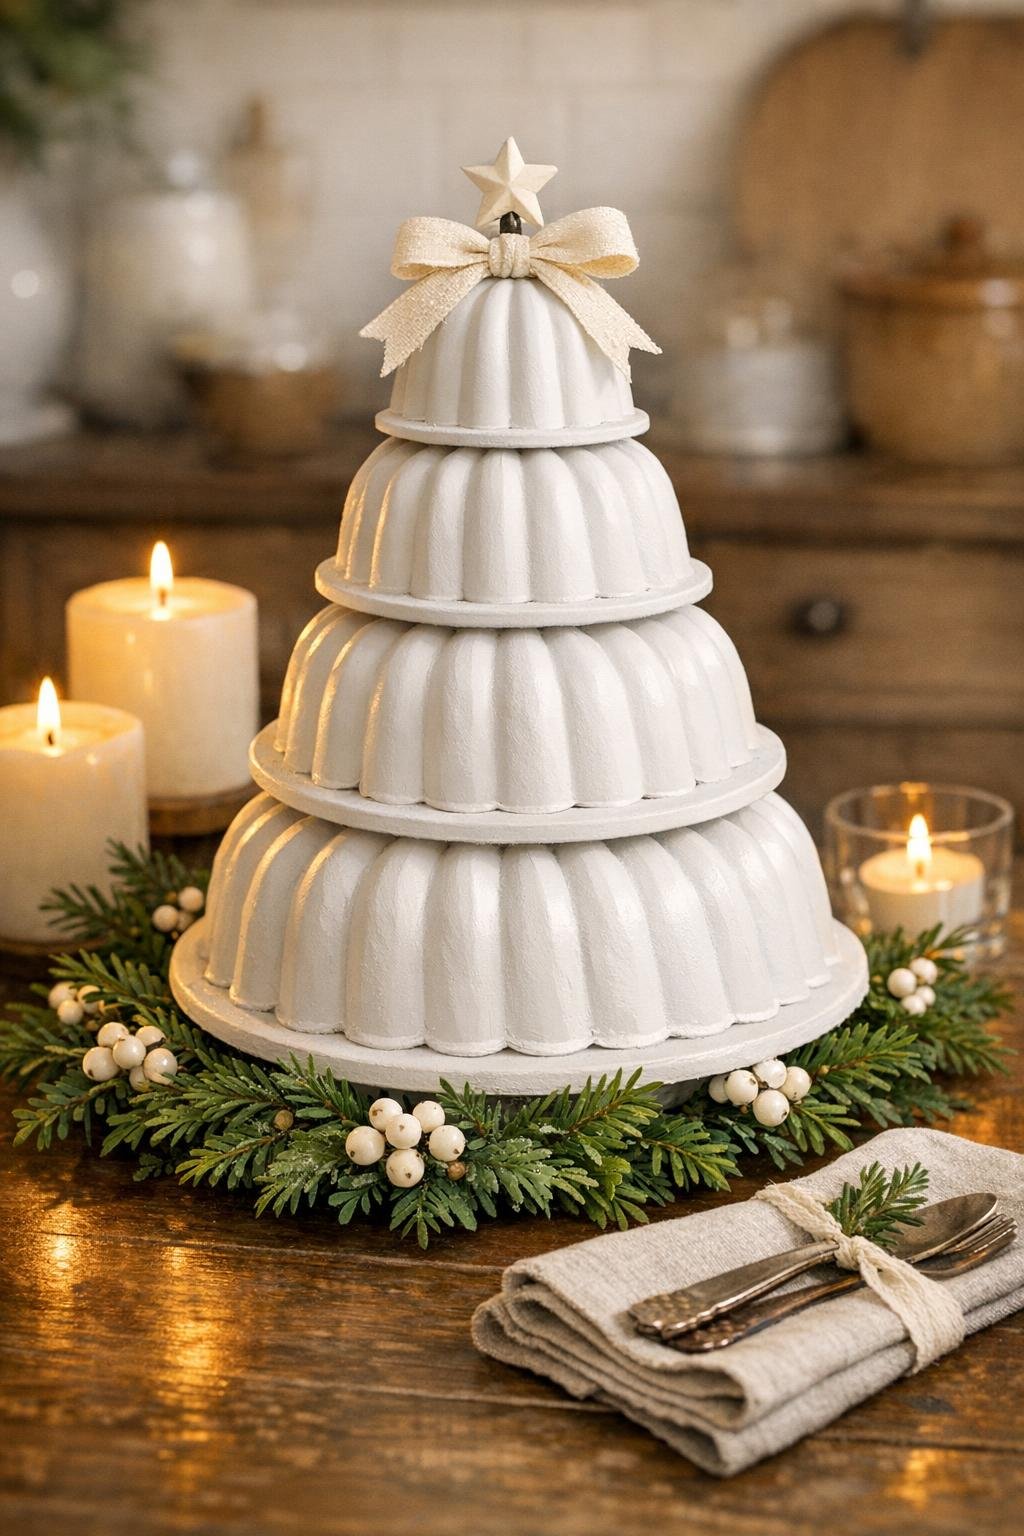
10. Spray or brush on a clear matte sealer if you want extra protection, then tie a small ribbon at the top or around one tier for a simple finished touch.
Variations & Tips
Color choice: White gives this project a classic farmhouse look, but soft sage green, muted gray, or matte black all work beautifully if you want it to lean more modern or seasonal.
For extra stability: If your pans have wider center openings, add a generous ring of glue around each contact point and let each layer set a bit before stacking the next one.
Metal finish tip: Older pans sometimes need a third light coat of chalk paint, especially around the fluted edges where metal likes to show through.
Make it more festive: A tiny bow, a bit of faux greenery tucked around the base, or a few pearl pins glued sparingly into the ridges can dress it up without taking away from the bakeware shape.
For picky decorators: In my house, somebody always likes things “plain” and somebody else wants sparkle, so I’d keep one version simple with just paint and another with a ribbon or light distressing to suit both tastes.
Display idea: This looks best grouped with pieces of different heights, like a candle, a small crock, or a little plate stack, so the whole corner feels intentional and cozy.