
There are some Christmas crafts that never really leave you once you’ve seen them glowing in a dark room, and punched-tin luminaries are one of those for me. My mother’s generation made these from plain pantry cans, and I still think that kind of thrift and beauty belongs right at home on a winter mantel or tucked among the branches of a tree on the porch.
This is a simple old-fashioned project, but the little trick that makes it work is freezing the cans solid with water first so the metal keeps its shape while you punch the design. If you can measure, tape on a pattern, and tap a hammer steadily, you can make a handsome set of six that looks polished and nostalgic instead of childish.
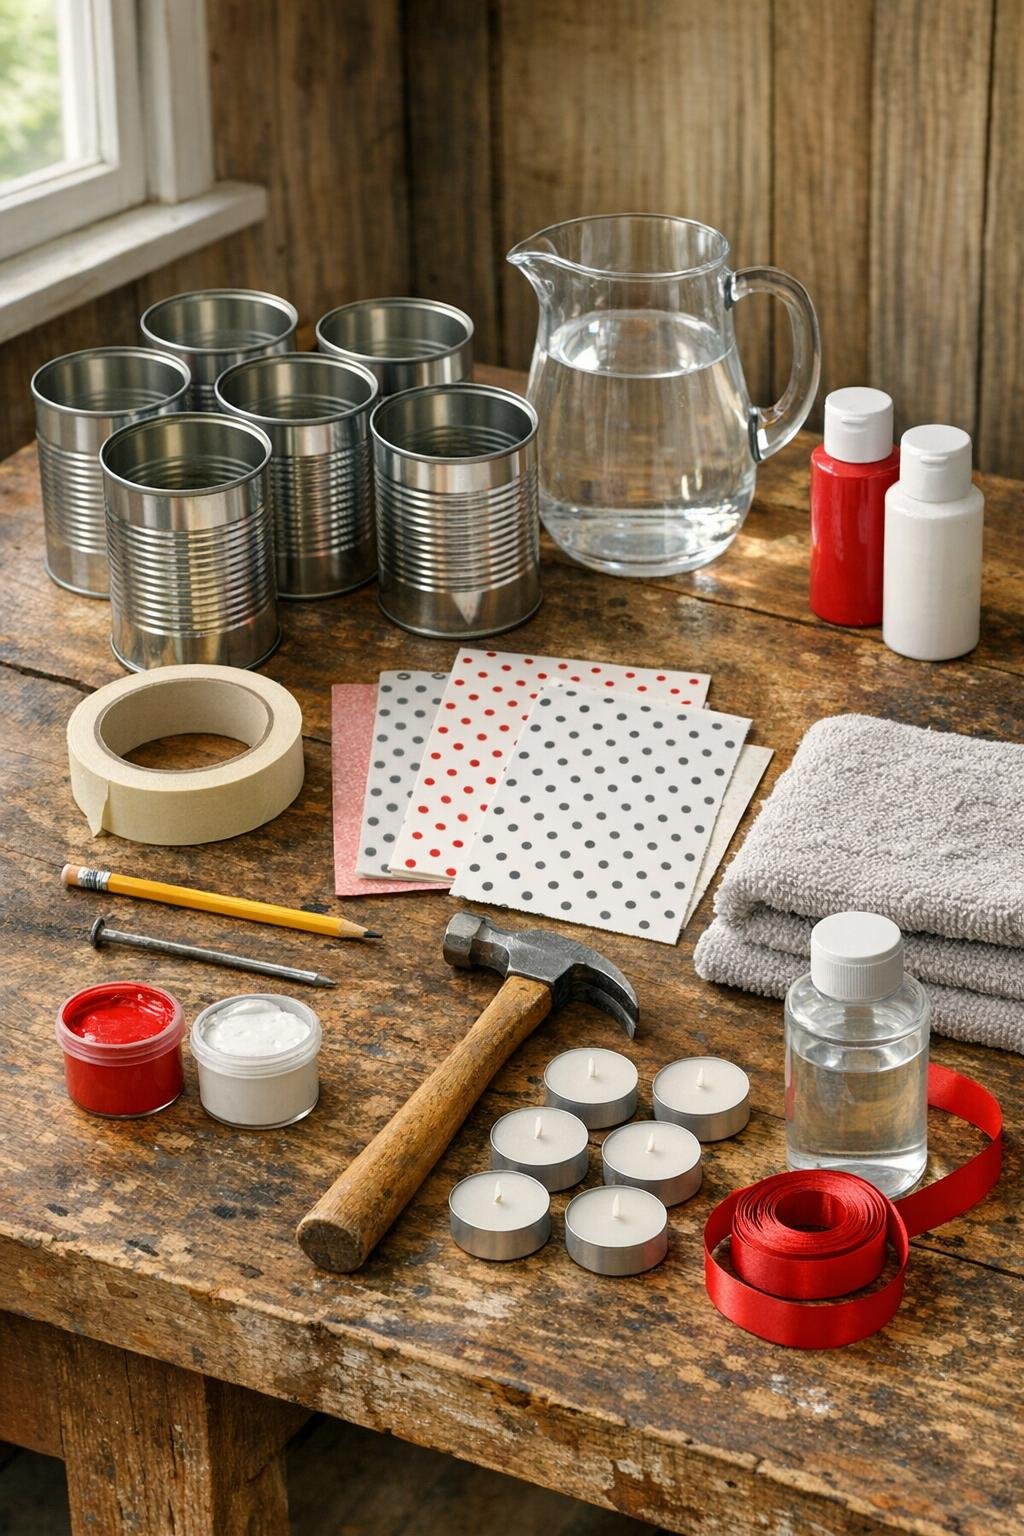
Materials
6 empty soup cans, 10.5-ounce size, washed well with labels and glue removed
Instructions
1. Wash the six soup cans thoroughly, remove every bit of label and glue, and smooth any rough paper residue so the metal is clean and bare.
2. Fill each can nearly to the top with water, leaving about 1/4 inch of headspace, then set them upright in the freezer for a full 48 hours so the ice freezes hard all the way through.
3. Draw or print six simple dotted Christmas patterns on paper, each sized to wrap around a can; stars, small trees, snowflakes, holly, and geometric bands all work well, and plan about 100 dots per can for a nice bright glow.
4. Wrap one paper pattern around a frozen can and tape it snugly in place, lining the dots where you want the holes to go and keeping the top edge even.
5. Set the can on the folded towel on your workbench, hold the nail on one dot, and tap gently with the hammer until the nail pierces the metal; repeat dot by dot, working fast while the ice is still firm.
6. Turn the can as you go instead of reaching awkwardly, and keep the nail straight so the holes stay neat and evenly sized across the whole design.
7. If the ice begins to soften before you finish, put the can back in the freezer for 30 to 60 minutes, then continue punching until all 100 holes are complete.
8. Remove the paper pattern and let the can thaw just enough to shake out the ice cylinder, then rinse and dry the can completely inside and out.
9. Lightly sand any sharp burrs around the holes, especially on the outside surface and top rim, so the luminary feels clean and finished in your hand.
10. Repeat the taping, punching, thawing, and sanding process with the remaining five cans until you have a full set of six matched luminaries.
11. Paint the outside of each can with two thin coats of white acrylic paint, letting the first coat dry before adding the second so the punched pattern stays crisp and the finish looks even.
12. Add a few simple red accents with the detail brush, such as a narrow band near the top rim, tiny berries near holly designs, or small stars between punched motifs.
13. Spray the painted cans with a light coat of clear matte sealer and let them dry fully; this keeps the finish from scuffing and gives the set that polished, old-porch look.
14. Tie a 12-inch piece of red ribbon around the upper third of each can in a small neat bow, keeping the trim modest so it flatters the tinwork instead of covering it.
15. Set one battery tea light inside each luminary and group them on a mantel, windowsill, porch step, or sheltered tabletop where the light can shine through all those tiny punched holes.

Variations & Tips
Classic porch set: If you want the true 1950s look, keep the cans mostly white with just a red rim and ribbon, then line all six up on porch steps or a windowsill where the little points of light can really show off after dusk.
Pattern planning: Bigger open shapes are easier to read from across the room, so I like mixing one bold motif on each can with smaller dotted borders rather than crowding every inch.
Freezer lesson: Don’t skimp on the freezing time. In my experience, two full days gives you a solid block of ice that supports the can wall properly and makes the punching much easier.
Work in pairs: Take out only one or two cans from the freezer at a time. The rest stay hard and ready, and you won’t feel rushed trying to punch all six before the ice softens.
For a tree display: Use smaller 5- to 8-ounce cans and shorter patterns if you want to hang them on a sturdy outdoor tree with shepherd’s hooks or heavy branches, but always use flameless lights for that arrangement.
Neater holes: Gentle, controlled taps look better than hard pounding. The old-timers knew this, and they were right: a steady hand makes a prettier lantern than brute force ever will.
Gift-worthy finish: If you’re giving these away, tuck a battery tea light into each can, fluff a bit of tissue inside, and tie the ribbon into a crisp bow. It turns a humble soup can into something that feels thoughtful and special.