
There’s something so satisfying about turning a humble thrift-store find into a piece that looks right at home in a cozy entryway or on a fall table. For this project, I use old cotton bed sheets cut into long strips and braided into a thick coiled basket with a warm, handmade look. It’s soft, sturdy, and wonderfully forgiving, which makes it perfect if you want a statement project without needing fancy tools.
I love this kind of DIY because it feels practical and pretty at the same time. If you’ve got a little patience for braiding and stitching, you can make a generous basket that looks boutique-bought, especially when you finish it with rich autumn tones and a simple handle detail. I think this is a lovely weekend project for anyone who likes upcycling, cozy home décor, or making a house feel extra welcoming for the season.
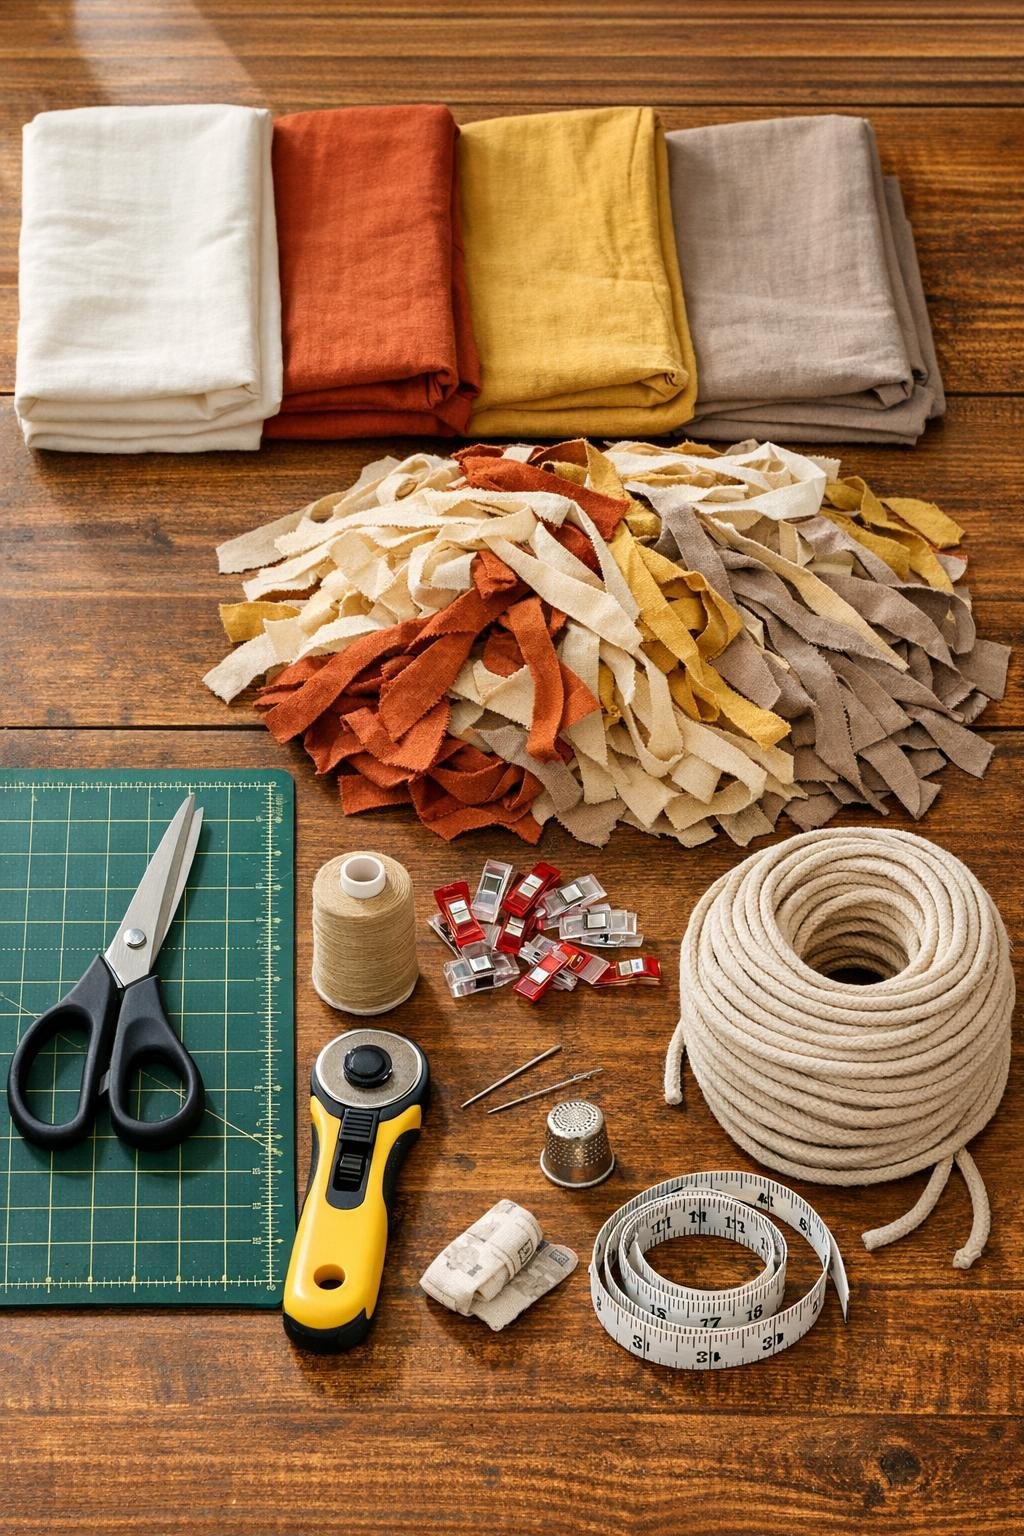
Materials
4 thrifted cotton bed sheets, twin or full size, washed and dried
Instructions
1. Wash, dry, and smooth all four cotton sheets, then sort the colors so you can alternate them in a warm fall mix instead of letting one shade dominate the whole basket.
2. Cut the sheets into continuous strips 1 1/2 inches wide, aiming for about 160 to 200 total yards of fabric strip so the finished basket looks full and substantial.
3. Knot or stitch three strips together at one end, then braid them snugly, adding new strips by overlapping each end 2 inches and folding the raw edges inward as you continue.
4. Make one very long braid about 85 to 100 feet long, switching colors every few additions so the basket gets a softly striped, harvest-inspired look all the way through.
5. If you want an extra-plush, more structured basket, wrap the finished braid around the cotton clothesline rope as you sew, letting the rope sit inside the braid coil to build body without making the project difficult.
6. Start the basket base by tightly coiling the braid into a flat spiral about 4 inches across, and zigzag stitch across the touching edges to hold the coil together.
7. Keep coiling and stitching until the flat base measures 13 to 15 inches wide, checking every few rounds that it stays level and gently easing the braid into shape with your hands.
8. To form the sides, stop laying the braid flat and begin stacking each new round slightly above the last one, stitching the edge of the new coil to the edge below it as the wall rises.
9. Build the sides to 8 to 10 inches tall, keeping the shape gently rounded so the basket looks generous and polished rather than straight and stiff.
10. For a pair of handles, mark two spots directly across from each other and leave 4-inch openings as you stitch that round, then continue sewing above the openings to lock their shape in place.
11. Wrap each handle opening with twill tape or matching sheet strips and stitch around them several times for comfort, strength, and a more finished look.
12. Finish the last 8 inches of braid by tucking in the raw ends, trimming away excess bulk, and stitching the tail down neatly so it blends into the final coil.
13. Shape the basket with your hands, then lightly spray it with fabric stiffener if you want crisper sides, and let it dry completely before adding any décor.
14. Mist the outside with a matte fabric-safe protector spray, then fill the basket with rolled throws, mini pumpkins, pinecones, or folded napkins so it settles into its final rounded shape beautifully.
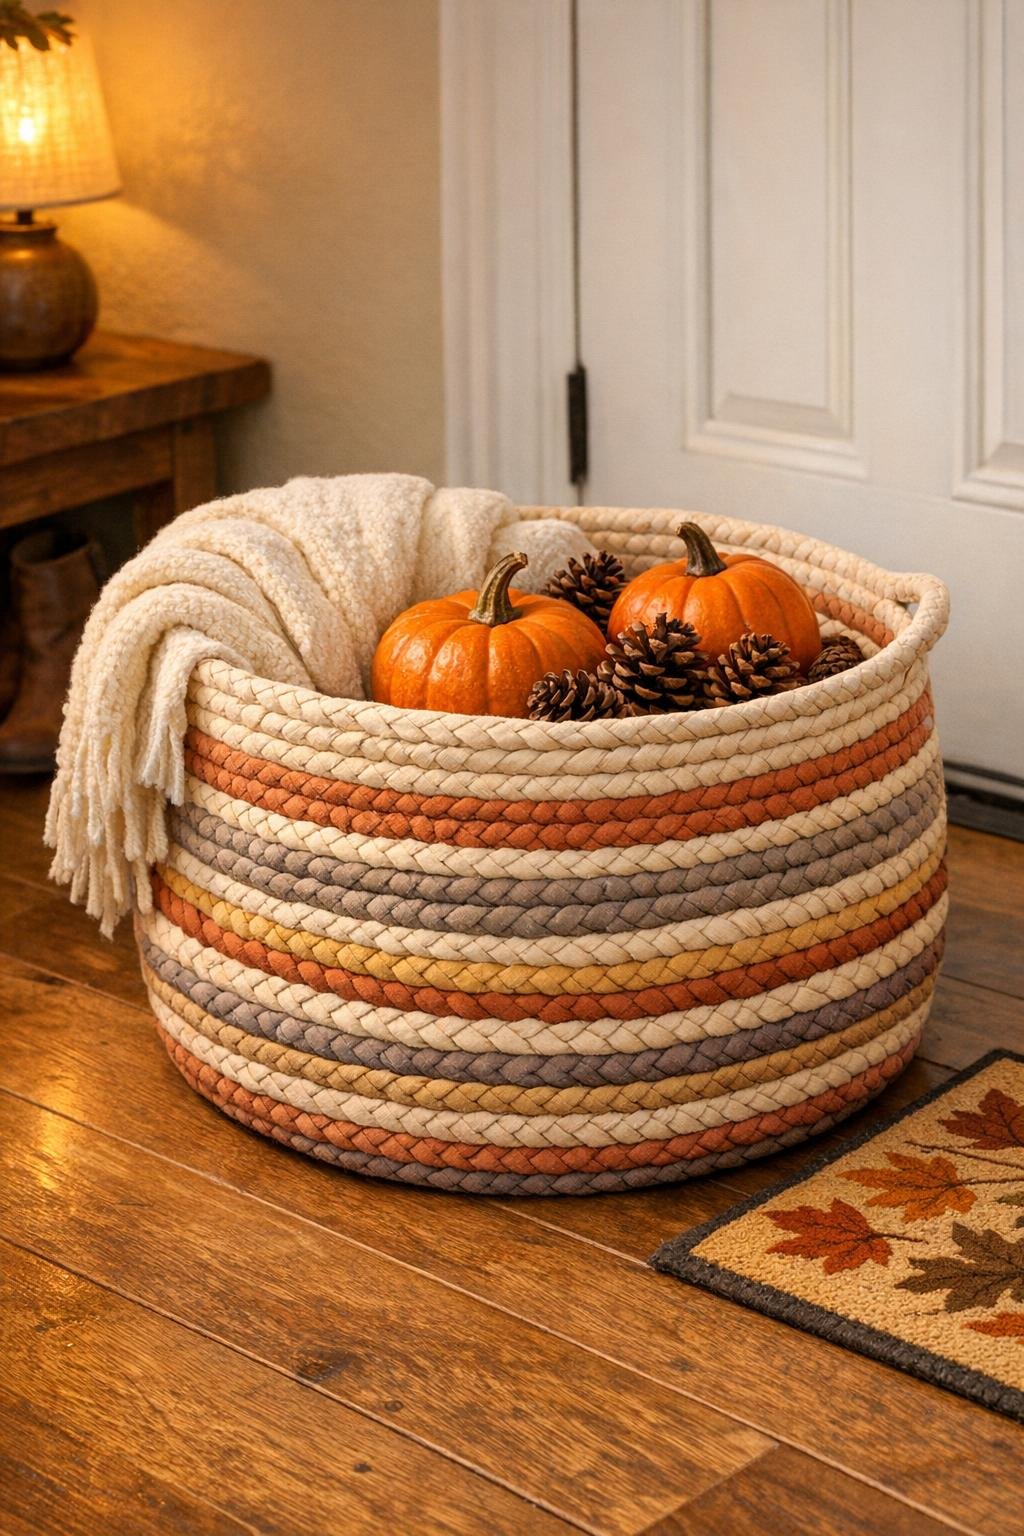
Variations & Tips
For picky color preferences: If your family likes softer fall décor, use more cream and taupe with just small touches of rust and gold. If you want a bolder porch-basket look, lean into deeper orange, mustard, and brown sheets.
No sewing machine option: You can hand-stitch the coils together with heavy thread and a large needle. It takes longer, but it’s very doable if you use tight whipstitches every 1/4 inch.
Best sheet choice: All-cotton sheets work best because they grip nicely in the braid and give the basket a soft but sturdy body. I skip slippery microfiber here because it tends to twist and sag.
Make it extra sturdy: Adding the cotton cord core makes a big difference if you want the basket to hold blankets or be used by the front door. It keeps the walls nicely puffed and helps the shape hold over time.
Easy size change: Stop after a 10- to 11-inch base for a tabletop basket, or keep braiding and expand to a 16-inch base for a roomy floor basket. I like the larger size best because it really shows off the color pattern.
Prettier finish: Topstitch one or two rounds near the rim in a contrasting thread color for a subtle decorative detail. It’s a small touch, but it makes the basket look much more custom.
Seasonal swaps: After fall, fill the basket with rolled winter blankets, holiday greenery, or extra hand towels. That’s one reason I love making neutral handmade storage pieces—they stay useful long after the pumpkins are put away.