
There are some projects that feel almost too simple when you start them, and this is one of those. You’re basically making a pile of clear glue circles in a few different sizes, but once they’re stacked together and catch the light, the whole thing turns into something way more special than the sum of its parts. I love a craft like that, especially when I can pull it together with inexpensive supplies after work and still end up with something that looks polished on a shelf or holiday table.
This one is great if you want a low-stress project with a big visual payoff. If you’ve got a glue gun, a little patience, and room to let pieces cool, you can make a sparkling decorative piece that looks icy and elegant without needing fancy tools or advanced crafting skills.
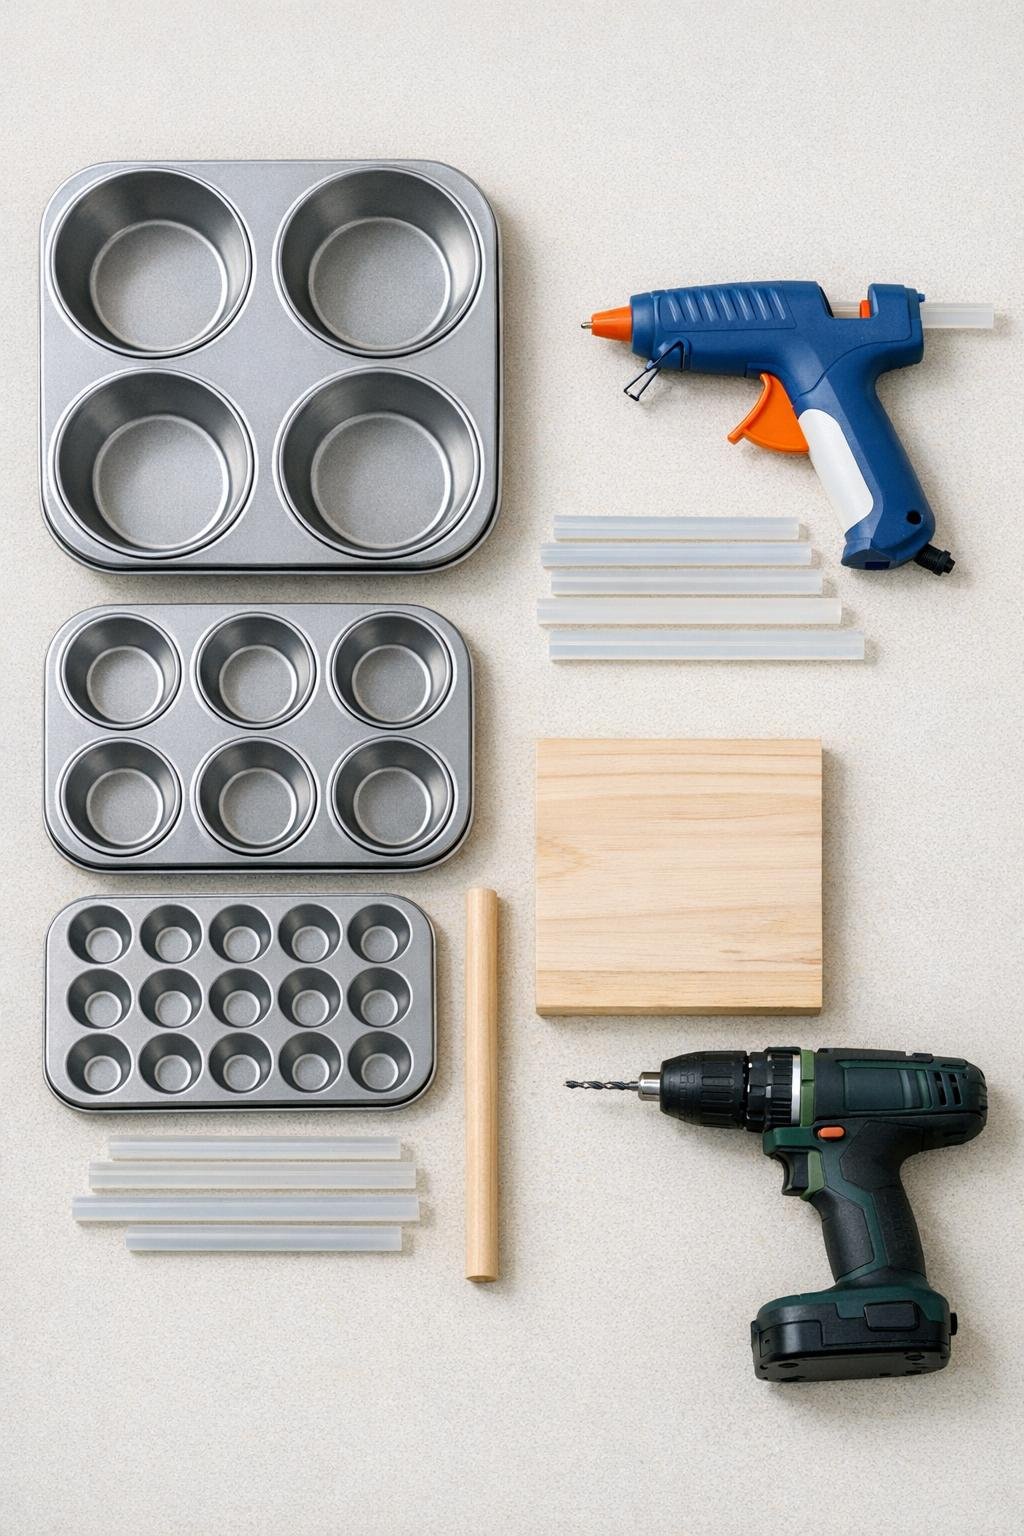
Materials
Instructions
1. Set the three muffin tins on a protected work surface and plug in your glue gun. Let it heat fully so the glue flows smoothly and settles into clear, even discs.
2. Fill each well of the jumbo, regular, and mini muffin tins with hot glue, keeping the glue layer about 1/8 to 3/16 inch thick. Make enough discs to create a full tree shape: 5 jumbo, 7 regular, and 9 mini discs is a nice balanced stack.
3. Let the glue cool completely in the tins until the discs turn firm and release cleanly, about 15 to 20 minutes. Don’t rush this part or the discs can warp when you remove them.
4. Pop the cooled glue discs out of the tins by gently flexing the metal pan and lifting around the edges. Trim away any stringy bits with scissors so each disc has a clean outline.
5. Mark the center of the wood base and drill one hole deep enough to hold the dowel securely, about 3/4 inch deep. Test-fit the dowel, then glue it into the hole if needed so it stands straight.
6. If you want extra sparkle, lightly brush or smear a very thin coat of clear glitter glue onto some or all of the discs and let them dry. I like to keep it subtle so the finished piece still looks icy instead of overly glittery.
7. Use the drill bit, a heated awl, or the tip of a hot tool to make a centered hole in each glue disc just wide enough to slide onto the dowel. Work slowly so the discs stay round and don’t crack or stretch out of shape.
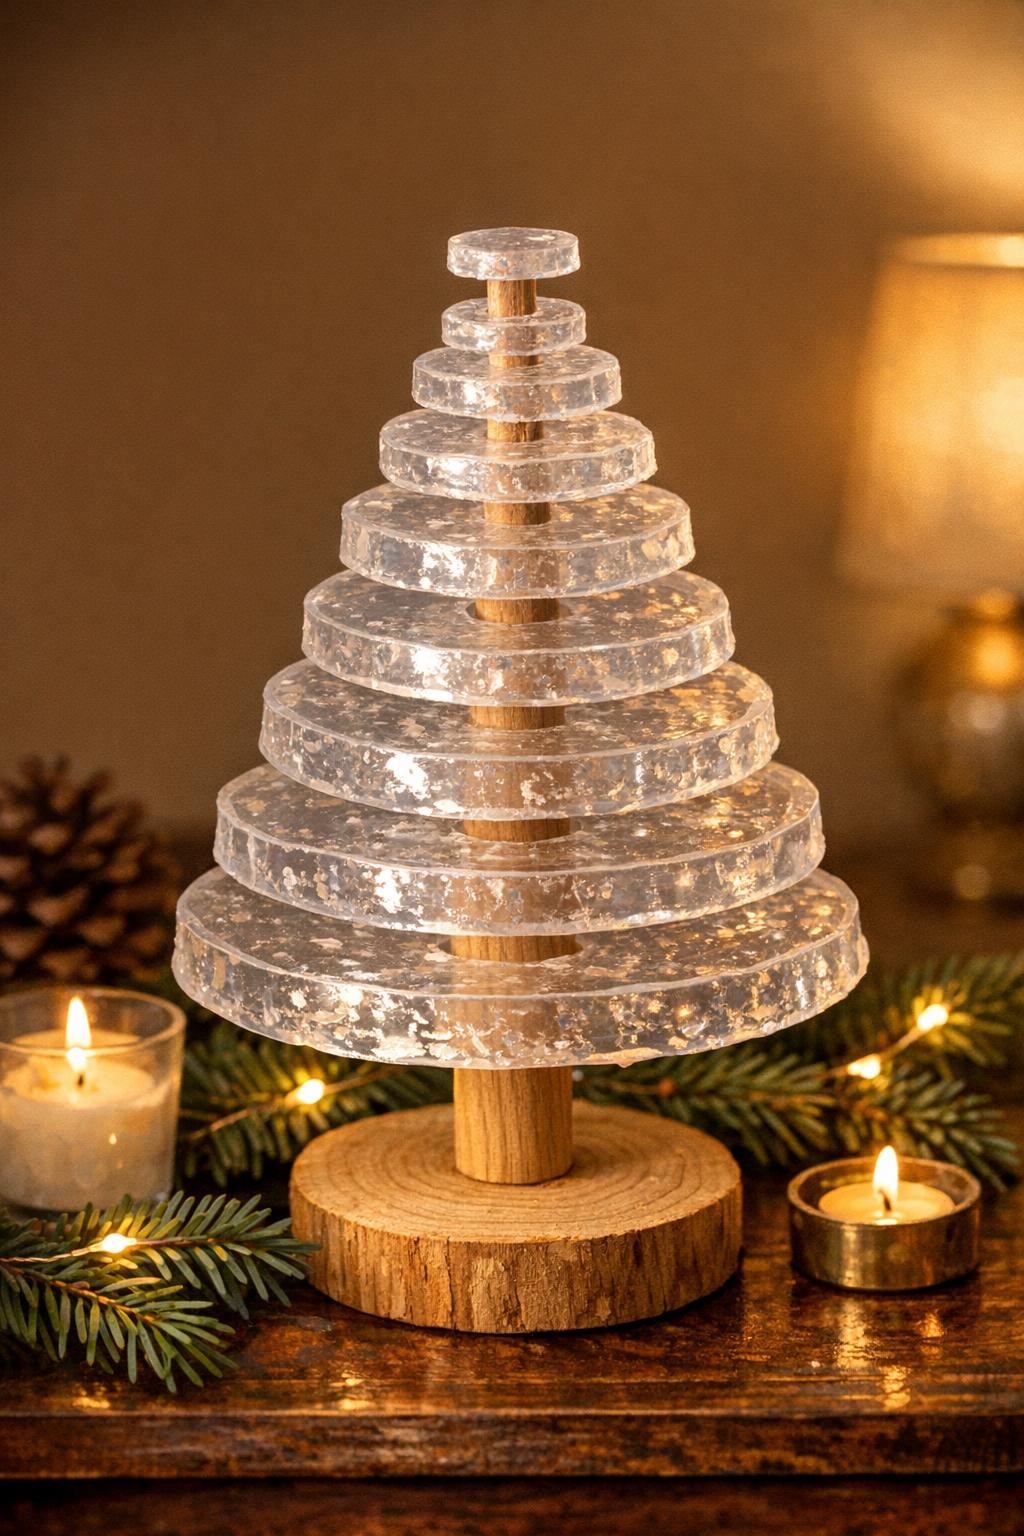
8. Start stacking the largest discs onto the dowel first, rotating each one slightly so the edges don’t line up perfectly. This staggered placement gives the piece a fuller, faceted look.
9. Continue with the regular discs, then finish with the mini discs, decreasing in size as you go to build a tapered tree shape. Press the discs down gently as you stack so the layers sit close together and look lush rather than sparse.
10. Add a tiny dot of hot glue between every few layers if you want the stack locked in place permanently. Keep the glue dots small and tucked near the center so they don’t show from the outside.
11. Trim the dowel at the top if it extends too far above the smallest disc, leaving just enough room for a neat top finish. Add one mini disc at the very top, or a small bead of clear glue, to soften the tip and make it look finished.
12. Wrap ribbon around the wood base or leave it plain for a cleaner look, then peel away any remaining glue strings. Set the piece where it can catch window light, lamp light, or holiday twinkle lights for the best effect.
Variations & Tips
For more sparkle: Dust a little iridescent glitter onto the glue right after filling the muffin tins, or brush shimmer only along the outer edges of the cooled discs. That catches the light beautifully without hiding the clear look.
If your discs cloud up: That usually happens when the glue cools unevenly or gets a lot of trapped bubbles. Using a fully heated glue gun and filling each well steadily instead of stopping and starting helps a lot.
To make it fuller: Add extra discs in each size group rather than spacing layers apart. I always think these look best when the layers are dense and overlapping, because that’s what gives the finished piece that magical crystal effect.
Base upgrade: Paint the wood base white, silver, champagne, or soft gold before assembly if you want it to feel more finished. This is a nice option if you’re styling it with holiday decor or giving it as a handmade gift.
Display tip: This piece really comes alive near a lamp, a window, or a strand of twinkle lights. I’ve learned the hard way that if I tuck something clear into a dark corner, all the pretty detail disappears.
Make a trio: Create the same design in three heights by cutting dowels to 8, 10, and 12 inches and varying the number of discs. Grouped together, they make a centerpiece that looks much more expensive than the supply list suggests.