
I love a craft that looks far fancier than the supply list suggests, and this one absolutely delivers. With a little wire, a jar of saved bread bag clips, and a coat of white spray paint, you can make a bright, vintage-style snowflake ornament that honestly looks like something tucked into a box of family Christmas decorations from decades ago.
This is one of those wonderfully practical kitchen-drawer crafts my mom’s generation seemed to know by heart, and I have such a soft spot for it. If you like easy holiday projects, thrifted-style décor, or ornaments that feel handmade without looking childish, this one is for you.
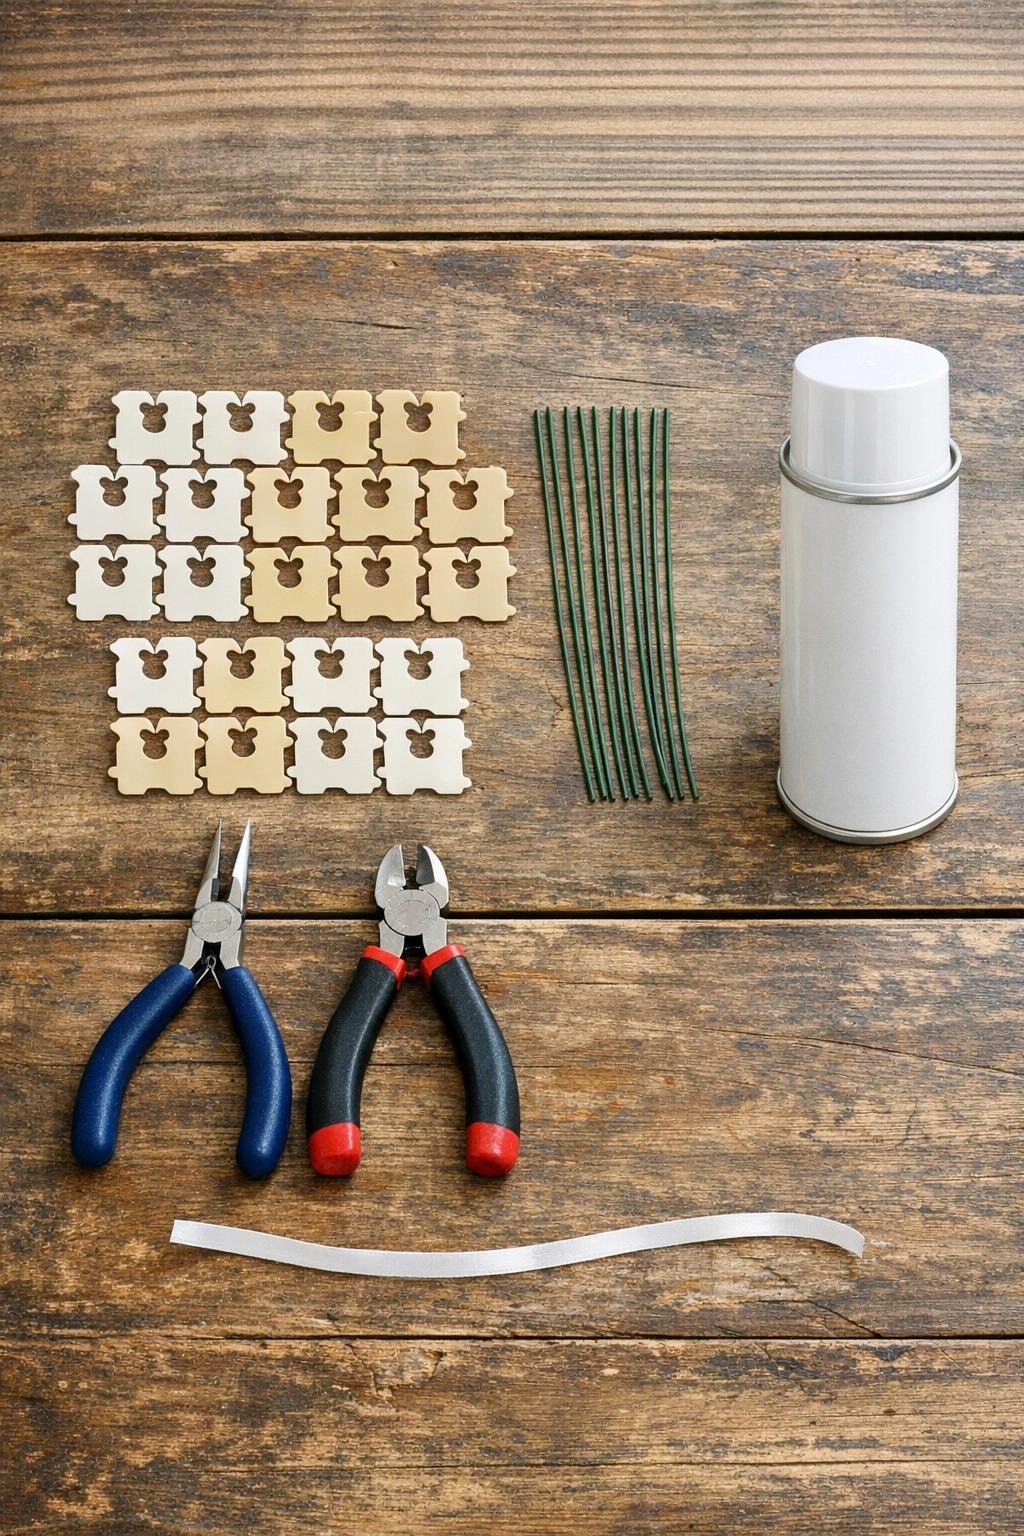
Materials
30 plastic bread bag clips, standard size, all clean and dry
Instructions
1. Wipe the bread clips clean and make sure they are completely dry, then sort out 30 clips that are close in size and shape so the finished ornament looks balanced.
2. Cut six pieces of florist wire to 10 inches each if they are not already cut, and straighten them as much as you can with your fingers.
3. Thread five bread clips onto the first wire arm by sliding the wire through each clip’s slot, keeping all five clips facing the same direction.
4. Push the five clips toward the center of the wire, leaving about 2 inches of bare wire at one end and enough wire at the other end to twist securely.
5. Repeat the same threading pattern on the remaining five wires, using five clips per wire and keeping every set aligned the same way so the snowflake looks even.
6. Gather all six wired arms together at their bare centers and line them up like spokes, then twist the center wires tightly together with your fingers first and finish with pliers until the middle feels firm.
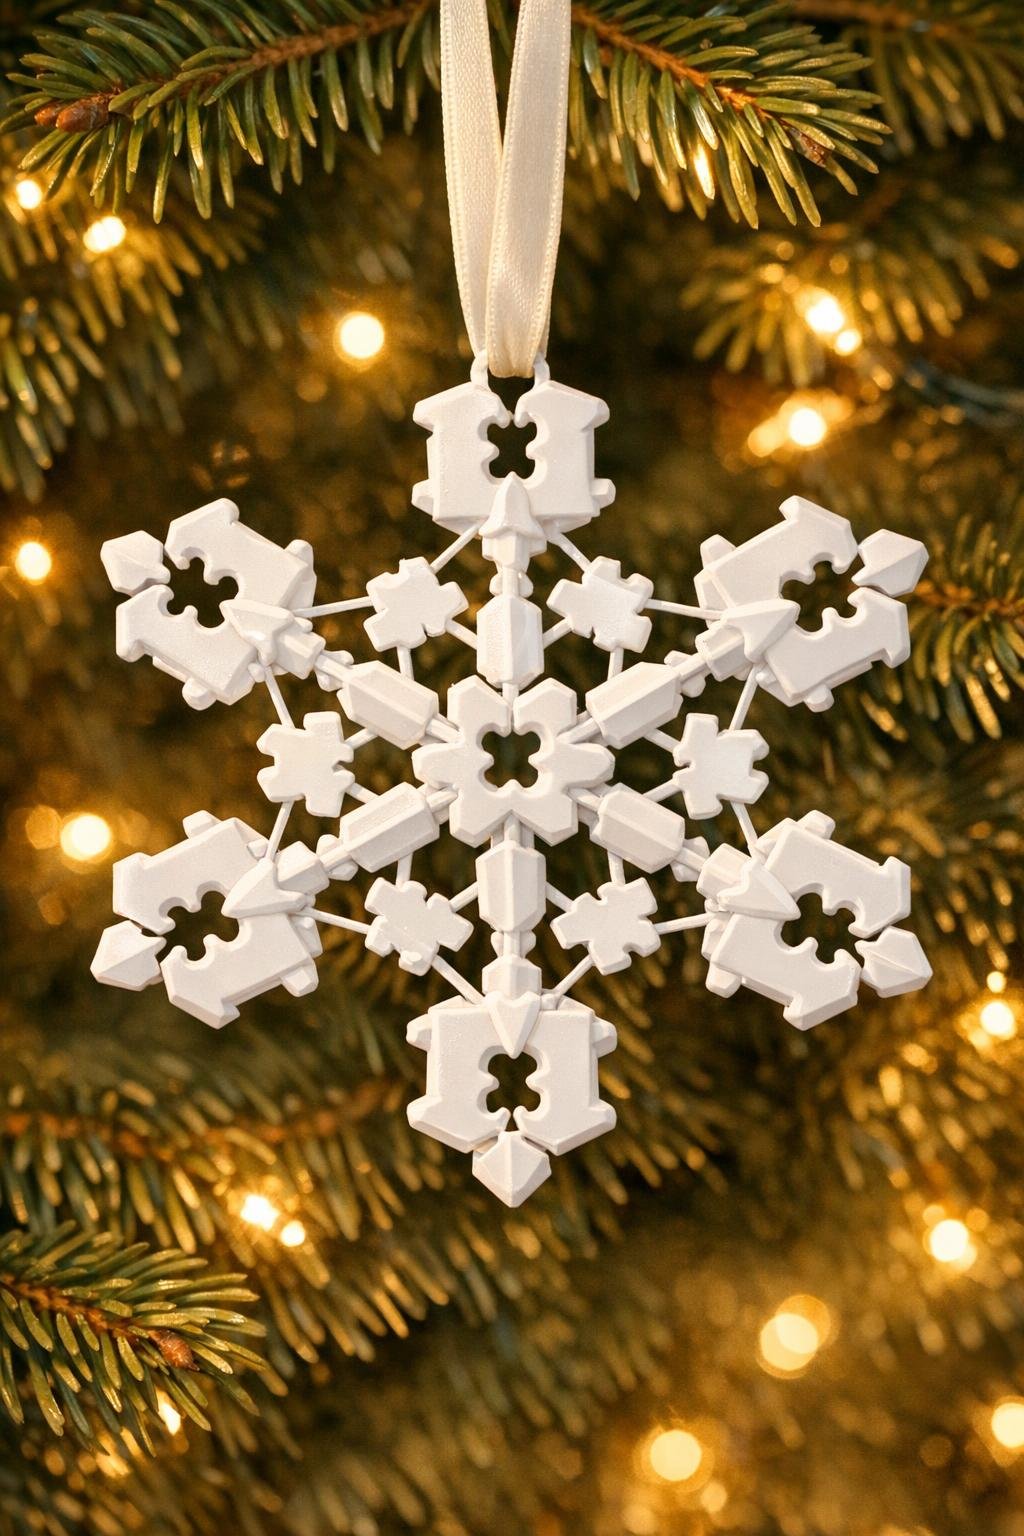
7. Spread the six arms evenly into a snowflake shape and adjust the clips so they fan outward neatly, with the slotted edges all reading like matching crystal points.
8. Twist the loose wire end of each arm back onto itself to keep the clips from sliding off, trimming any sharp excess with wire cutters and tucking the cut ends inward with pliers.
9. If you want a separate hanger, twist the extra 8-inch wire around the top center of the snowflake to form a small loop; otherwise leave space to tie ribbon through the center twist.
10. Take the piece outdoors or into a well-ventilated spray area and apply a light coat of white spray paint over the entire snowflake, then let it dry and turn it to spray the back and sides.
11. Add a second light coat of white paint if needed for solid coverage, making sure the bread clips and center twist all match in finish.
12. If you want a slightly more polished ornament, mist on a very light clear sealer once the paint is fully dry, then let everything cure completely.
13. Tie the satin ribbon through the hanging loop or around the center twist, trim the ends neatly, and give each arm one last adjustment so the snowflake hangs straight.
Variations & Tips
For a true vintage look: Matte or satin white spray paint gives the clips that old-fashioned frosted-glass feeling. I would skip glossy paint for this one unless you want a more modern finish.
Keep the arms even: The easiest way to make the ornament look polished is to use exactly five clips on each of the six arms and keep every slot facing the same direction as you thread.
Make it sturdier: If your florist wire feels very soft, double each arm with two wires cut to the same length before threading the clips. It adds structure without changing the look.
Use it beyond the tree: These also look beautiful tucked into a mantel garland, tied onto a wreath, or hung in a window where the white finish can catch the winter light.
Save time for a batch: I like to sort clips into groups of five before I start threading. It feels a little like meal prep for crafting, and it makes assembly go much faster on a busy evening.
Safety tip: After trimming wire, always pinch or turn sharp ends inward with pliers so the ornament is safe to handle and won’t catch on ribbon, greenery, or storage tissue.