
I love a garden fix that looks clever, costs almost nothing, and solves a real end-of-season mess. This potato tower drainage system does exactly that: you turn ordinary black plastic nursery pots with the bottoms cut out into a sturdy vertical drain-and-aeration column that helps excess water escape from a potato tower while keeping the center open enough for airflow and easy watering.
If you already grow potatoes in a barrel, fabric bag, or stacked tower, this is the kind of add-on that makes the whole setup feel more polished and intentional. I built this version with just three main items—plastic nursery pots plus two easy dollar store finds—because I wanted something any gardener could make in one afternoon without power tools or fussy measurements.
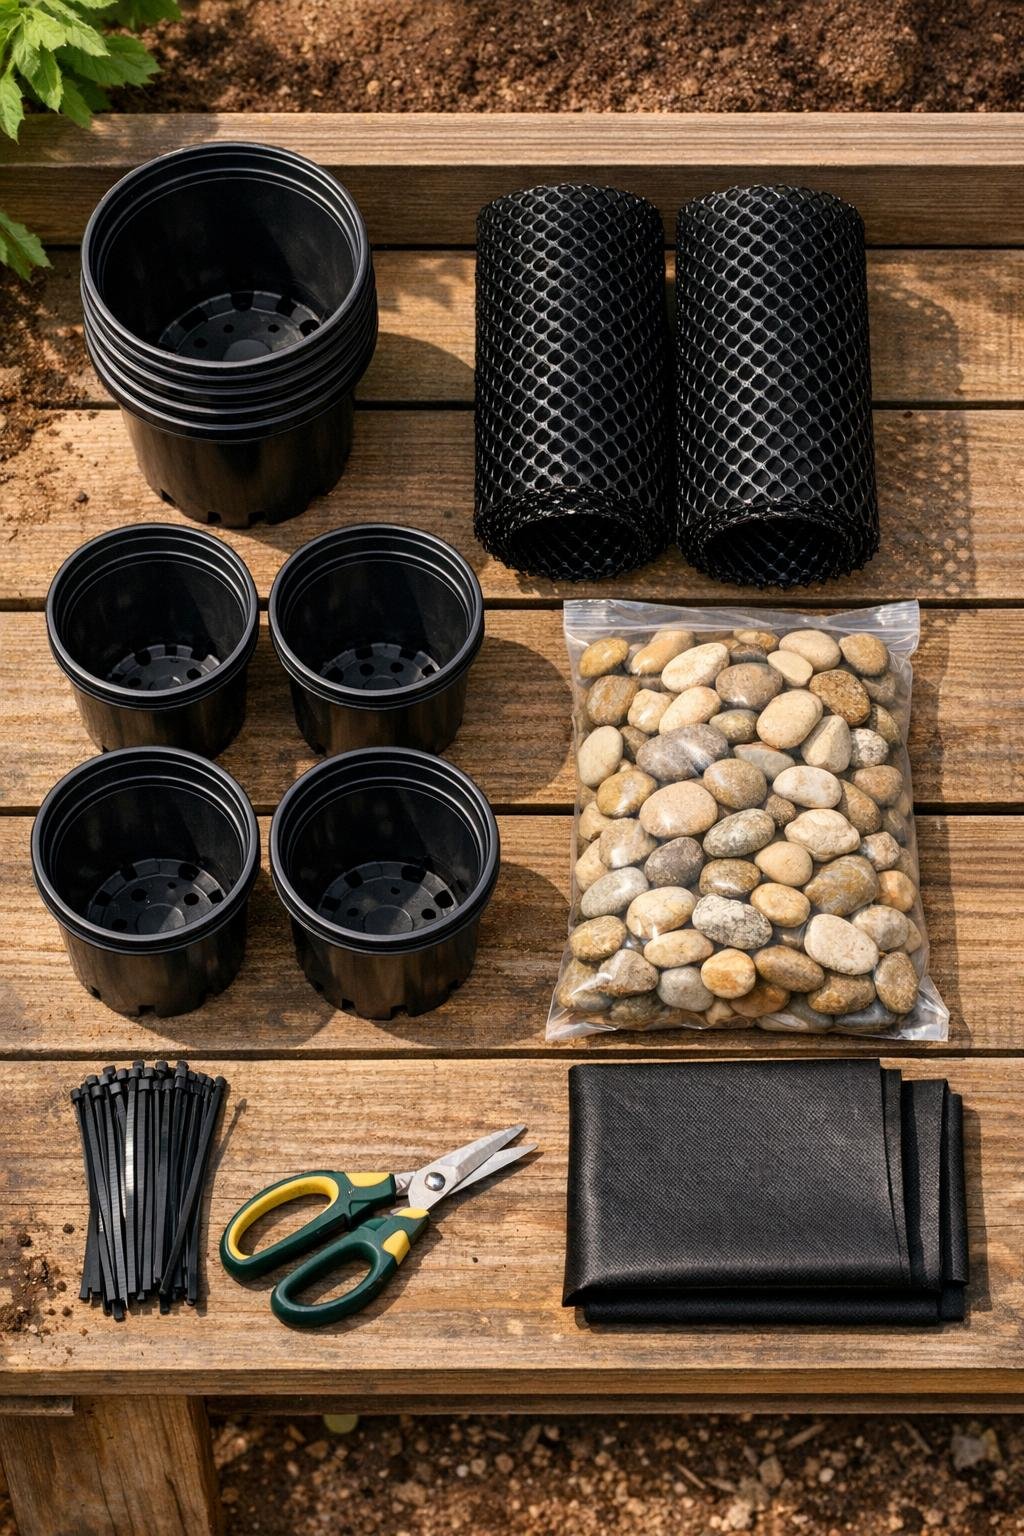
Materials
Instructions
1. Wash the nursery pots if they are dusty, then use sturdy scissors to cut the entire bottom out of each pot, leaving the side walls and rim intact.
2. Trim any jagged plastic edges with the scissors, then wrap a short strip of electrical tape over any sharp spots so the finished column is easier to handle.
3. Stack the bottomless pots rim-to-rim to make a long open column, overlapping each connection by about 1 inch so the tower stays straight and strong.
4. Punch or snip two small holes through each overlapped joint and secure the pots together with zip ties, pulling them snug so the column does not wobble.
5. Cut a length of plastic gutter guard mesh long enough to wrap around the full height of the stacked pots, then roll it around the outside to create a perforated sleeve.
6. Fasten the mesh sleeve to the pot column with zip ties every 6 to 8 inches, keeping the mesh smooth but not stretched too tightly.
7. Cut the landscape fabric into a strip wide enough to line just the inside lower 8 inches of the column, then tuck it in place to keep soil from rushing into the bottom while still letting water move through.
8. Set the finished column upright in the center of your potato tower or container, and add 2 to 3 inches of river rocks inside the bottom of the column to anchor it.
9. Backfill soil around the outside of the column, pressing gently every few inches so it stands upright while staying open through the middle.
10. Add potatoes and more soil to your tower as usual, keeping the top opening of the column exposed so you can water directly into it and let moisture drain downward instead of pooling.
Variations & Tips
For taller towers: If your potato tower is over 24 inches tall, use 10 to 12 nursery pots instead of 8 so the drainage column reaches nearly to the top.
For better drainage: Pea gravel works nicely, but river rocks are a little less likely to compact at the base, which helps the water move faster after heavy rain.
For loose potting mix: Add a second narrow strip of landscape fabric inside the lower section if your soil mix is especially fine and keeps slipping into the center.
For easier watering: I like to leave the top pot rim sticking up about 1 inch above the soil line; it acts like a funnel and makes it much easier to direct water where you want it.
For a tidier finish: Snip all zip tie tails flush after tightening them so the column looks cleaner and does not catch on gloves or sleeves.
Season-end tip: When harvest time comes, pull the center column out first and shake the soil loose; that little bit of extra access makes checking potato size and moisture much simpler.