
I’ve lived long enough to know that an old cotton bed sheet is almost never truly “junk.” In my kitchen, where cast-iron pans get passed from stove to table and every season seems to call for one more handmade touch, soft worn cotton still has plenty of good years left in it. This autumn knotted trivet set is one of those practical little projects that feels thrifty and pretty all at once, and it’s especially satisfying because you turn something tucked in the rag pile into something you’ll actually use.
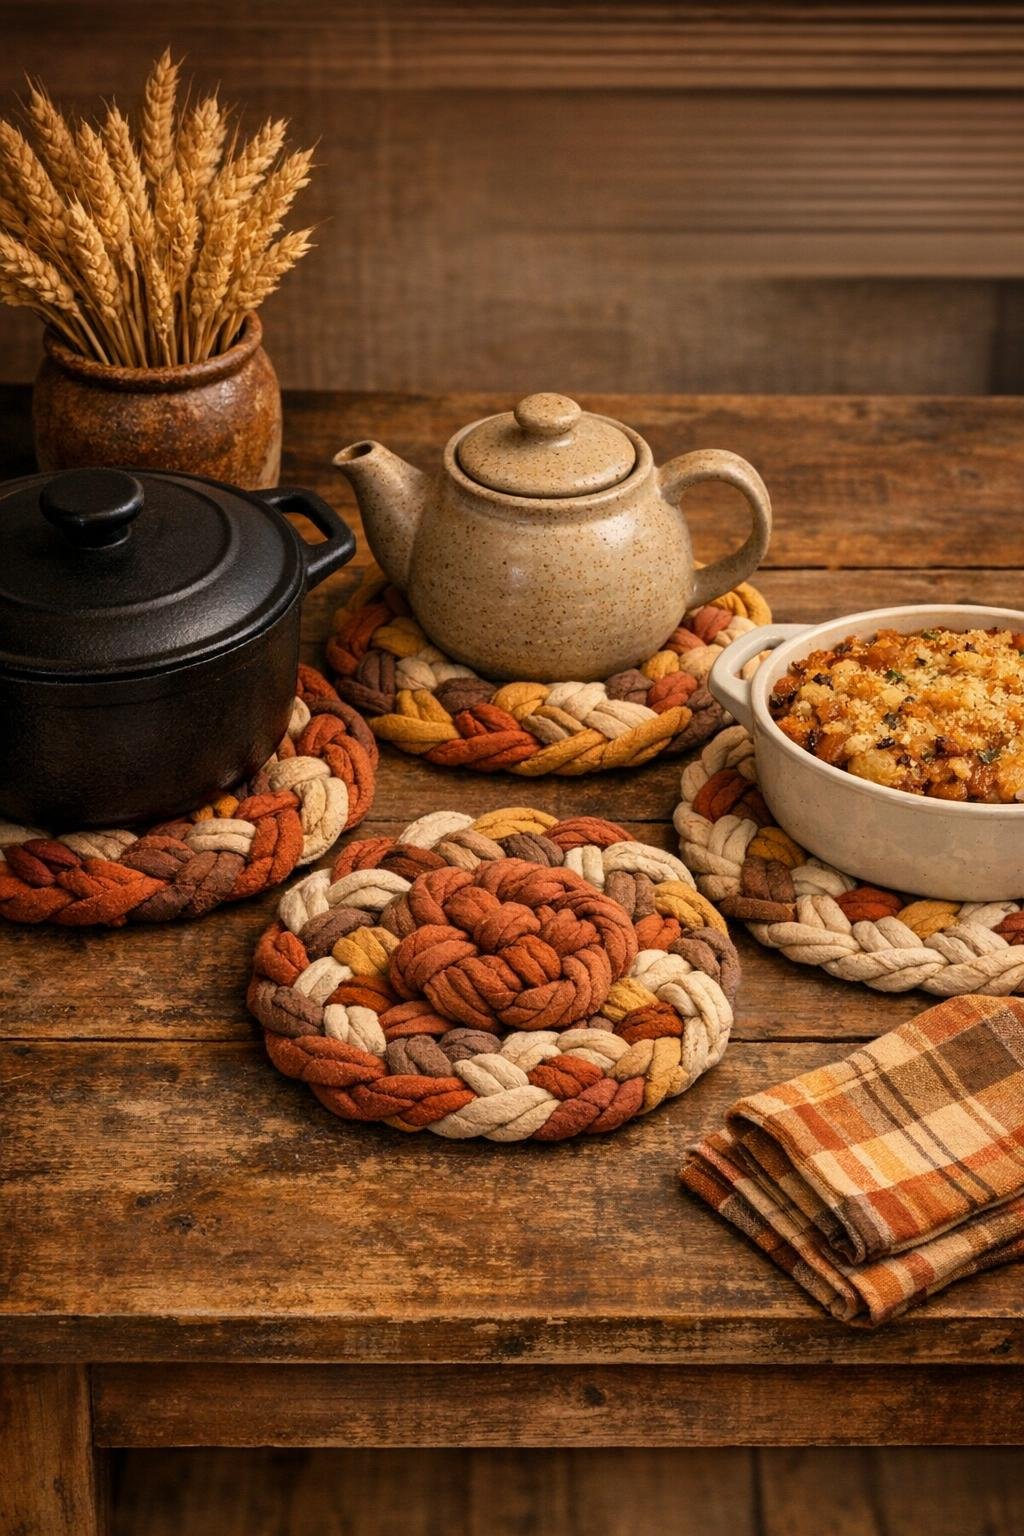
This version makes three generous trivets with a chunky knotted look that suits fall beautifully. They’re simple enough for a beginner, but polished enough to set under a soup pot, teapot, or casserole dish when company comes by. I like projects like this best—the kind our mothers and grandmothers would have made from what they had on hand, only dressed up just enough to look right at home on today’s table.
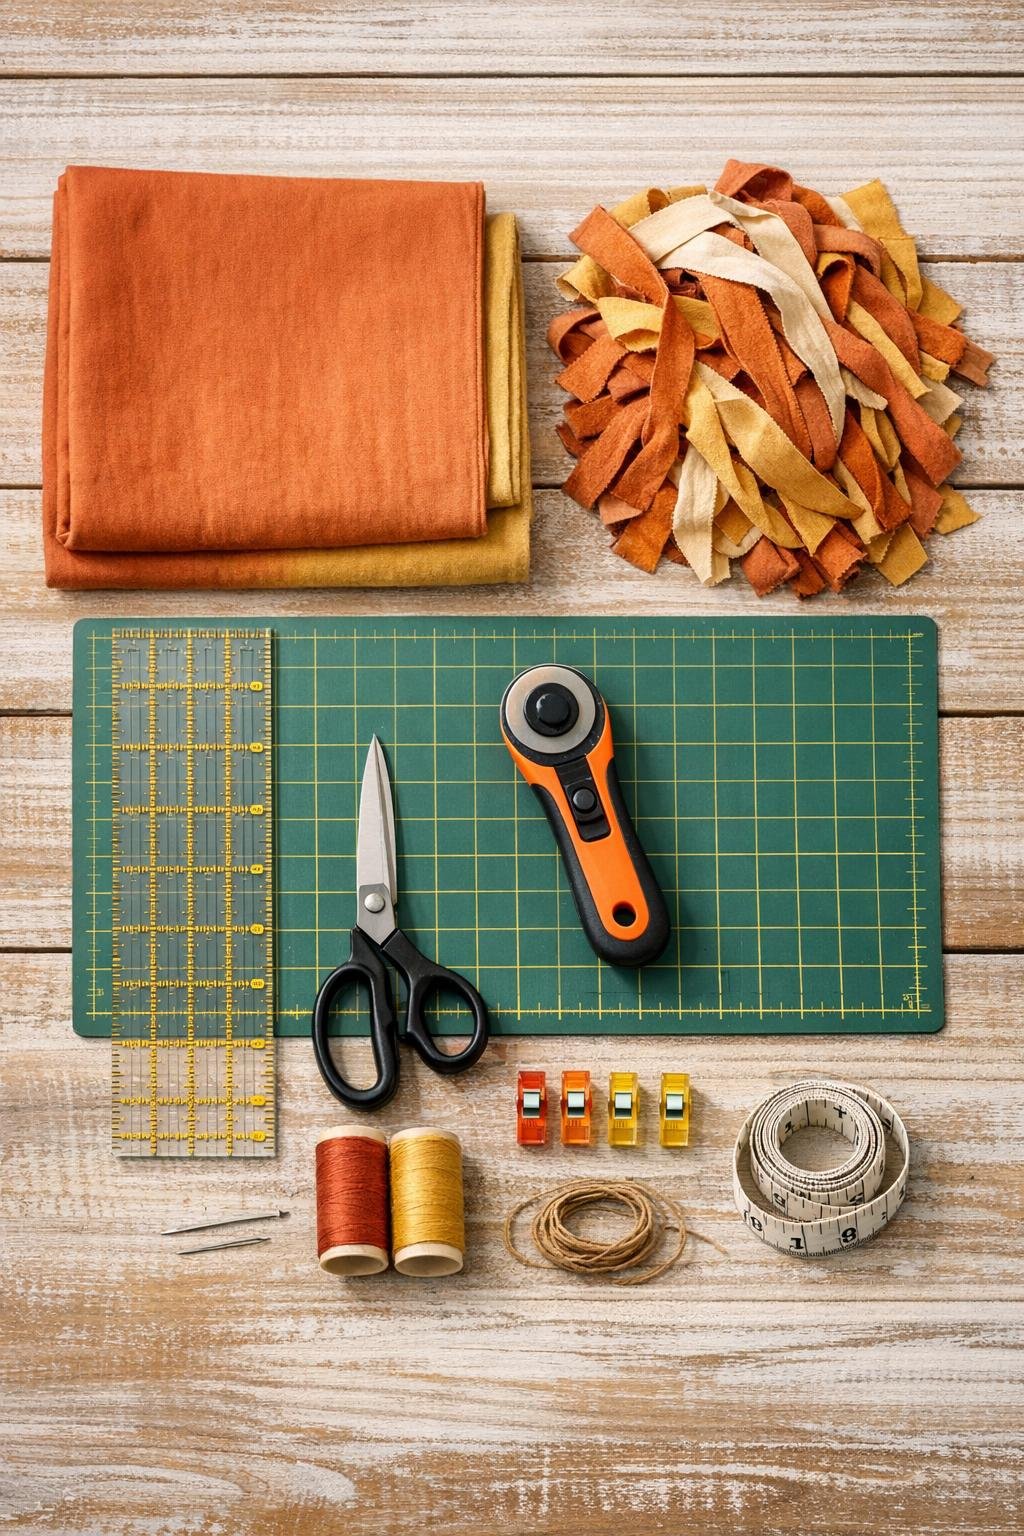
Materials
2 old 100% cotton bed sheets, twin size or larger, in solid or subtle fall-friendly colors
Instructions
1. Wash and dry the old bed sheets first so the fabric is clean, preshrunk, and soft; then press them flat so your strips cut evenly.
2. Cut 36 strips measuring 1 1/2 inches by 36 inches, trimming away thin hems or badly worn spots so every strip is sturdy enough for knotting.
3. Stretch each strip gently along its length to relax the fabric, then fold the long raw edges inward by about 1/4 inch and finger-press so the strips look neat and less frayed.
4. Divide the strips into three equal bundles of 12 strips each, because each trivet will use 4 finished cords made from 3 strips apiece.
5. Take 3 strips for your first cord, align the ends, and stitch across one short end with a 1/4-inch seam so they stay anchored together while you work.
6. Braid those 3 strips snugly into a thick flat braid, keeping the tension even, then stitch the far end to hold it; repeat until you have 12 braided cords total.
7. For the first trivet, group 4 braided cords together and tie a firm overhand knot in the center area, easing each braid so the knot looks full and rounded rather than twisted flat.
8. Spread the 4 braid tails outward like spokes and arrange them into a square-with-soft-rounded-corners shape, tucking and curving the lengths until the trivet measures about 8 inches across.
9. Overlap the braid ends on the underside and hand-stitch them down with small sturdy whipstitches, catching only the lower layers where possible so the top stays tidy.
10. Turn the trivet right side up and adjust the loops and curves until it sits flat; if needed, tack a few touching sections together with hidden stitches underneath for extra stability.
11. Repeat the same process two more times to make the second and third trivets, varying the strip placement a bit so each one has its own mix of autumn color.
12. Press each finished trivet lightly with steam from the wrong side, and if you want hanging storage, stitch a 4-inch loop of twill tape to the back edge of each one.
Variations & Tips
For a richer autumn look: Mix strips from cream, clay, rust, mustard, olive, and faded brown sheets or pillowcases so the knot and braids have more depth than a single solid color.
If your sheets are thin: Cut the strips 2 inches wide instead of 1 1/2 inches wide to give the braids more body and make the finished trivets feel nicely substantial under hot dishes.
For tidier edges: A quick press with a little spray starch before braiding helps the strips behave, especially if the sheets are very soft and drapey from years of washing.
To make them extra sturdy: Add a small circle of scrap cotton or felt on the underside and stitch it in place by hand; that gives the trivet more grip and helps it stay flat on the table.
For round trivets instead: Use the same braided cords and center knot, but coil the braid tails in a circle and stitch underneath as you go for a softer, more traditional shape.
Best use note: These are ideal under warm serving bowls, teapots, casserole dishes, and cast iron that’s been off the direct burner a bit; I still use common sense with very high heat, just as I do with any handmade kitchen textile.
A lovely gift idea: Tie the set of three with a strip of leftover sheet fabric or a length of ribbon, and tuck in a wooden spoon or small jar of jam for a thoughtful housewarming or hostess gift.