
When I was young, nobody in the country threw out a cracked flowerpot if there was still one good use left in it. This little raised-bed collar is exactly that kind of practical garden trick: simple, thrifty, and surprisingly effective when a cold snap sneaks up on tender greens or young transplants. By stacking broken terracotta pot pieces into a low ring and pairing them with one common yard staple, you make a snug heat-retaining collar that helps hold in the day’s warmth right where your plants need it most.
I especially like this for gardeners who want a fast pre-frost fix without building anything fancy. If you’ve got a raised bed, a pile of terracotta shards, and a bit of mulch or straw on hand, you can put this together in a few minutes and make the bed look tidy while you’re at it. It’s an old-fashioned kind of garden wisdom I still trust, especially in those in-between weeks when the weather can’t make up its mind.
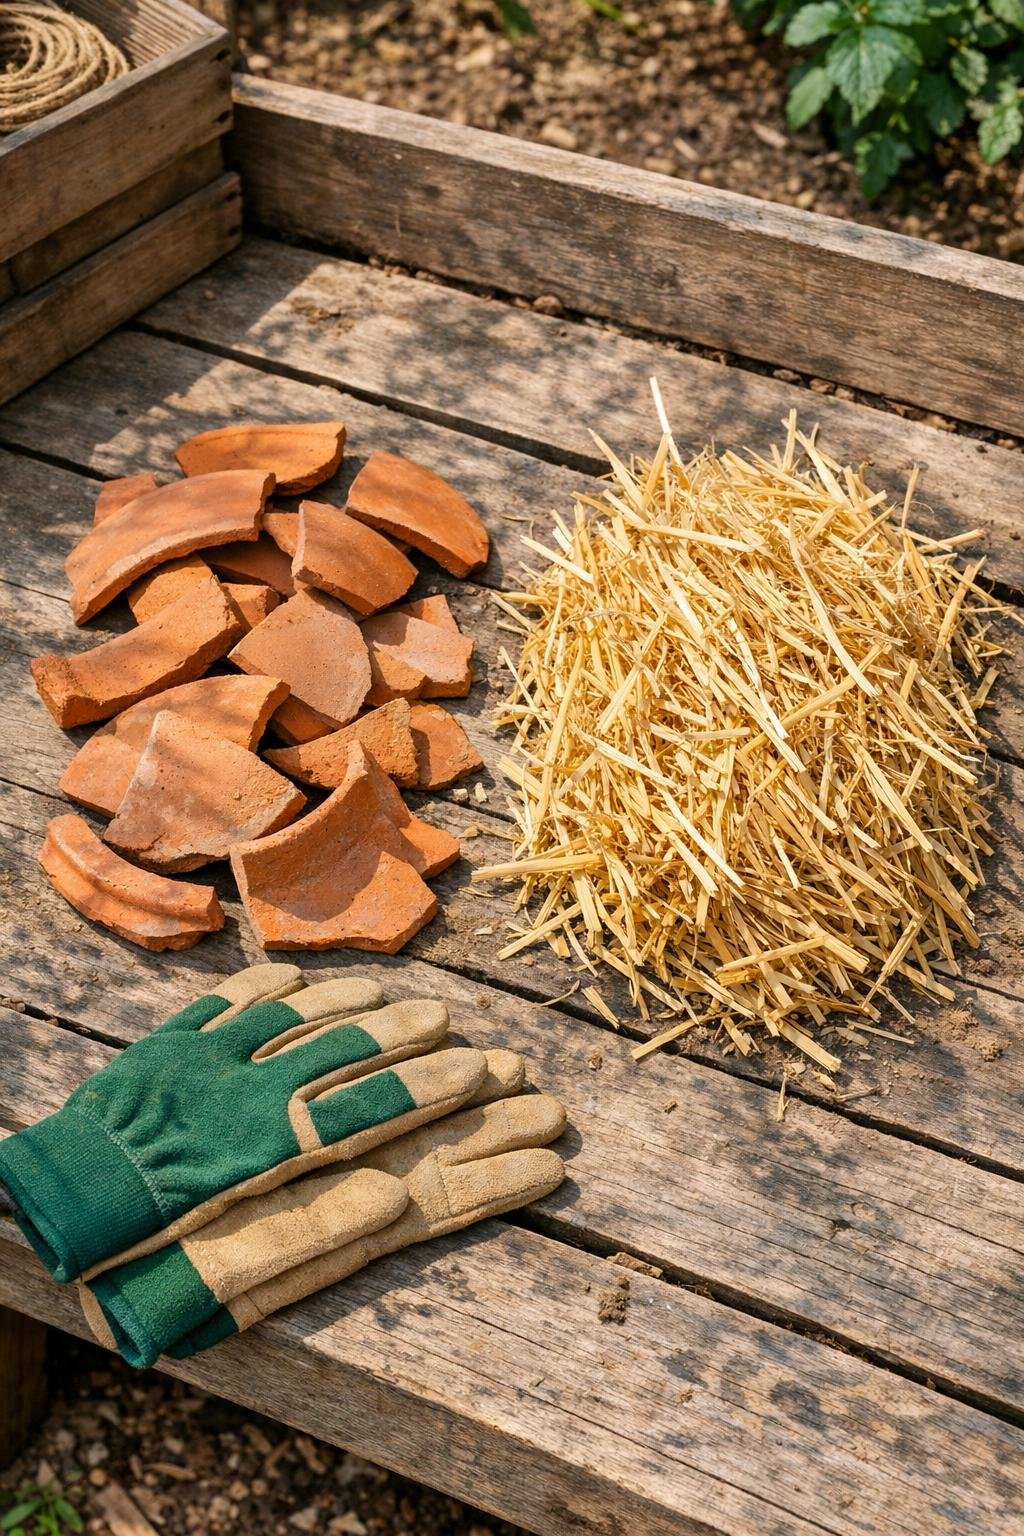
Materials
Broken terracotta pot pieces, 18 to 30 large curved shards from 2 to 6 inches wide
Instructions
1. Pick the plants you want to protect and clear a 12- to 18-inch-wide circle around them so the soil surface is flat and easy to work on.
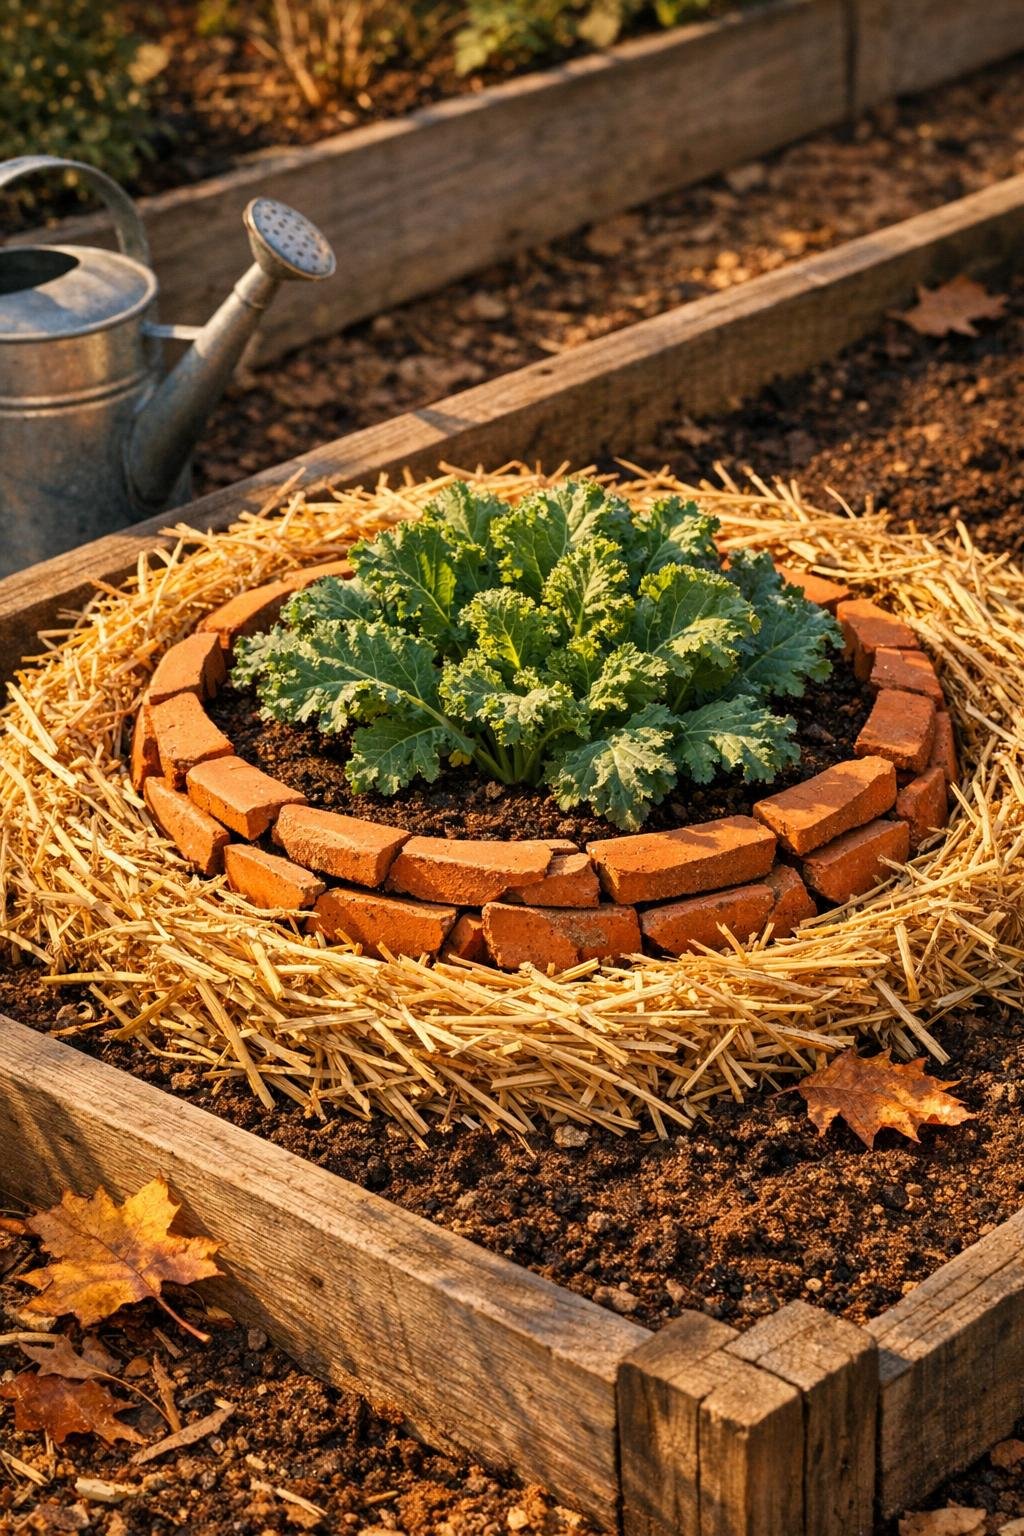
2. Press the first ring of large terracotta shards into the soil in a tight circle, overlapping edges slightly like shingles so there are as few gaps as possible.
3. Add a second ring directly on top and just inside the first, leaning the pieces inward a touch to make a thicker collar wall about 4 to 6 inches tall.
4. Tuck loose straw all the way around the outside base of the terracotta ring in a band 3 to 4 inches thick, then lightly fill any obvious gaps between larger shards with a few strands.
5. Gently firm the straw with your hands so it stays put but does not pack down hard; the trapped air is what helps insulate.
6. Leave the center open around the plant crown, keeping straw and shard edges 2 to 3 inches back from stems so moisture does not sit against them overnight.
7. For a longer row in a raised bed, repeat the circles so each plant or plant cluster has its own collar, or overlap collars slightly to create a scalloped warming barrier around a whole section.
8. Before frost, water the bed earlier in the day if it is dry, then let the terracotta and soil absorb the sun’s warmth; by evening, check that the collar is snug and the straw still covers the outer edge well.
Variations & Tips
For lettuce and spinach: Make the collar wider rather than taller, so you protect a whole clump at once without crowding the leaves.
For peppers or basil: Build the terracotta wall to the full 6 inches and keep the straw thick on the outside, because those tender plants appreciate every bit of stored daytime warmth.
Best shard size: Use the biggest curved pieces on the bottom ring and save smaller pieces for chinking little openings; that makes the collar sturdier and much less fussy to build.
Why this works: Terracotta warms during the day and releases that heat slowly after sunset, while the straw helps block cold air from sweeping right across the soil surface.
After the cold spell: Pull the straw back on mild mornings so the bed can breathe, then tuck it in again before evening if another frosty night is coming.
Keep it safe for plants: Never pile wet straw against stems or crowns, especially with young seedlings, because too much trapped moisture can cause rot.
Make it look tidy: Turn the smoothest shard edges outward and keep the straw in an even band; even a practical little garden fix looks nicer when it’s put together with a careful hand.
Save the pieces: At season’s end, brush off the dirt and stack the shards in a crate or bucket near the shed; once you start using broken pots this way, you’ll never look at them as trash again.