
If your bathroom counter seems to collect little bottles, lip balm, cotton swabs, and all the tiny things that never quite stay put, this is one of those small fixes that makes everyday life feel easier. I love projects like this because they do not require a full remodel or a big budget, but they make a hardworking space feel so much more organized.
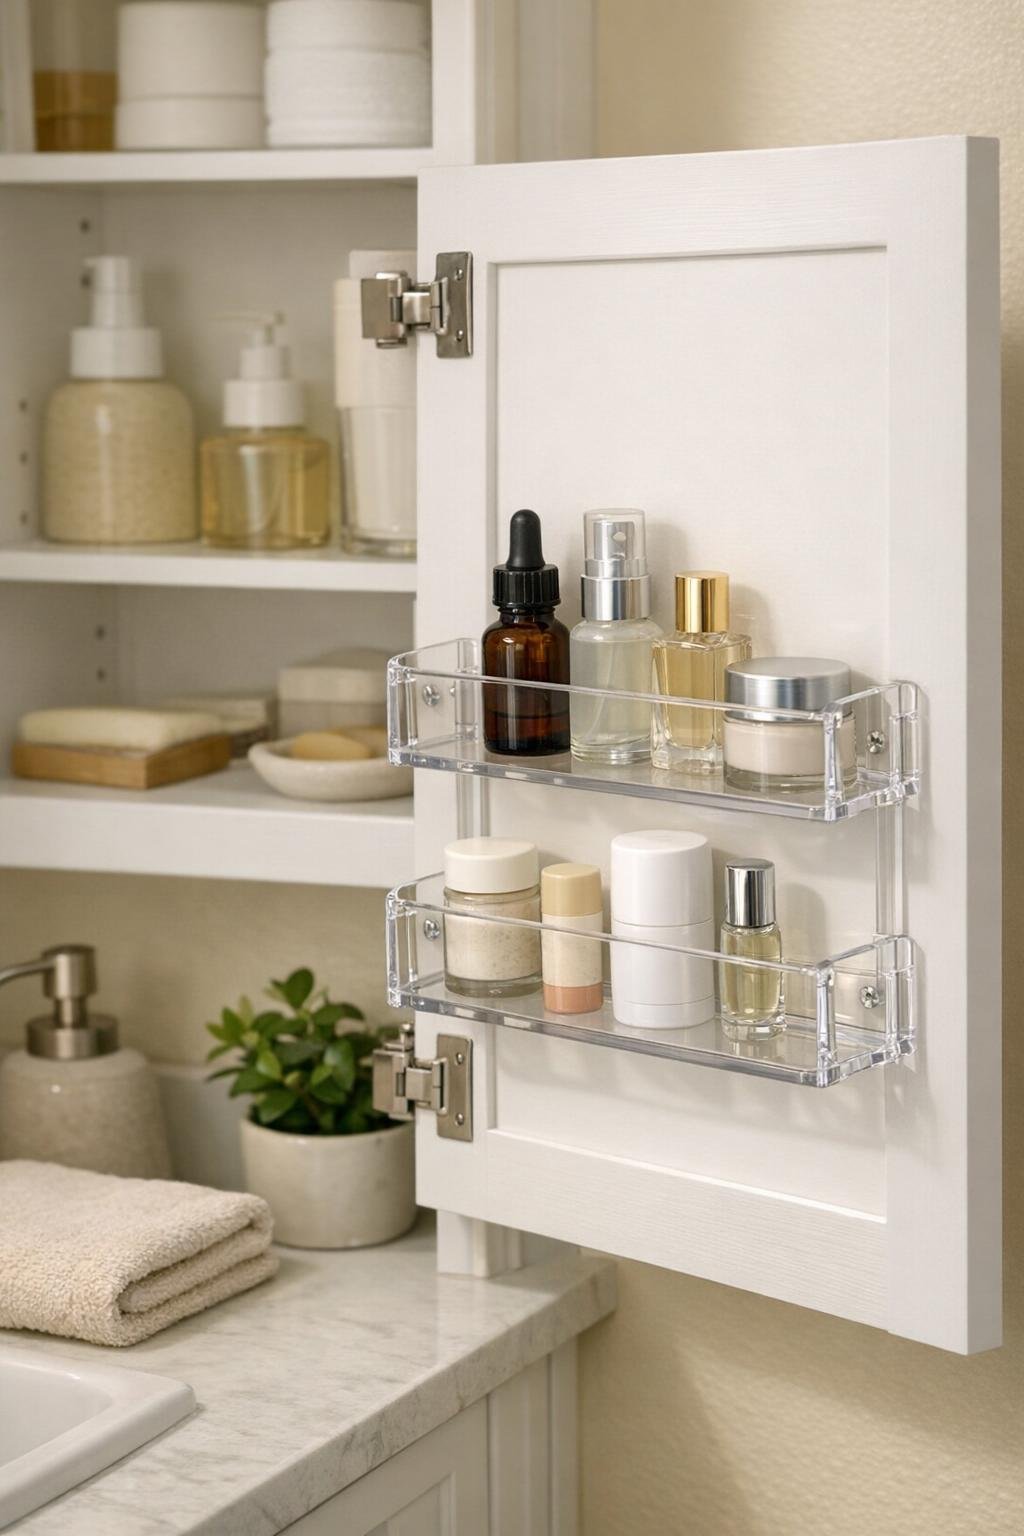
This simple bathroom vanity shelf uses a small clear acrylic spice rack mounted to the inside of a medicine cabinet door, turning wasted space into a neat storage spot for the items you reach for most. It is especially helpful in a family bathroom or a busy primary bath, and it is easy enough for beginners as long as you measure carefully before sticking or screwing anything in place.
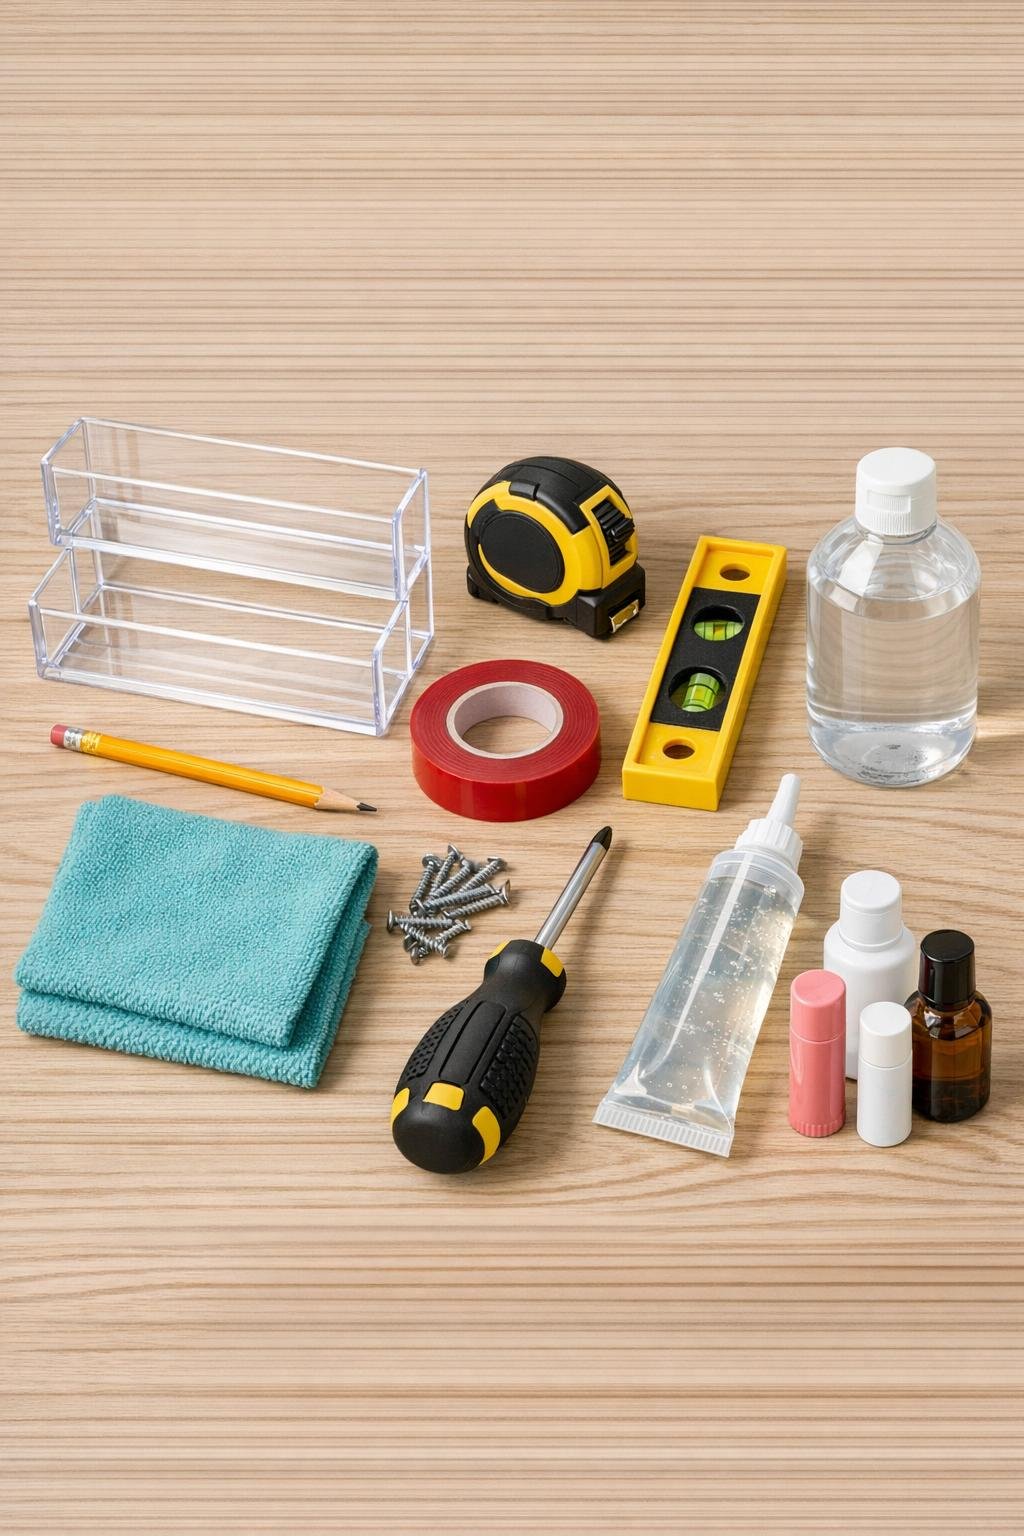
Materials
Instructions
1. Empty the medicine cabinet door area and measure the inside width, height, and depth so you know the acrylic rack will fit without hitting the shelves when the door closes.
2. Hold the spice rack against the inside of the door and test the position by closing the cabinet slowly; leave at least 1 inch of clearance from interior shelves and the door frame.
3. Mark the rack placement with pencil dots or small pieces of painter's tape, centering it at a height that keeps your most-used items easy to grab.
4. Wipe the mounting area thoroughly with rubbing alcohol and a microfiber cloth, then let it dry completely so the adhesive bonds well.
5. Apply strips of heavy-duty mounting tape along the back contact points of the acrylic rack, keeping the tape slightly in from the edges so it does not show from the front.
6. Add a thin bead of clear construction adhesive between the tape strips for a stronger hold, especially if you plan to store several small bottles instead of just lightweight items.
7. Press the rack firmly onto the marked spot inside the cabinet door, use the level to check it, and hold steady for 30 to 60 seconds.
8. If your acrylic rack includes mounting holes and the cabinet door panel is thick enough, drive in the two short screws by hand for added security, being careful not to poke through the front of the door.
9. Let the adhesive cure according to the package directions before loading the shelf; for most products, waiting 12 to 24 hours gives the best results.
10. Arrange your bathroom essentials in the rack, placing taller bottles in the center or back and smaller daily-use items in front so everything stays visible and easy to reach.
Variations & Tips
For renters: Skip the screws and use only strong removable mounting strips rated for humid rooms, but keep the load very light and stick to travel-size items.
Best items to store: I like using this kind of shelf for lip products, tweezers, nail clippers, small skincare tubes, and tiny first-aid supplies rather than heavy glass jars.
Check door swing first: Before peeling the tape backing, always do one more slow test-close of the cabinet door because even a shallow rack can bump a shelf if it is mounted too high or too low.
Make it look polished: Decant cotton swabs or hair ties into one or two small matching containers so the whole cabinet looks intentional instead of crowded.
For family bathrooms: I would give each person a small section or type of item so morning routines move faster and nobody is digging through drawers half awake.
Humidity tip: If your bathroom gets steamy, let the adhesive cure fully with the fan running or the door cracked open before loading the rack.
Use clear containers: Clear acrylic keeps the cabinet from feeling bulky, and in a small bathroom that lighter look really helps everything feel calmer and less cluttered.