
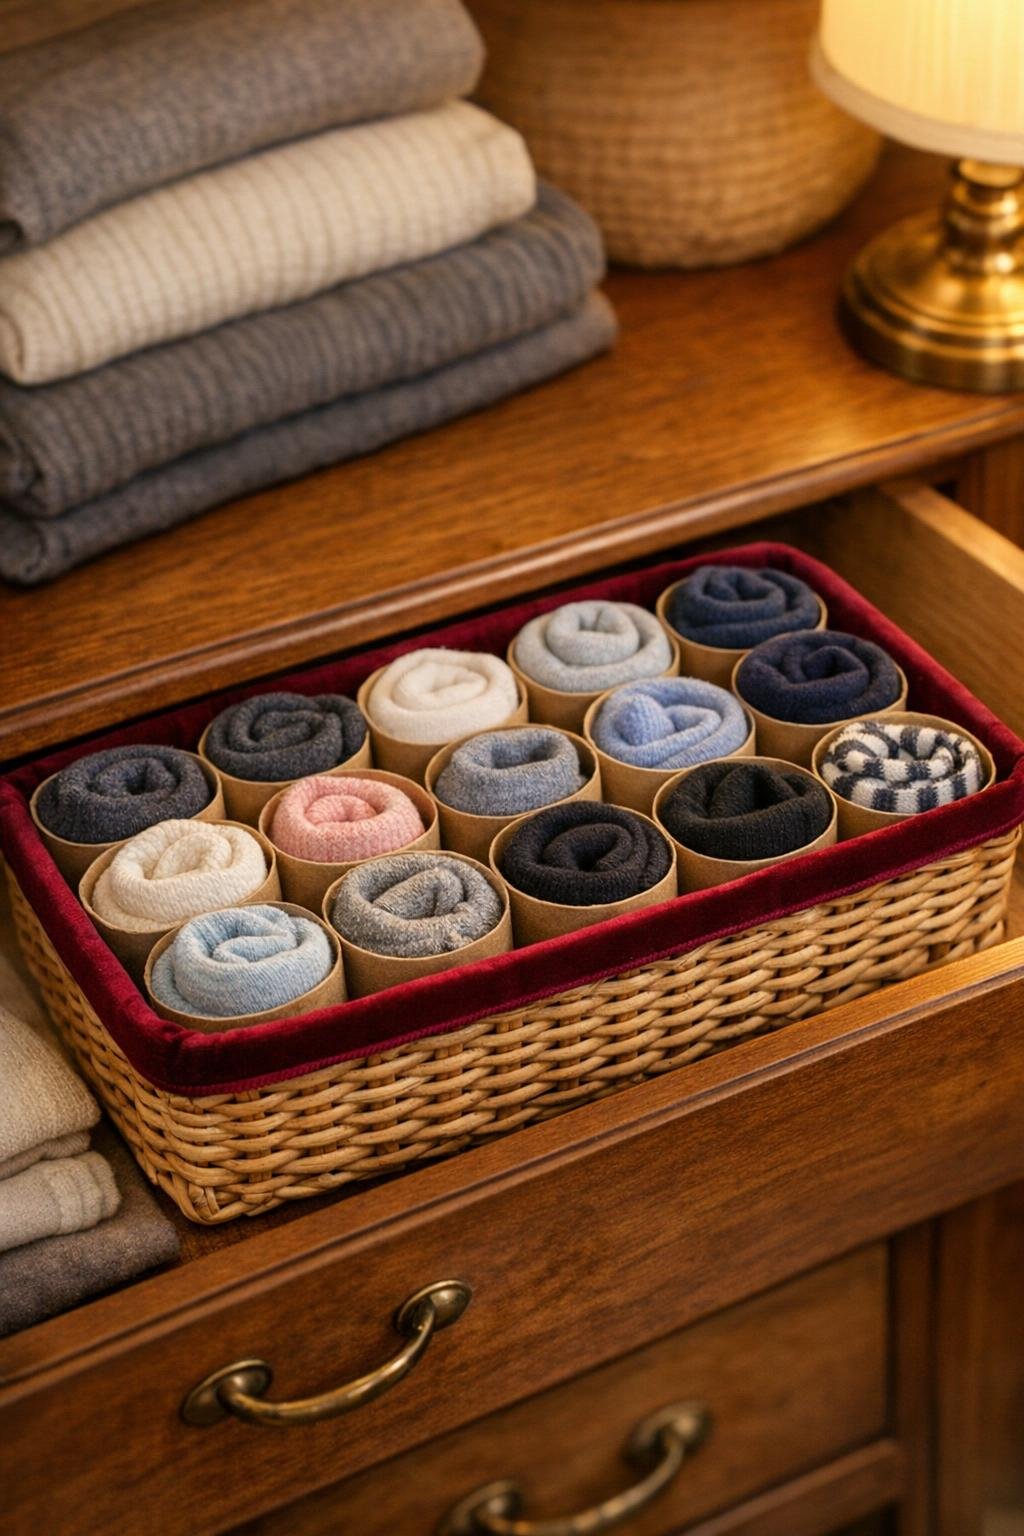
I love a bedroom organizer that solves a real problem without looking like a piece of office storage, and this one does exactly that. By fitting cardboard toilet paper tubes snugly inside a shallow wicker basket and finishing the rim with soft velvet ribbon, you get a tidy sock divider that keeps pairs upright, visible, and easy to grab while still looking charming enough that people actually notice it.
This is a wonderful project for anyone who wants a prettier drawer setup on a tiny budget. I’m always impressed by how often the simplest household materials turn into the most useful things, and this one has that satisfying mix of practicality and polish that makes a handmade piece feel intentional rather than improvised.
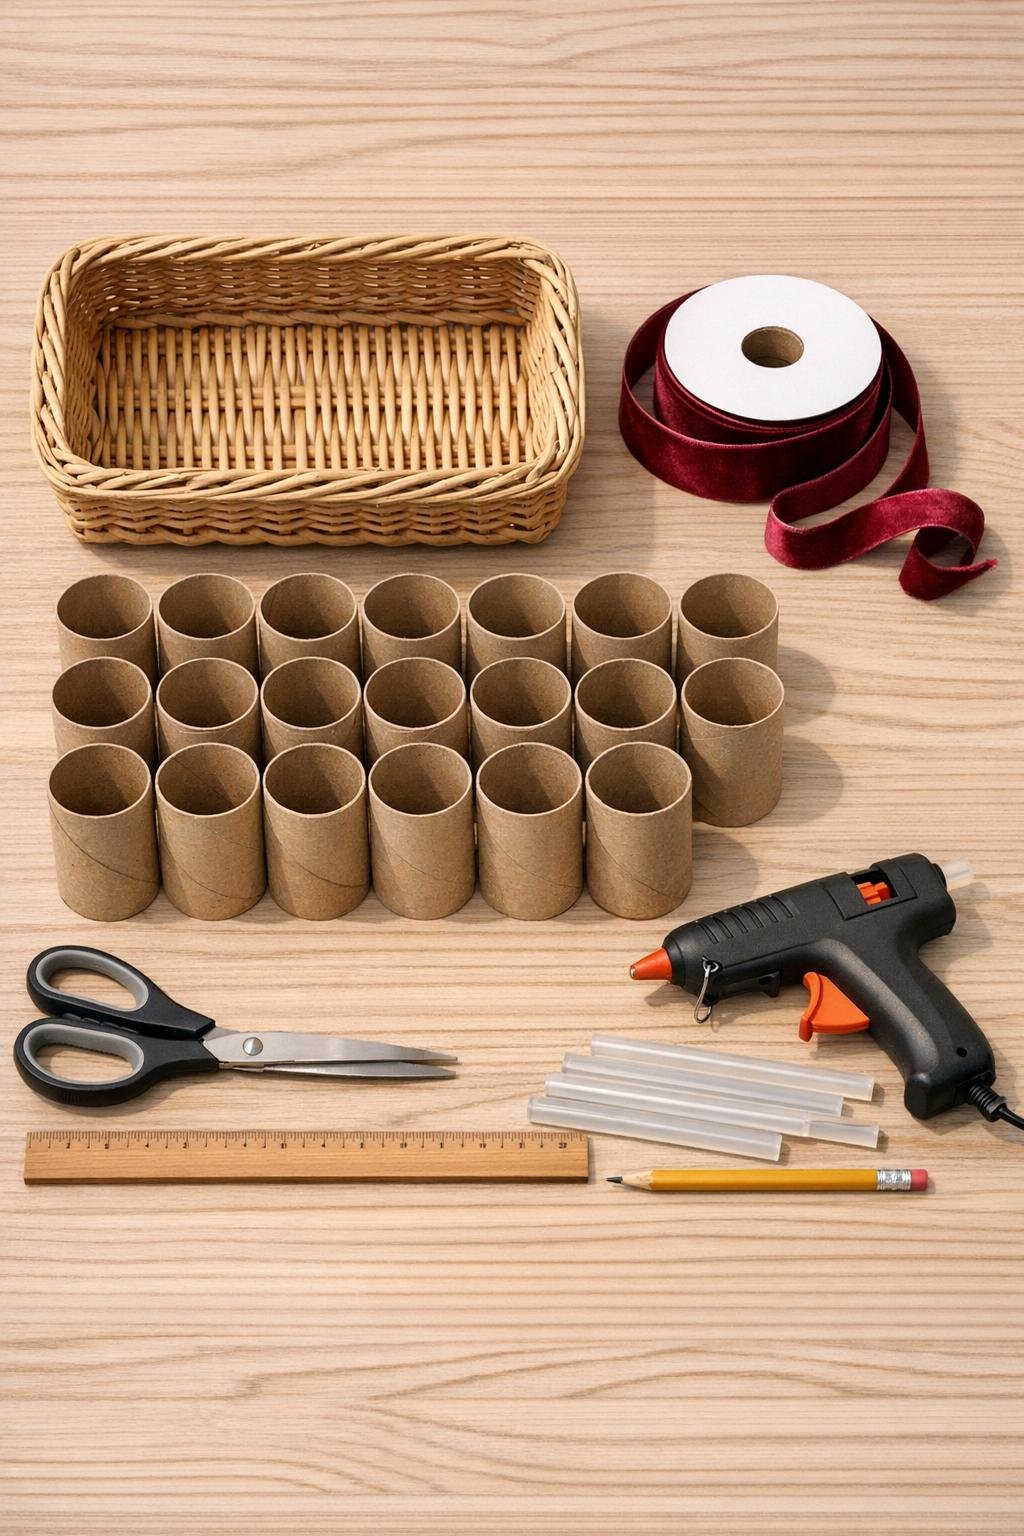
Materials
Instructions
1. Measure the inside length and width of your shallow wicker basket so you can plan a tight grid of tubes with minimal gaps. A basket around 12 by 8 inches usually fits 18 standard tubes in three rows of six.
2. Test-fit the cardboard tubes inside the basket before gluing anything, standing them upright so the round openings face up. Shift them until you have even rows and a full, generous layout that fills the base.
3. Trim any slightly crushed or uneven tube ends with scissors so all the tubes sit level and look uniform from the top. This small step makes the finished divider look much more deliberate.
4. Run a thin bead of hot glue along the outside of one tube and press it against the next tube to make the first row. Continue until you have a stable row of six tubes, then repeat to make three rows total.
5. Glue the rows together side by side, pressing them firmly so the tubes form one solid honeycomb-style block. Let the glue cool for a minute, then drop the full block into the basket to check the fit.
6. Add a few dots of hot glue on the basket base and along the outer sides where the tube block touches the wicker, then set the tube block in place. Hold it steady for 20 to 30 seconds so it stays centered and snug.
7. Measure the top rim of the basket and cut a length of burgundy velvet ribbon long enough to wrap all the way around with 1 inch extra. If you want a more finished look, cut a second matching length for the inside rim too.
8. Glue the velvet ribbon along the top edge of the wicker basket, working in short sections so the ribbon stays smooth and straight. Overlap the ends neatly at the back or one corner where the join is least visible.
9. If desired, line the inside top rim with the second ribbon strip to hide glue lines and create a plush, finished border. Press the ribbon gently into the wicker weave so it sits flush and tidy.
10. Let all the glue cool completely, then place the basket into your sock drawer or on a shelf. Roll or fold one pair of socks into each tube opening so the basket looks full, organized, and easy to browse.
Variations & Tips
For deeper drawers: Use a slightly deeper basket and add more tubes, but keep the basket shallow enough that you can still see each sock opening at a glance.
For dressier finish: Wrap the outside rim with two layers of velvet ribbon or add a small matching bow at one corner for a boutique look.
For sturdier tubes: Choose clean, uncrushed tubes and group them tightly before gluing; the closer the fit, the longer the divider will hold its shape.
For easy cleaning: Keep this organizer for dry items like socks, hosiery, or rolled washcloths, and dust the basket occasionally with a soft cloth or vacuum brush attachment.
For a custom fit: If your basket dimensions are different, adjust the tube count rather than forcing gaps; a full grid always looks better than a sparse arrangement.
My favorite use: I like assigning one row to everyday socks, one to athletic pairs, and one to dress socks, because it turns the morning rummage into a much calmer little ritual.