
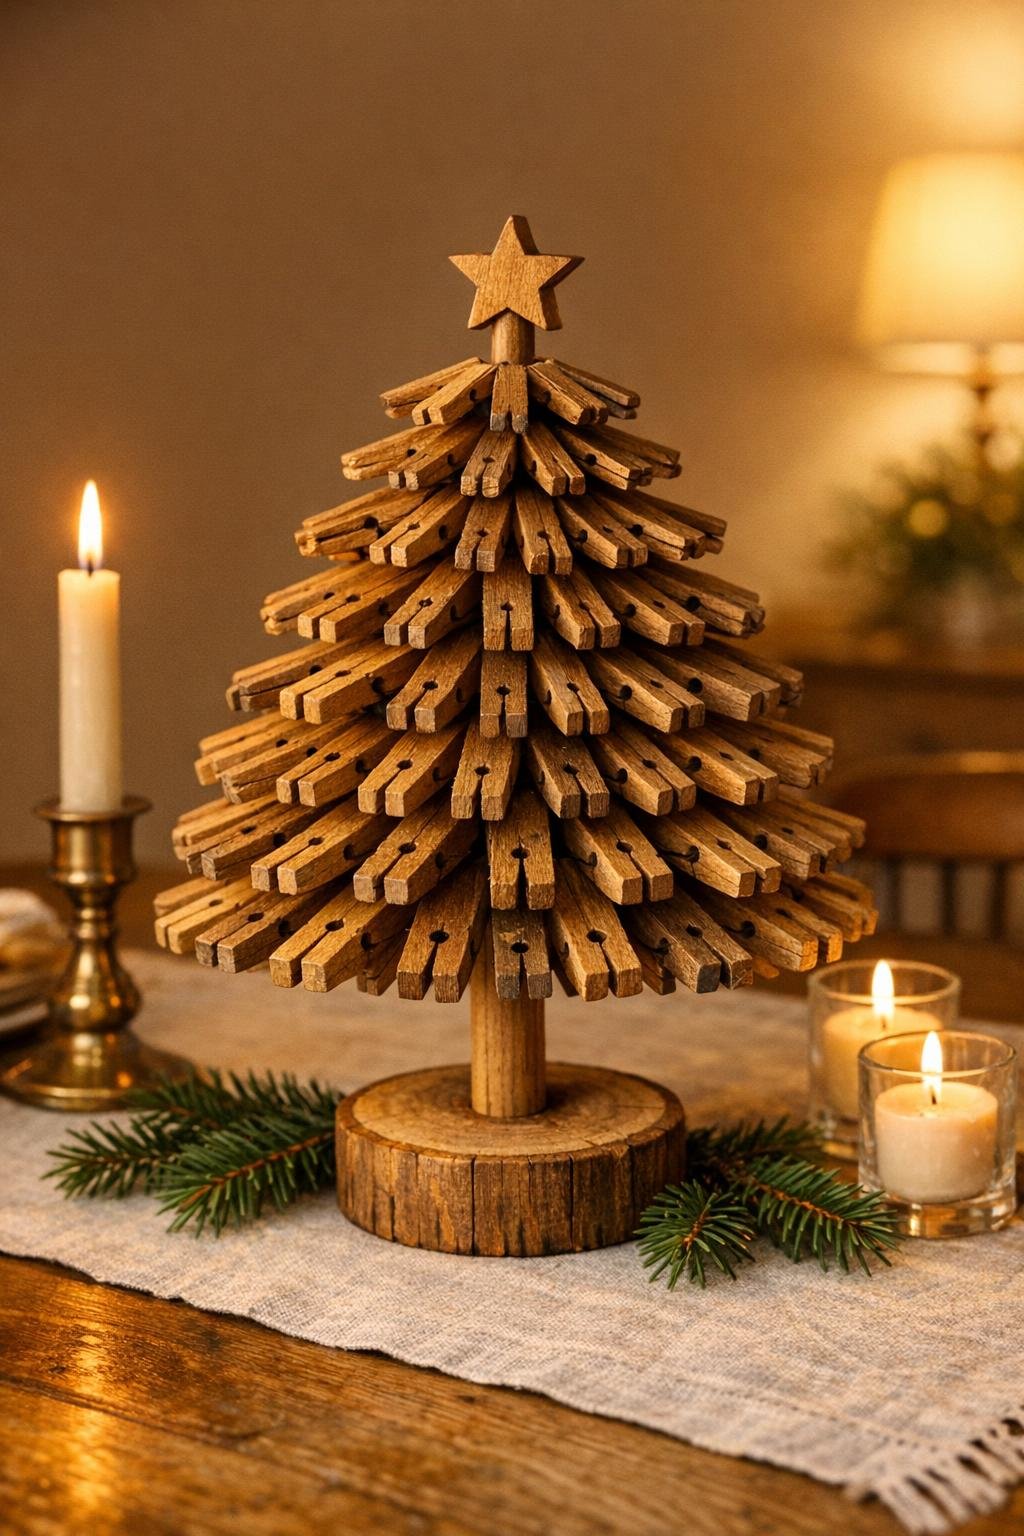
I love a project that turns the “junk drawer” into something people stop and admire, and this little clothespin tabletop tree does exactly that. By taking apart plain old wooden clothespins and layering the pieces around a simple dowel, you end up with a full, textured tree that looks charming on a mantel, kitchen table, or holiday buffet.
This is a wonderful project for anyone who wants a handmade decoration without needing fancy supplies or advanced woodworking skills. If you can use a glue gun and drill a small centered hole, you can make this. I’m especially fond of crafts like this in the colder months, when I want something cozy on the table while dinner simmers and the house feels full.
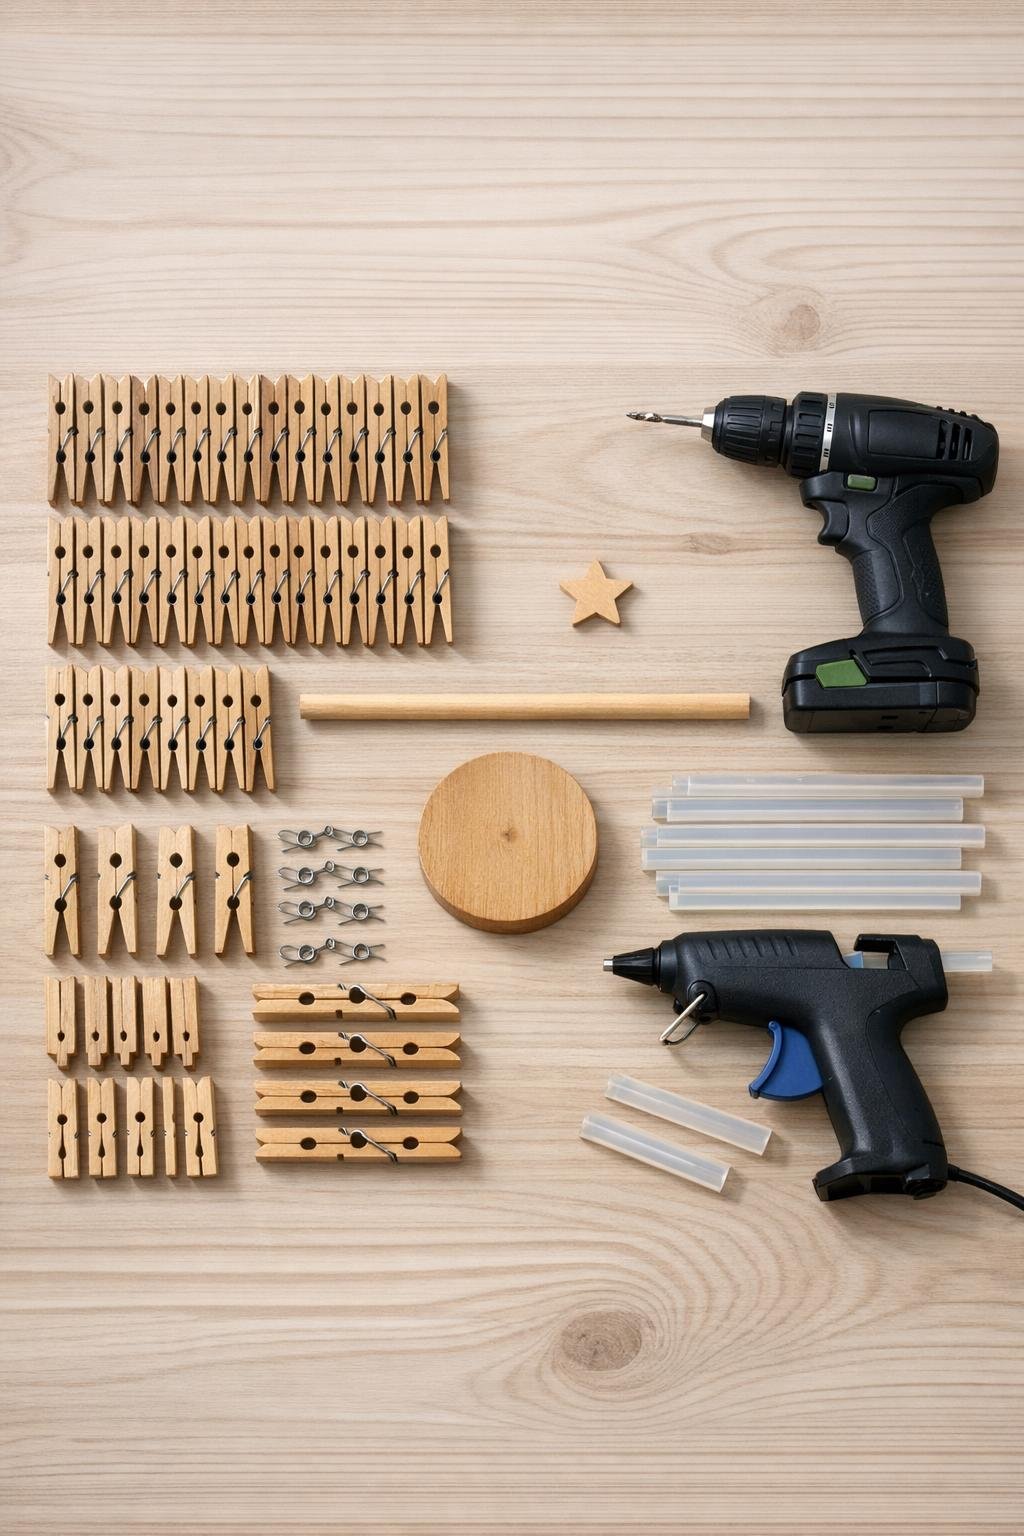
Materials
60 old wooden clothespins, standard size, taken apart into 120 wooden halves
Instructions
1. Pull all 60 clothespins apart and set aside the metal springs, keeping the 120 wooden halves in one pile. If any pieces are rough or splintery, give them a quick pass with fine sandpaper.
2. Find the center of the wood round base, mark it with pencil, and drill a hole deep enough to hold the dowel securely. Test-fit the dowel so it stands straight, then glue it in place with hot glue.
3. Sort the clothespin halves by size and shape so your fullest pieces go near the bottom of the tree and the slimmer ones can go toward the top. This small bit of sorting makes the finished tree look much more even and generous.
4. Start at the bottom of the dowel and glue 8 clothespin halves around it with the flat sides touching the dowel and the pointed ends facing down and out. Space them evenly to make the first ring flare like lower branches.
5. Add a second ring just above the first with 8 more halves, staggering them between the pieces below so the tree begins to fill in. Keep the angle slightly upward as you move higher so the shape starts tapering naturally.
6. Continue building upward in rings, using 7 halves for the next two rows, then 6 halves for the next two rows. Stagger every row so gaps are covered and the tree looks thick from every angle.
7. Finish the upper section with 5 halves, then 4 halves, then 3 halves near the top, tightening the angle slightly with each row. Step back once or twice as you work so you can check that the outline stays centered and tree-shaped.
8. Fill any thin spots by tucking single clothespin halves into open gaps, especially around the middle and back. This is the trick that makes the tree look lush instead of skimpy, and I always think it’s worth those extra few minutes.
9. Glue the tiny wooden star to the top of the dowel, centering it so it sits neatly above the highest row. Hold it in place for a few seconds until the glue grabs.
10. If you want a more finished look, lightly dry-brush the tips with white paint for a snowy effect or stain the whole tree before sealing. Add a clear matte sealer once everything is dry if the tree will be handled or stored with other decorations.
11. Peel away any visible glue strings, straighten any pieces that shifted, and let the tree cool completely before moving it. Set it on a mantel, shelf, or holiday table where the layered wood texture can really be seen.
Variations & Tips
Snowy Finish: Dry-brush a little white craft paint just on the outer edges of the clothespin pieces for a soft frosted look without hiding the wood grain.
Natural Wood Look: Leave the wood unfinished if you love that simple farmhouse style. I think this version looks especially pretty with evergreen sprigs and warm white lights nearby.
Dark Stain Option: Use a walnut or espresso stain for a richer look if your holiday décor leans more traditional. Let every piece dry fully before gluing if you stain first.
For Better Balance: Choose a heavier wood base if your tree will be tall and full. A base closer to 4 inches wide gives a little more stability without making the project harder.
Picky Decor Tip: In my house, everyone likes something a little different, so I’d make one plain, one snowy, and one with a tiny ribbon at the base. It’s an easy way to match different rooms without changing the basic project.
Make It Fuller: If your clothespins are on the slim side, glue extra single halves into bare areas after the main rows are done. Those filler pieces are what give the tree that “where did you buy that?” look.
Storage Tip: Wrap the finished tree loosely in tissue paper and store it upright in a small box so the layered pieces do not get crushed.