
I love a project that turns the “good china guilt pile” into something genuinely beautiful, and this little mantel tree does exactly that. By stacking six chipped teacups with their saucers into a tiered tree shape, then tucking in faux evergreen and fairy lights, you get a holiday piece that feels collected, a little whimsical, and much more special than anything mass-produced.
This is a wonderful DIY for anyone who has mismatched cups they can’t quite donate, or for anyone who likes holiday decorating with a vintage, layered look. It’s easy to build, but the finished piece has enough height, sparkle, and detail to hold its own across a mantel, buffet, or entry table.
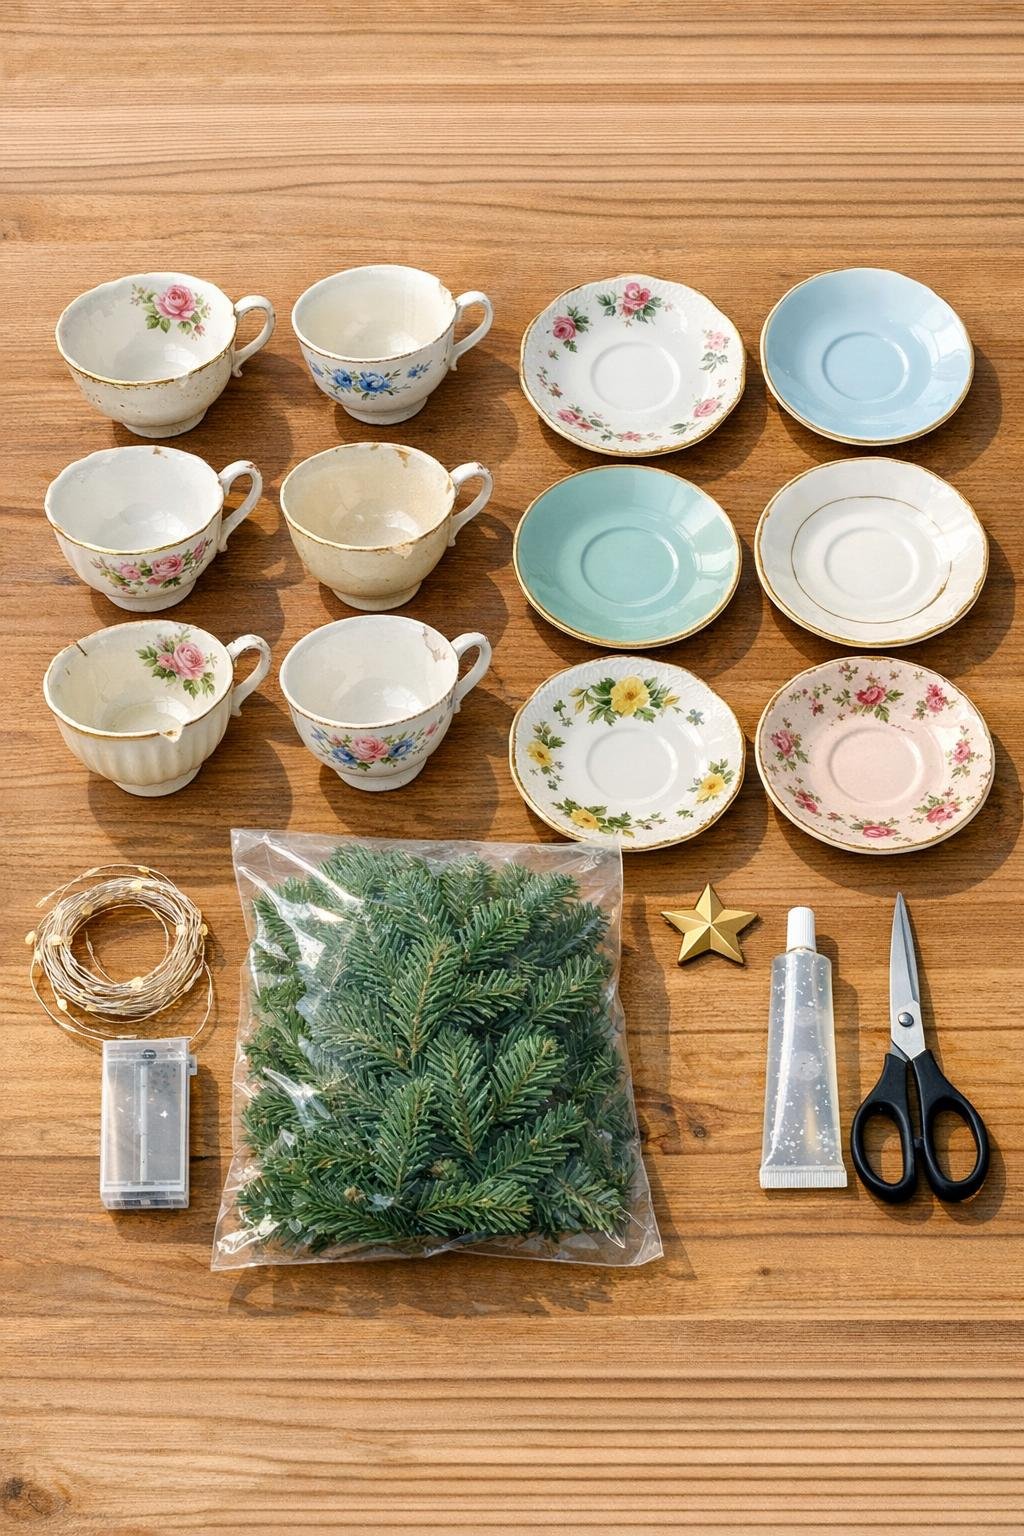
Materials
6 chipped teacups, standard 6- to 8-ounce size
Instructions
1. Sort the teacups and saucers by size and shape, and dry-fit them into a tree silhouette with the widest pieces at the bottom and the smallest cup near the top.
2. Wipe all rims, cup bottoms, and saucer centers clean and dry so the glue can grab well, especially around any dusty thrifted surfaces.
3. Glue the bottom teacup onto its saucer, centering it carefully, then let it sit for a few minutes so it does not slide.
4. Add a bead of glue to the rim or base contact point of the second cup and nestle its saucer at a slight upward angle against the first cup to begin the stacked tree shape.
5. Continue stacking the remaining four teacups and saucers, alternating the tilt slightly as you go so the arrangement looks full and tiered rather than straight like a tower.
6. Press each piece in place for a moment before moving on, keeping the saucers visible like little branches and checking from the front that the whole form reads as a tree.
7. Let the glued structure rest until stable, then tuck the battery pack low behind the bottom cup where it will be hidden but still easy to reach.
8. Cut the faux evergreen sprigs into smaller stems if needed, and begin sliding them into the open spaces between cups and saucers, concentrating more greenery along the outer edges.
9. Fill in any bare gaps with shorter sprigs until the tree looks generously packed, but leave enough of each teacup and saucer visible so the china still reads as the star of the project.
10. Weave the fairy lights through the greenery from bottom to top, looping a few lights around each tier and keeping the wire tucked back so the warm bulbs do the visual work.
11. Glue the small brass star at the very top, anchoring it to the upper cup or saucer where it sits straight and finishes the tree shape cleanly.
12. Turn the tree on, make a final pass to fluff the greenery and rotate any prettiest cup patterns toward the front, then place it on your mantel for display.

Variations & Tips
Make it more vintage: If your cups are floral or gold-trimmed, turn those details outward as you stack. I always treat this like plating food for guests: the prettiest side should face front.
Use a color story: All-white china makes the greenery and lights feel crisp and elegant, while mixed patterns create a collected cottage look. Either way, keeping the brass star warm-toned ties everything together.
Hide chips strategically: Place the most damaged cup edges toward the back or tuck a small evergreen sprig over them. Minor flaws disappear once the tree is lit.
Keep it full: Don’t skimp on the evergreen. The best version of this project has enough sprigs to soften every gap and outline the tree shape clearly across the mantel.
Battery pack placement: Set the pack behind the bottom saucer or just behind a cluster of greenery so you can still switch the lights on without lifting the whole piece.
Make it last longer: Let the glue cure fully before moving the tree, especially if your saucers are angled dramatically. Once it’s set, carry it from the base with both hands instead of lifting from the top tiers.
Try a non-holiday version: Skip the star and evergreen and fill the tiers with faux ivy, tiny silk flowers, or pearl picks for a year-round centerpiece. The stacked teacup shape is charming well beyond December.