
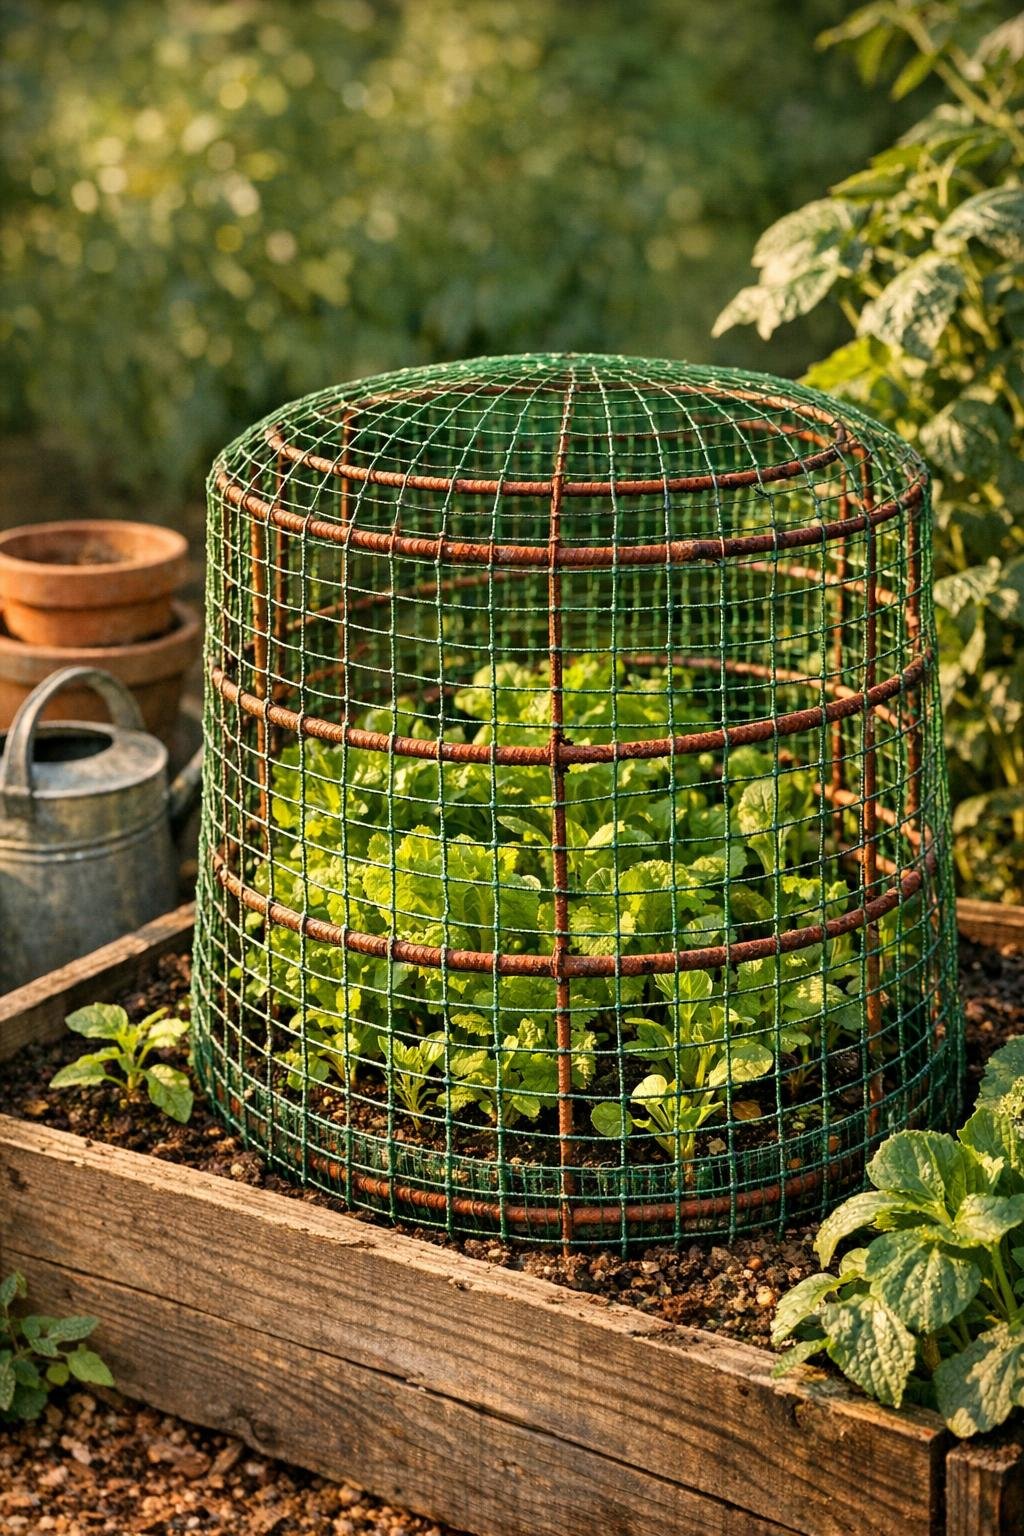
I love a garden fix that uses what I already have on hand, and this raised bed critter cage is exactly that kind of project. If you’ve got a few tired old tomato cages leaning behind the shed, you can turn them into a sturdy cover for lettuce, beans, peppers, or young transplants in one afternoon with just two inexpensive dollar store add-ons.
What makes this one so satisfying is that it looks surprisingly polished when it’s done, but it’s still easy enough for a beginner. I like this project for anyone who is tired of rabbits, squirrels, or curious neighborhood cats treating the raised bed like an open buffet. It gives you a roomy, reusable cage with plenty of coverage, and because the tomato cages stay visible in the build, it has that clever upcycled look neighbors always ask about.
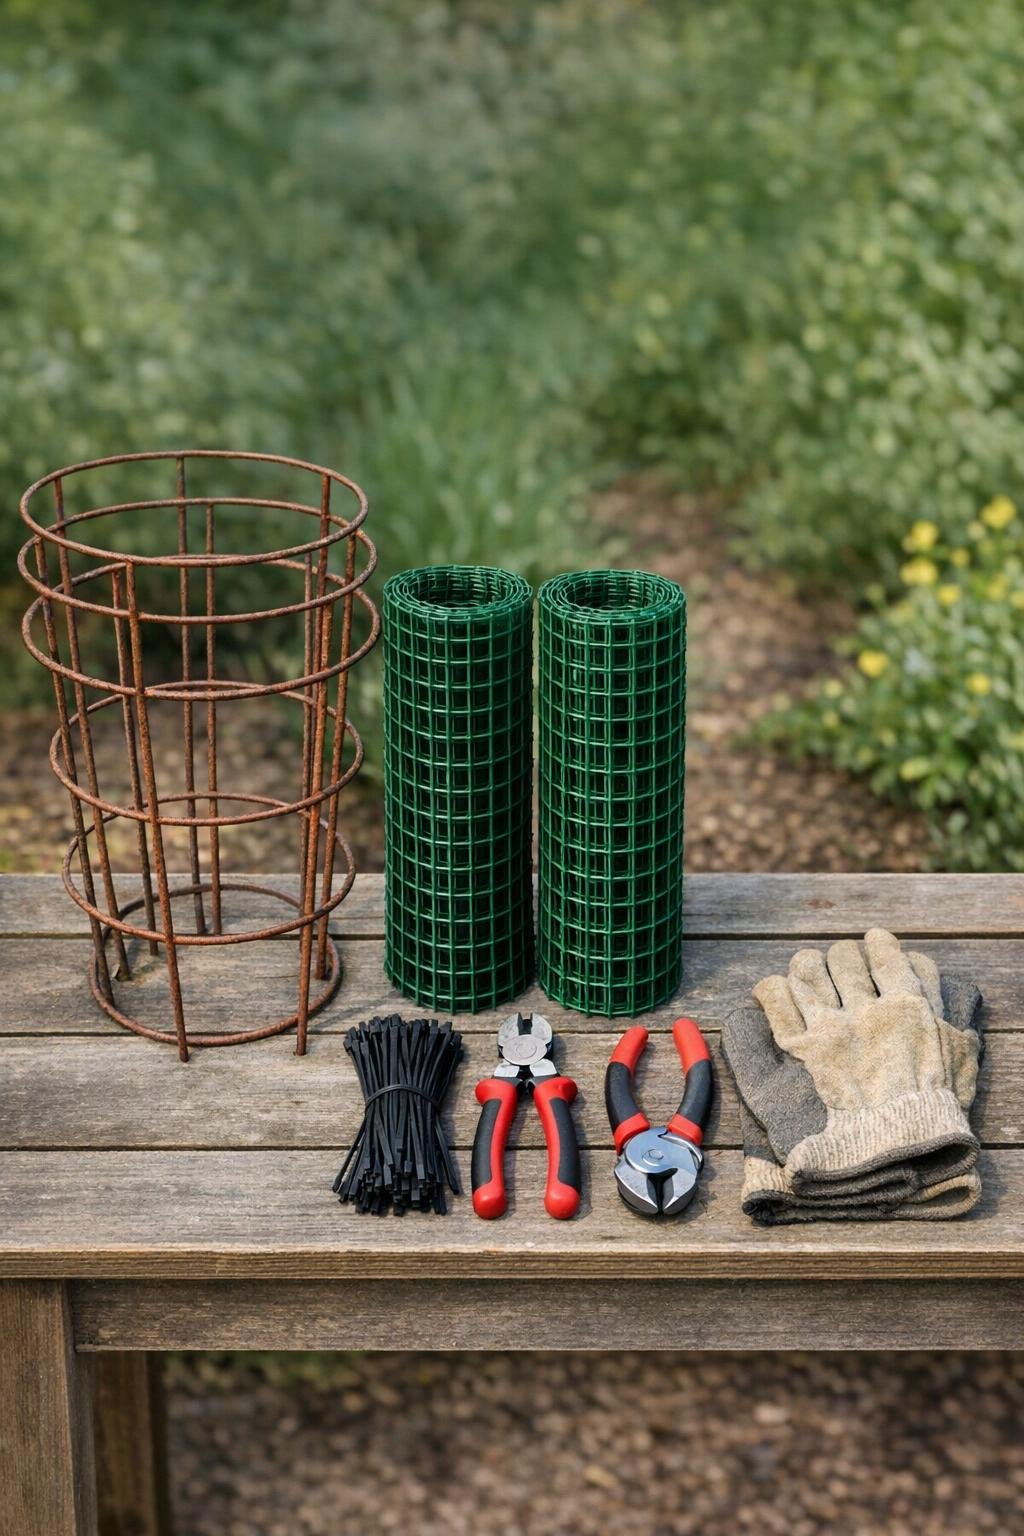
Materials
Instructions
1. Set the three tomato cages on their sides and line them up end to end on the raised bed so the wide round sections form one long tunnel. Overlap the rims by 3 to 4 inches so the cage shape stays even and roomy.
2. Use 3 zip ties at each overlap point, spacing them across the top and both sides, to fasten the cages into one solid frame. Pull each tie tight so the tunnel does not wobble when you lift it.
3. Check the fit over your bed or planting row and gently adjust the wire rings with your hands until the tunnel sits level. I like to make mine a little wider at the bottom so it hugs the soil better and leaves fewer gaps for rabbits.
4. Unroll the plastic garden mesh and drape it over the full length of the cage frame, leaving 4 to 6 inches extra on each long side. Center it so the top is fully covered and both ends still have enough mesh to close in.
5. Attach the mesh along the top ridge first, adding a zip tie every 4 to 5 inches from one end to the other. Keeping the ties close together makes the cage look fuller, neater, and much more finished.
6. Pull the mesh down snugly on both sides and zip tie it to the tomato cage wires every 5 to 6 inches. Trim the zip tie tails with wire cutters as you go so nothing catches your sleeves later.
7. Fold one end of the mesh inward like wrapping the end of a loaf of bread, then zip tie that folded flap to the end ring of the tomato cage. Repeat on the second end, but leave one side with just 2 ties if you want a quick flap door for watering and harvesting.
8. If your bed gets a lot of animal traffic, press landscape staples over the extra mesh edge into the soil every 10 to 12 inches along both sides. This little step makes a big difference for stubborn critters that nose along the bottom edge.
9. Snip away any sharp wire ends or stray mesh corners, then give the whole cage a final shape check so it looks smooth and evenly rounded. Once it is secure, set it directly over your greens or seedlings and open the flap end whenever you need access.
Variations & Tips
For picky plant eaters: If rabbits are your main problem, make the side mesh reach all the way to the soil and staple it down well. If squirrels are the bigger nuisance, add extra zip ties around the ends so they cannot push through loose corners.
For a harvest door: Leave one end partially tied and use 2 reusable twist ties instead of permanent zip ties on that flap. That gives you a simple little door for picking salad greens without lifting the whole cage.
For taller crops: Use larger tomato cages if you want to cover peppers, bush beans, or young kale. I would not use this exact low tunnel shape for full-size tomatoes, but it is wonderful for crops that need protection early on.
For a cleaner look: Use green or brown zip ties if your dollar store carries them. They blend into the mesh and make the finished cage look even more store-bought.
For windy spots: Add a landscape staple at each corner and one in the middle of both long sides. In my yard, anything lightweight needs that extra anchoring once those Midwest winds decide to show off.
For off-season storage: Snip only the ties holding the end flap, fold the mesh inward, and stand the tunnel in a garage or against a fence. Because the cages are already joined, it is ready to go right back over the bed next season.