
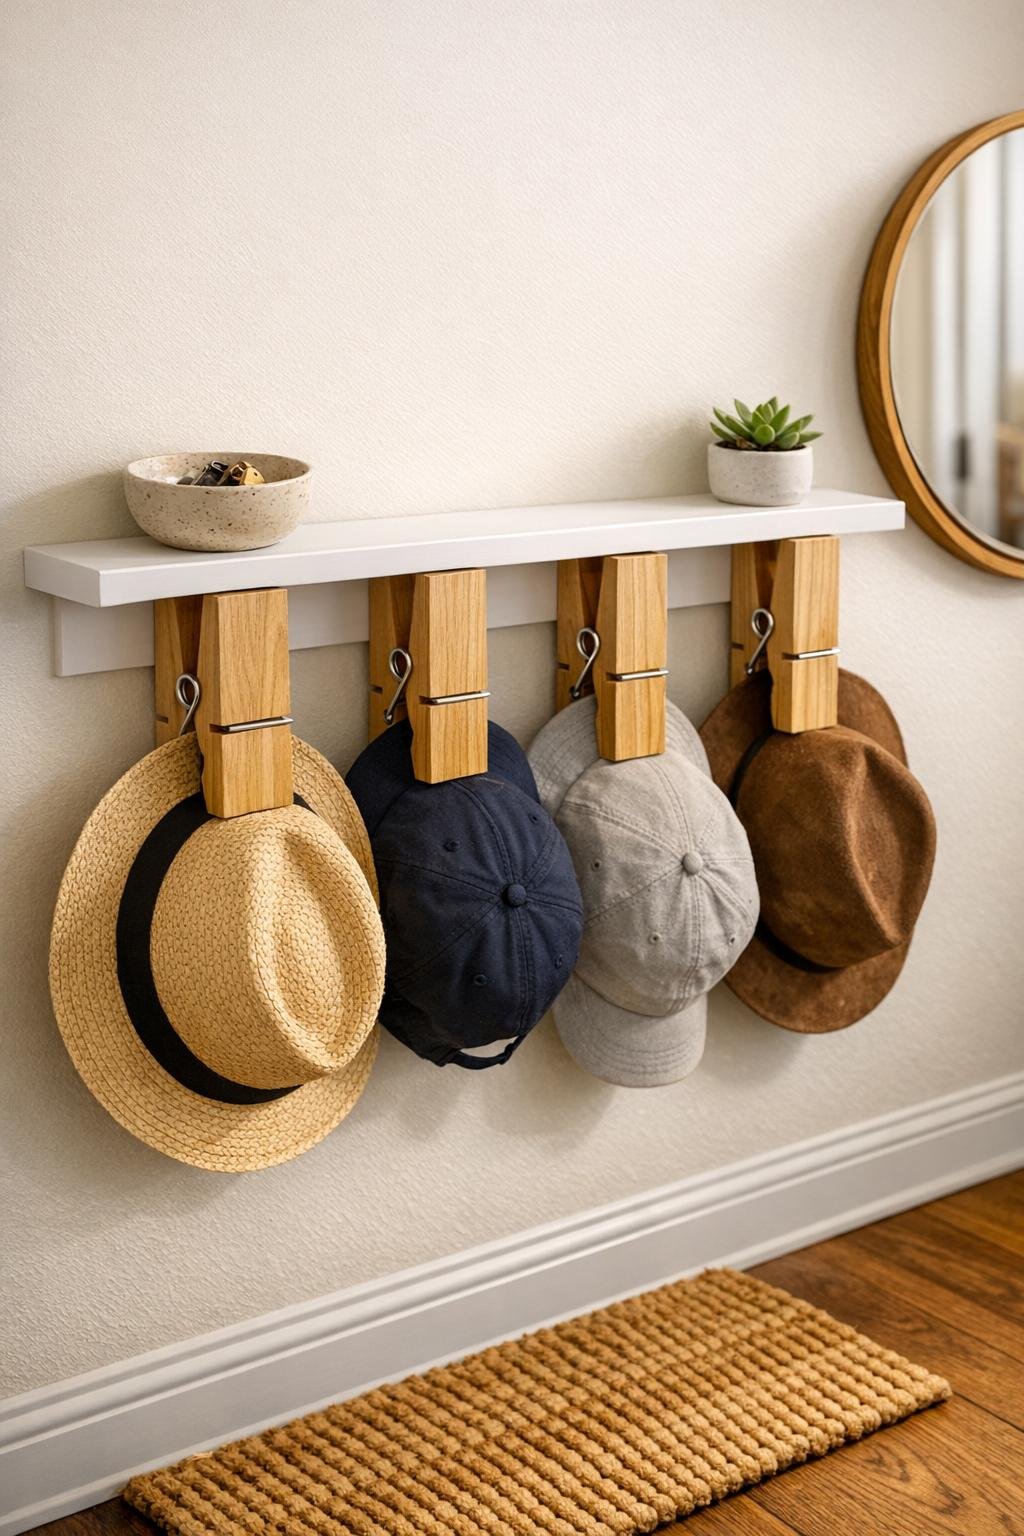
I love an entryway project that solves a real-life problem and still looks interesting enough that people stop and ask where it came from. This floating shelf hat rack does exactly that: you get a slim landing spot for keys, mail, or sunglasses, plus a row of oversized wooden clothespins that double as the cutest hooks for hats, light bags, and even dog leashes. It has that clean, clever look that feels custom without turning into a full weekend build.
This is a great project if your front door area is always collecting everyday clutter or if you want something functional that looks more thoughtful than basic wall hooks. I’m always trying to make the “drop zone” by the door work harder in my house, especially on busy weekdays, and this one gives you storage, personality, and a polished finish without a complicated tool list.
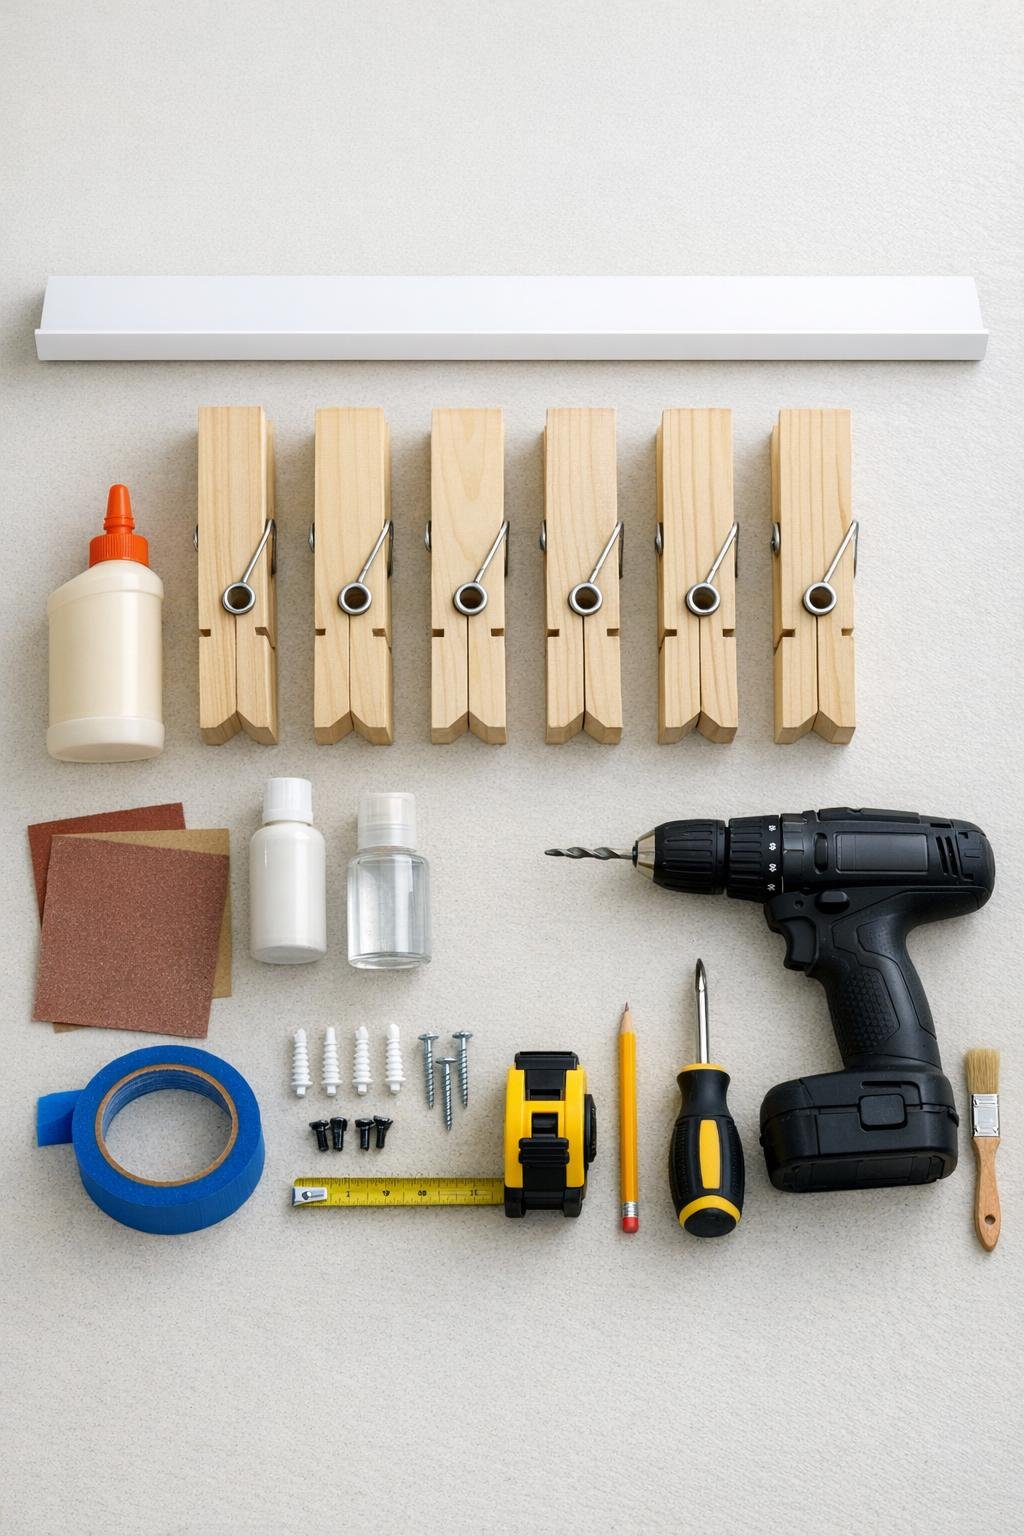
Materials
1 slim floating shelf, white, 24 inches long x 4 inches deep
Instructions
1. Decide where the rack will hang and mark a comfortable height, usually about 66 to 70 inches from the floor to the top of the shelf if you want hats easy to grab without crowding the doorway.
2. Lay the floating shelf on your work surface and arrange the five clothespins across the front edge until the spacing looks balanced; I like leaving about 1 1/2 inches from each end and roughly 2 1/2 to 3 inches between pins.
3. Lightly sand the back side of each clothespin where it will contact the shelf, and scuff the shelf face in those same spots with 220-grit sandpaper so the glue grabs better.
4. Wipe away dust with a dry cloth, then clean the contact areas with a little rubbing alcohol and let everything dry fully.
5. Mark the final clothespin positions with light pencil lines or short pieces of painter’s tape so you can glue quickly and keep the row straight.
6. Apply a generous bead of wood glue to the back of the first clothespin, press it onto the front face of the shelf with the pin opening facing downward, and hold for 20 to 30 seconds before moving to the next one.
7. Repeat with the remaining clothespins, checking that their tops line up evenly and that each one opens freely without bumping the shelf above.
8. If you want extra durability for heavier daily use, add a thin line of construction adhesive behind each clothespin right after the wood glue, keeping it away from any moving parts.
9. Let the shelf sit flat and dry for the full adhesive cure time, usually at least 8 hours for handling and 24 hours for full strength.
10. Fill any visible gaps or tiny dents with a dab of wood filler, let it dry, and sand smooth with 220-grit sandpaper for a cleaner finished look.
11. Touch up the shelf with white paint if needed, then brush a light coat of clear matte sealer over the clothespins and any painted areas to protect against fingerprints and everyday wear.
12. Use a level to mark the mounting line by the door, install the shelf hardware according to the manufacturer’s directions, and secure it into studs or appropriate wall anchors.
13. Slide the shelf into place, tighten any hidden fasteners, and test each clothespin by clipping on a baseball cap or lightweight tote before loading the rack fully.
14. Style the top shelf with a small bowl for keys, a compact framed photo, or a little plant so it looks intentional and finished instead of purely functional.
Variations & Tips
Make it longer: If you have a larger family or a wide blank wall, use a 36-inch floating shelf and 7 oversized clothespins instead of 5 so the rack feels full and useful rather than crowded.
Keep the wood natural: I love the contrast of natural wood against a white shelf because it feels fresh and warm, but you can stain the clothespins a light oak or walnut if that fits your entryway better.
Use it for more than hats: These big pins are great for gloves, folded scarves, incoming mail, permission slips, or the dog leash, which is especially helpful if your kitchen counters become a paper magnet like mine do.
Check the spring tension: Before gluing, test each clothespin to make sure it opens smoothly and grips evenly; swapping out one weak pin now is much easier than after the shelf is mounted.
Mind the weight: This project works best for hats, lightweight bags, and small accessories, not heavy backpacks or winter coats, unless you build a reinforced version with screws through the clothespins and into a solid wood shelf face.
Match your trim: If your door trim is cream, greige, or black, paint the floating shelf to match before attaching the pins for a more built-in look.
Keep spacing practical: Leave enough room between clothespins so bulky trucker caps or knit hats do not overlap too much; a slightly wider gap usually looks better once the rack is actually in use.
Add finishing touches: A small tray, a candle, or a tiny vase on the shelf gives the whole piece that finished entryway moment people notice right away, and honestly that’s usually what makes guests ask about it.