
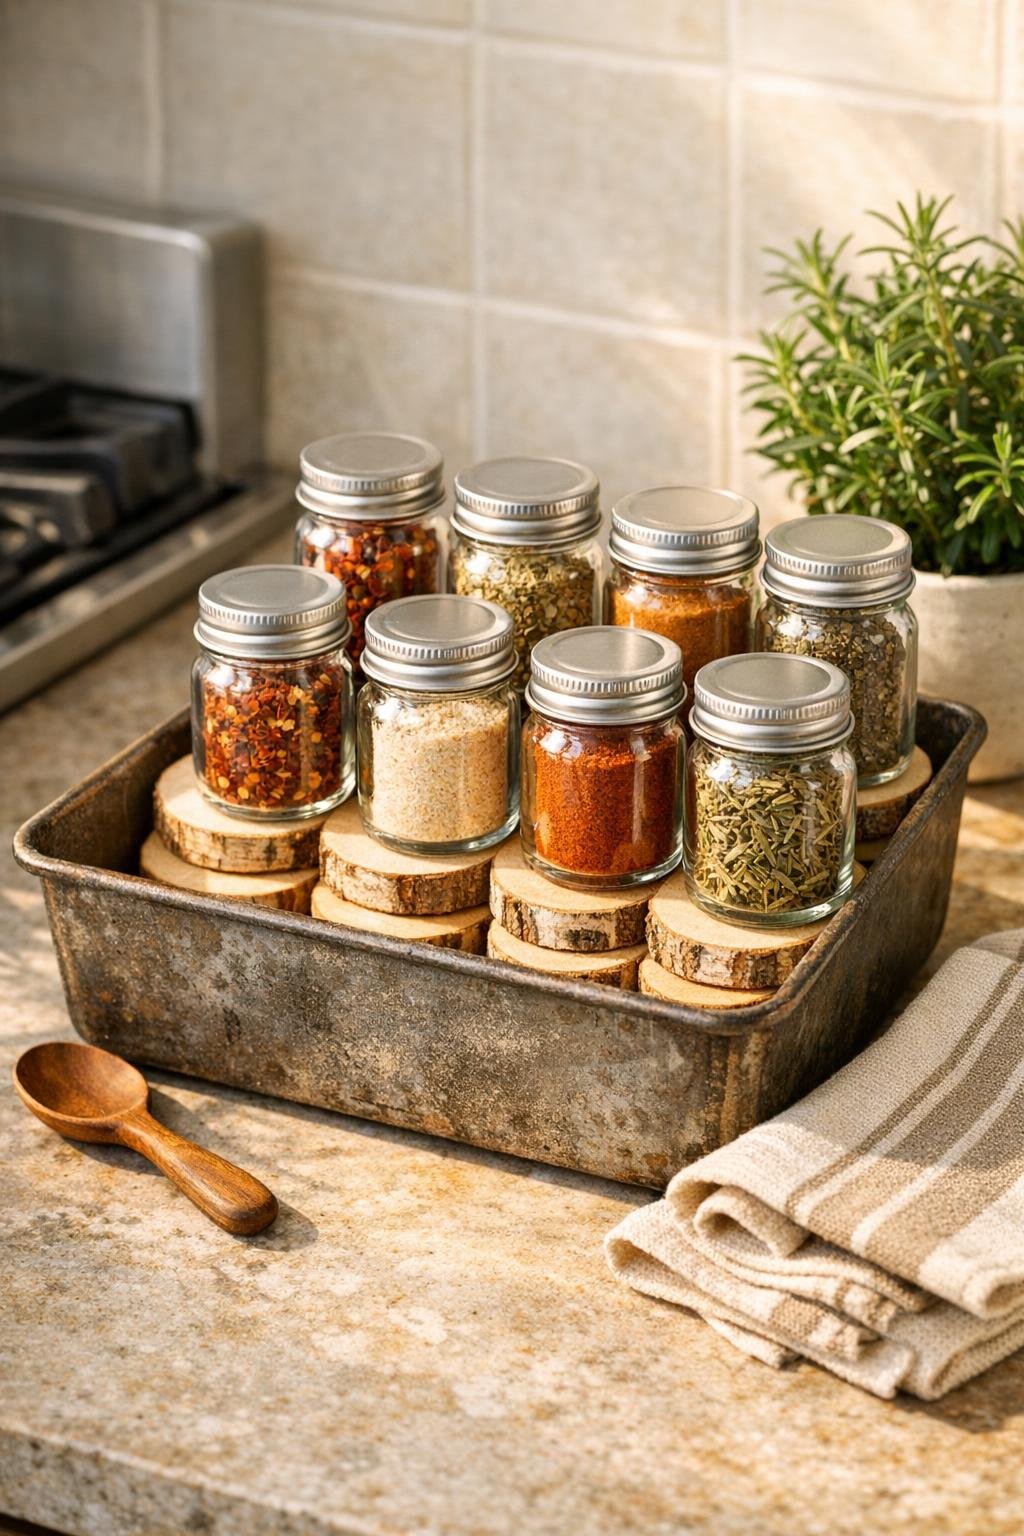
This little kitchen organizer is one of those projects I love because it solves a real everyday problem without asking you to build anything complicated. By stacking small wooden coasters under glass spice jars inside a vintage-style bread loaf pan, you get a simple tiered riser that makes labels easier to see and turns a cluttered cabinet or countertop into something that looks tidy and intentional.
I’m especially fond of projects like this in a busy family kitchen, because anything that helps dinner come together faster is a win in my book. If you cook often, have a handful of favorite spices in rotation, or just want a prettier way to keep jars corralled near the stove, this is an easy afternoon project with a surprisingly polished payoff.
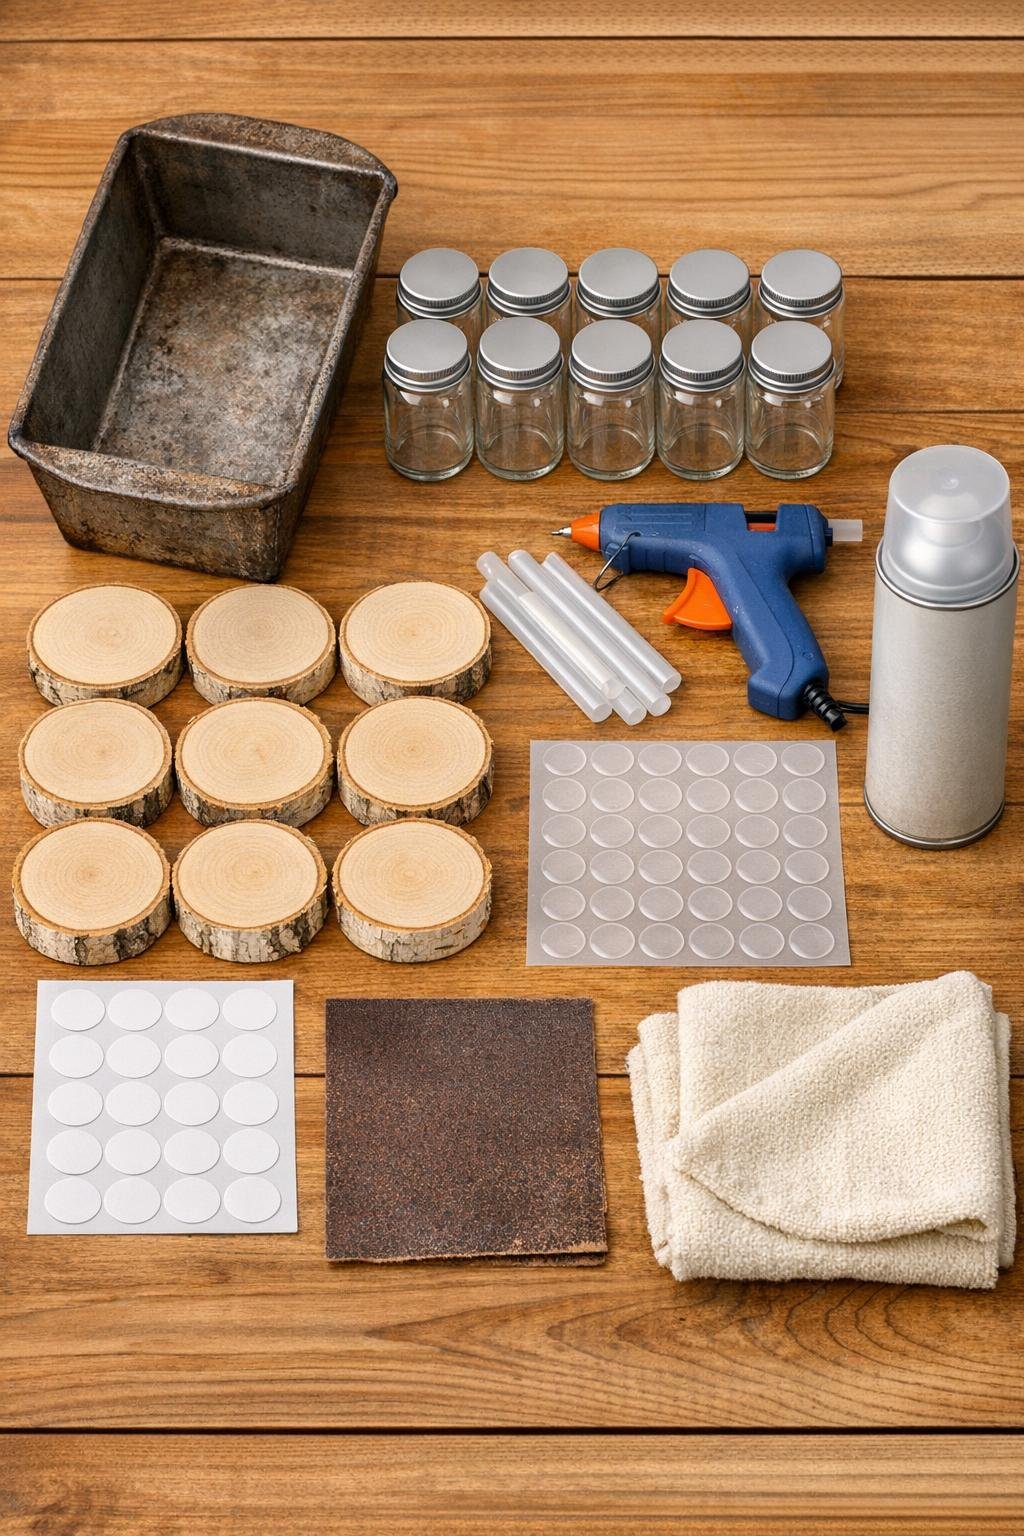
Materials
1 rustic metal bread loaf pan, about 12 x 5 x 3 inches
Instructions
1. Wash and dry the loaf pan and spice jars, then wipe the inside of the pan, the coaster tops, and the jar bottoms with rubbing alcohol so the adhesives stick well.
2. Lightly sand any rough edges on the birch coasters, then wipe away dust with the soft cloth for a cleaner finished look.
3. Spray the coasters with a light coat of matte clear sealer on both sides and let them dry completely; this helps them resist kitchen splashes and spice dust.
4. Set the loaf pan in front of you lengthwise and test-fit the coasters in three rows, stacking them to create a gentle stair-step arrangement from front to back.
5. Use 1 coaster for each front-row pedestal, stack 2 coasters for each middle-row pedestal, and stack 3 coasters for each back-row pedestal so the rear jars sit highest and stay visible.
6. Add a small bead of hot glue between each coaster in every stack, press the layers together, and hold for a few seconds until each pedestal feels firm.
7. Place the finished stacks back into the loaf pan, spacing them evenly so each glass jar will sit securely without bumping the next one.
8. Attach 1 or 2 clear removable adhesive dots under each stack to keep the pedestals from sliding in the pan while still allowing you to adjust them later if needed.
9. Fill the spice jars if they are empty, tighten the lids, and apply matching labels so the finished organizer looks orderly and easy to use.
10. Set 4 jars on the front row, 4 on the middle row, and 4 on the back row, adjusting the spacing until every label can be read at a glance.
11. Slide the loaf pan into its kitchen spot and give the whole piece a final wipe so the glass shines and the wood stays free of dust or glue strings.
Variations & Tips
For picky-label readers: If your family tends to grab cinnamon when they meant cumin, use larger matching labels on the jar lids as well as the fronts so everything is easy to spot from above.
Pan swap: If you already have a loaf pan with a different shape, just keep the same stepped idea and adjust the number of jars to fit comfortably without crowding.
No-glue option: You can skip hot glue and use strong removable mounting dots between coaster layers if you want the risers to come apart later, though glued stacks feel sturdier for everyday use.
Finish choice: A matte sealer keeps the birch natural-looking, but a food-safe mineral oil rubbed onto the coasters also gives the wood a richer tone if you like a warmer farmhouse look.
Best spice lineup: I like to reserve this organizer for the seasonings I reach for most at dinnertime, such as garlic powder, onion powder, paprika, Italian seasoning, cinnamon, chili powder, cumin, and oregano, and store backups elsewhere.
Easy cleaning tip: Lift out the jars first, then wipe the pan and coaster tops with a barely damp cloth; keeping moisture light helps the wood stacks stay nice over time.
Make it giftable: Fill each jar before displaying it, and this becomes a lovely housewarming or holiday kitchen gift that looks thoughtful without being fussy.