
I love a project that turns everyday recycling into something unexpectedly beautiful, and this glowing milk jug porch tree absolutely does that. By cutting the flower-shaped bottoms from 20 plastic milk jugs and layering them over a lit tomato cage, you get a big, glowing outdoor tree that looks whimsical at night and still has plenty of charm during the day. It’s the kind of porch decor that makes people slow down on their evening walk, and honestly, that’s my favorite kind of DIY.
This is a great project if you want something eye-catching without needing fancy tools or advanced crafting skills. I’m always looking for decorations I can put together over a weekend after work, and this one checks every box: inexpensive, easy to batch-produce, and dramatic enough to fill an empty porch corner all on its own.
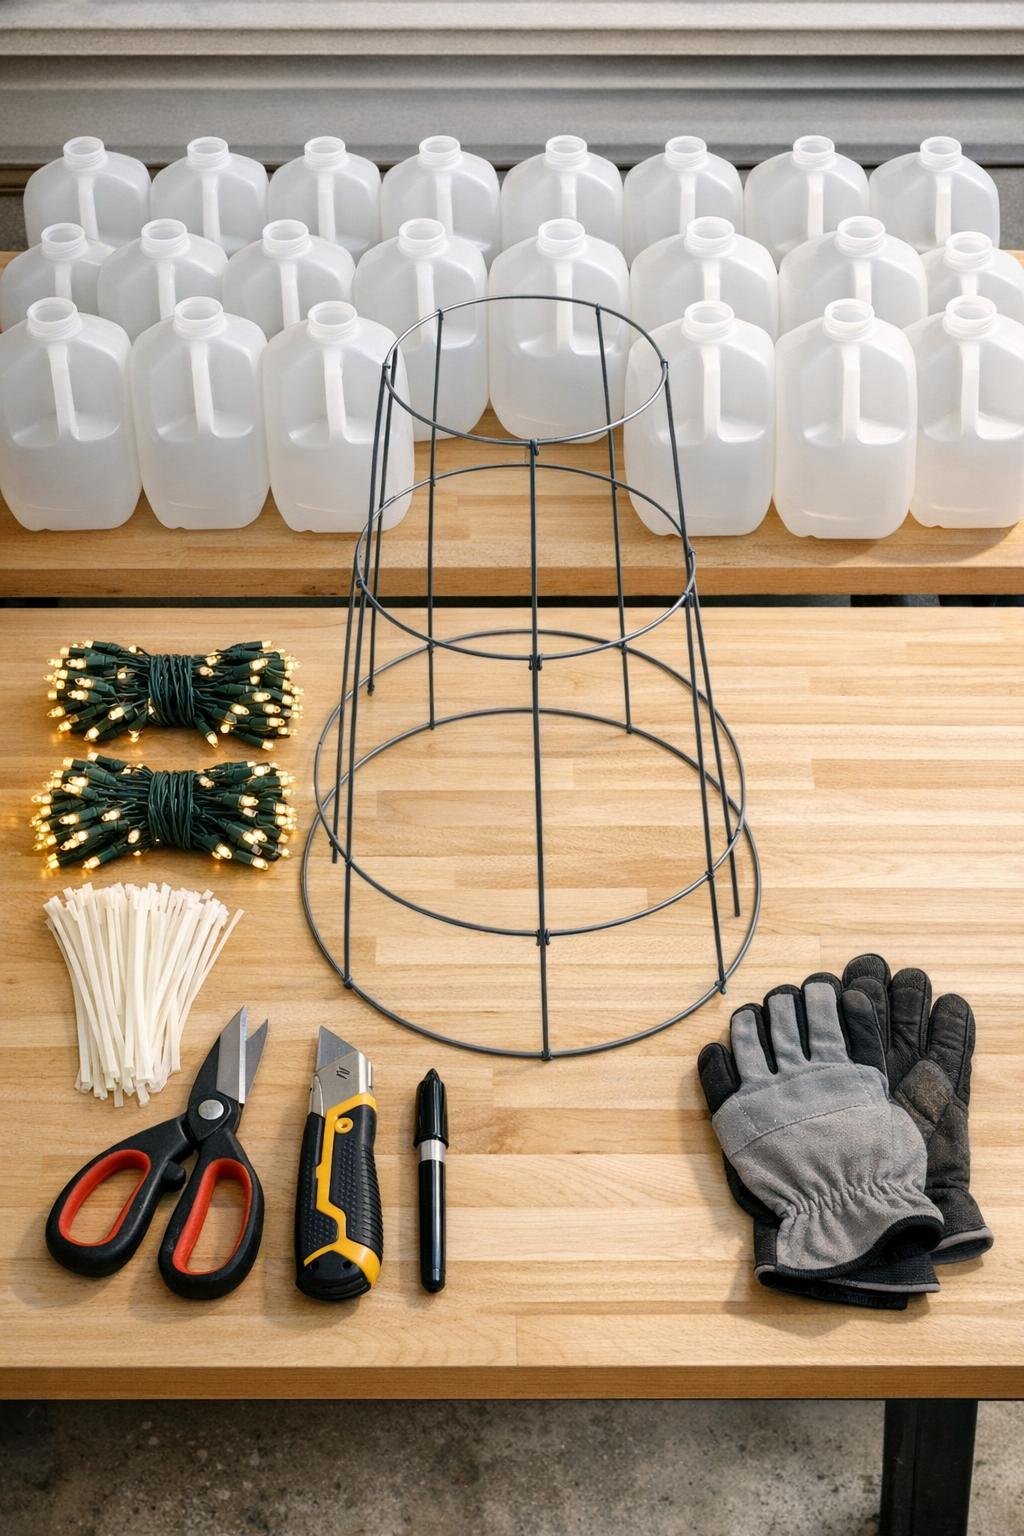
Materials
Instructions
1. Rinse all 20 milk jugs with warm soapy water, peel off any loose label pieces, and let them dry completely so the plastic stays clean and bright when lit.
2. Use the marker to draw a cutting line around the bottom of each jug about 2 1/2 to 3 inches up from the base, keeping the natural rounded “petal” shape of the jug bottom intact.
3. Poke a starter hole with the utility knife, then cut along the marked line with scissors to remove all 20 bottoms; each cut piece should look like a five-petal plastic blossom.
4. Trim any jagged edges so each blossom is smooth and even, then lightly press misshapen petals outward with your hands to make the pieces look fuller once attached.
5. Turn the tomato cage upside down so the wide ring sits at the top and the narrow pointed end forms the base, then spread the bottom wires slightly so the tree stands evenly.
6. If your porch gets windy, place brick pavers over the lower wire feet or pour a little pea gravel around the base once the tree is in position to give it extra stability.
7. Wrap the two strands of LED lights around the tomato cage from bottom to top, weaving them in and out of the wire frame so the lights are distributed evenly through the whole tree shape.
8. Hold one plastic blossom against the wire frame and secure it with 3 to 4 zip ties spaced around the sides, keeping the rounded bottom facing outward so it catches and diffuses the light.
9. Continue attaching the milk jug blossoms in staggered rows from the bottom up, slightly overlapping the edges as you go so the tree looks lush and full instead of spotty.
10. Fill any obvious gaps with extra-tight placement near the front and sides, using the smoothest and most evenly shaped blossoms in the most visible areas.
11. Tuck the light plugs and excess cord neatly down the back side of the tree, then test the lights and rotate any blossoms that block too much glow in one area.
12. Add the ribbon bow near the top if you want a finished look, plug the tree into the extension cord, and place it beside your front door or on porch steps where the glow can really show off at dusk.

Variations & Tips
For a taller tree: Use a 72-inch tomato cage and 28 to 32 milk jugs for a more dramatic version that fills a bigger porch corner.
For a snowy look: Dust the outside edges lightly with white frost spray or iridescent glitter sealer made for plastic, but keep it subtle so the jug blossoms still glow.
For colored light: Swap the warm white LEDs for soft multicolor or cool white lights if that better fits your holiday setup; I still prefer warm white because it makes the plastic look almost pearly.
To make cutting easier: I like to do all the marking first, then all the rough cuts, then all the trimming in one batch while listening to a podcast—it turns a repetitive task into a pretty relaxing assembly line.
For cleaner attachment: White zip ties disappear against the jugs much better than clear or black ones, especially once the tree is lit at night.
To store it between seasons: If you want to save the tree intact, wrap it in an old sheet and stand it in a basement or garage corner so the blossoms don’t get crushed.