
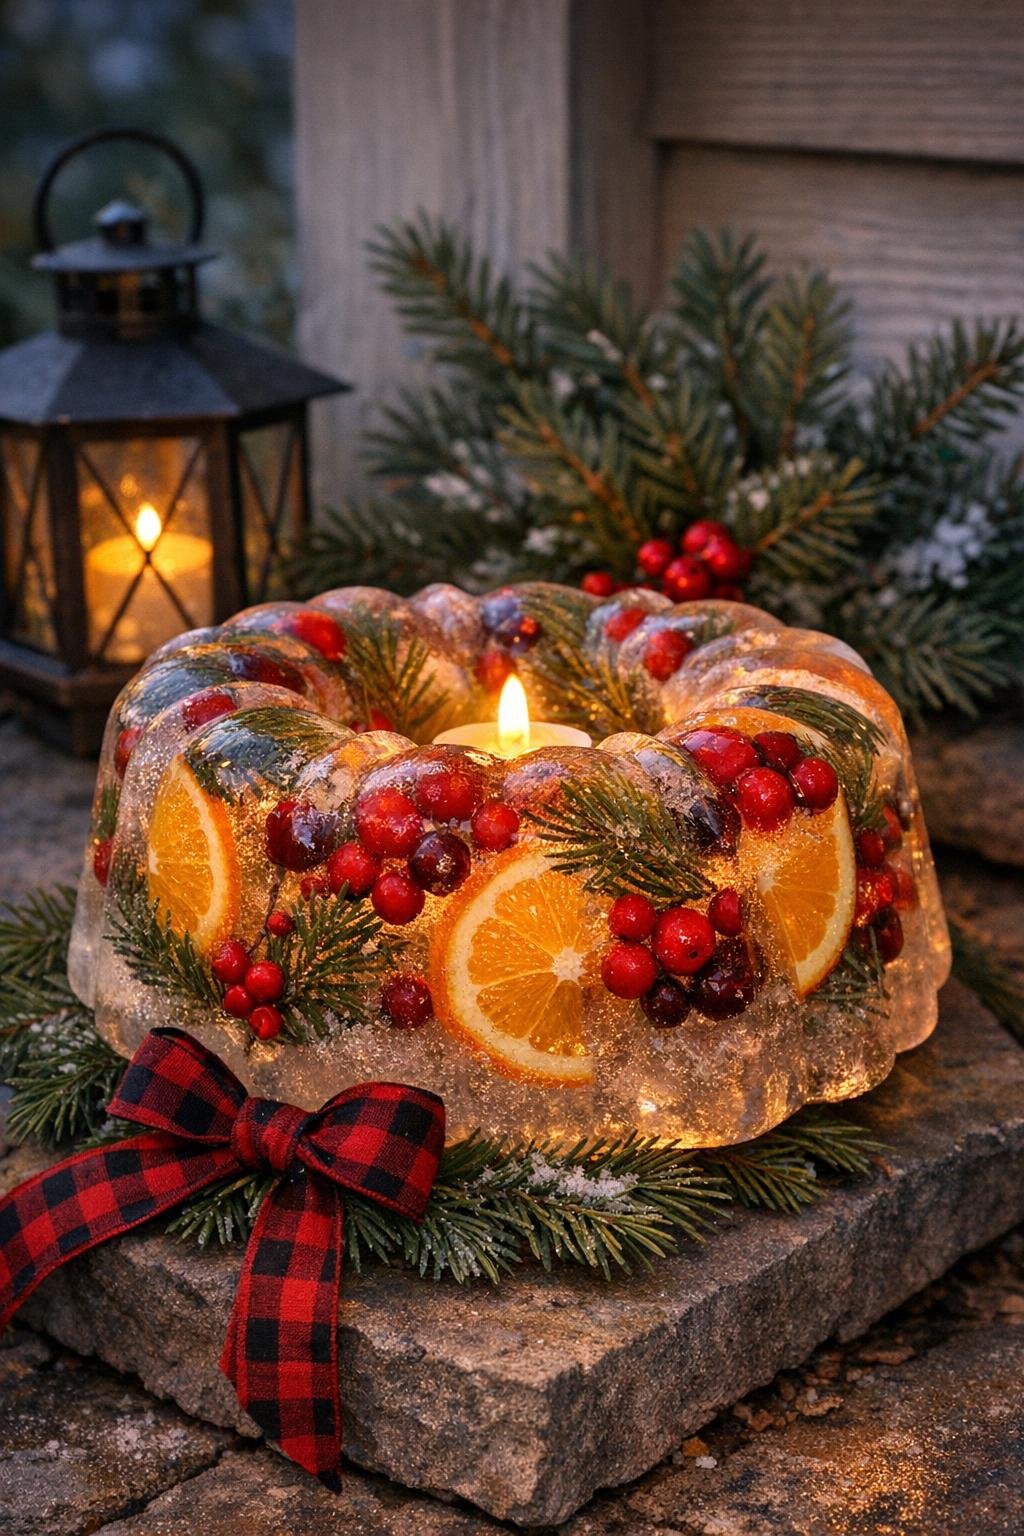
I love a porch project that looks a little magical without asking me to buy a cart full of supplies, and this frozen bundt porch luminary is exactly that kind of make. You use an old bundt pan as the mold, pack it with pine and winter trimmings, add water, and end up with a big glowing ring of ice that looks far fancier than it is. It’s one of those simple ideas that gets so many compliments because the finished piece feels special and a little unexpected.
This is perfect for anyone decorating a front step, walkway, patio table, or porch rail in cold weather. I especially like making these when I want something seasonal and pretty for guests without adding one more thing to store afterward, and if you have kids around, they usually think the whole freezing-and-revealing part is downright wonderful.
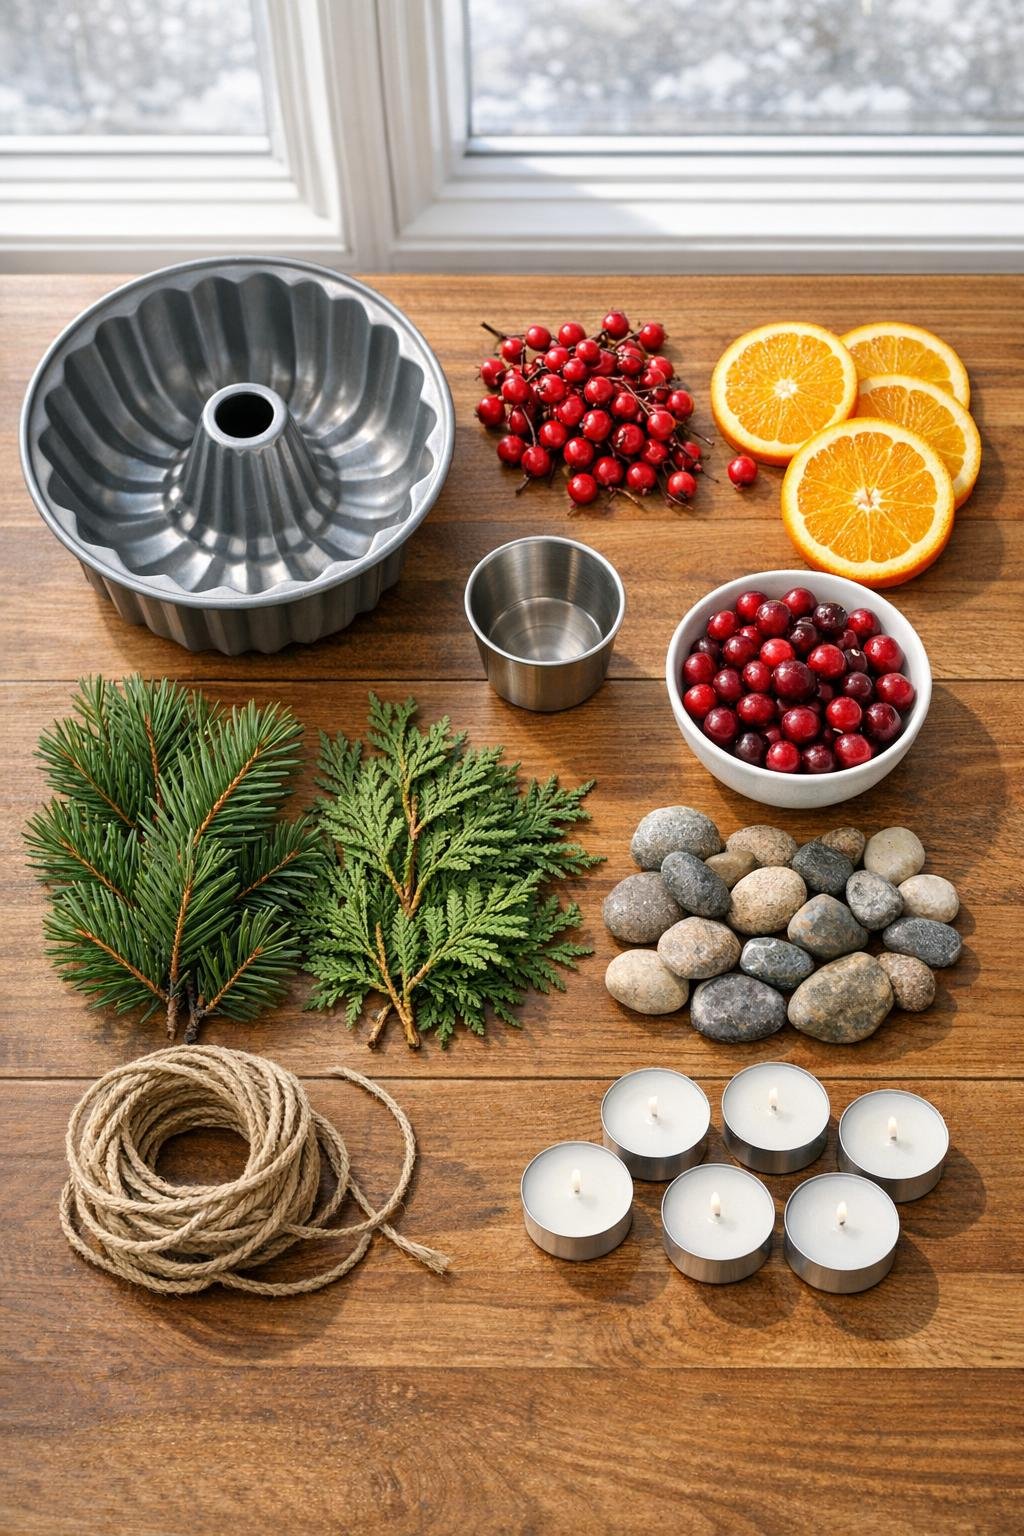
Materials
1 old metal bundt pan, 10 to 12 inches wide
Instructions
1. Rinse and dry the bundt pan well, then set it on a small tray or baking sheet so you can move it to the freezer without sloshing.
2. Layer half the pine, cedar, berries, cranberries, and orange slices evenly around the ring of the pan, pressing the prettiest pieces against the sides so they’ll show through the ice.
3. Pour in enough cold water to cover that first layer by about 1 inch, then freeze for 2 to 3 hours until slushy or partly firm; this keeps the decorations from all floating to the top.
4. Add the remaining pine, cedar, berries, cranberries, and orange slices, spreading everything generously so the ring looks full from every angle.
5. If the center opening needs help staying open and neat, set the small cup into the middle and weigh it down with pebbles or dry beans.
6. Fill the pan nearly to the top with more cold water, leaving about 1/2 inch of space so the ice can expand without cracking.
7. Freeze overnight, or leave outside overnight if temperatures stay well below freezing and the pan will be undisturbed.
8. To unmold, dip the bottom of the pan in a sink or basin of lukewarm water for 10 to 20 seconds, then gently loosen the ice ring with your fingertips and turn it out onto a towel.
9. Set the frozen ring on a shallow plate, plant saucer, or stone paver, then nestle the battery tea light in the center opening so it glows through the ice.
10. Tuck a few extra pine tips and an orange slice around the base, and if you like, tie a ribbon or twine around the display plate for a finished porch-ready look.
Variations & Tips
For longer-lasting ice: Use very cold water and keep the finished luminary in the shadiest, coldest part of the porch. I like to set mine on stone rather than warm wood if the sun reaches the steps.
For a fuller look: Pack in more greenery than you think you need. Once frozen, everything looks a little more spaced out, so generous layering gives you that lush, neighbor-stopping finish.
For picky color preferences: If bright red berries or orange slices feel too busy for your style, skip one and do an all-evergreen version, or use just cranberries for a simpler color palette. I’m always for making things suit your own front door.
For safer lighting: Stick with a battery tea light or outdoor LED votive instead of a real candle. It still gives that cozy glow and is much easier when wind or melting ice is involved.
For extra sparkle: Add a few small snips of white-tipped pine, tiny eucalyptus pieces, or a light dusting of fresh snow around the base right before guests arrive.
For easy unmolding: Don’t rush it. A quick dip in lukewarm water is plenty; too much warmth can melt away the crisp details on the outside of the ring.
For a bigger display: Make two or three matching luminaries in different pans and group them near the door or down the steps. They look especially beautiful when each one has slightly different greenery tucked inside.