
Old wooden ladders are one of those things I can never look at as junk. The wood is usually sturdy, the wear has character, and those rungs are practically begging to become something useful. For this project, I’m turning five salvaged ladder rungs into a wall-mounted wooden tree that works beautifully as rustic holiday décor, but it’s simple enough that even a first-time DIYer can pull it off in an afternoon.
What I love here is the payoff: you get a large, eye-catching piece with very little complicated building. The rungs do most of the visual work for you, and with a little sanding, stain, and a few polished finishing touches, the final piece looks intentional rather than “made from scraps.” If you enjoy easy projects with a big decorative impact, this is exactly the kind of build worth making.
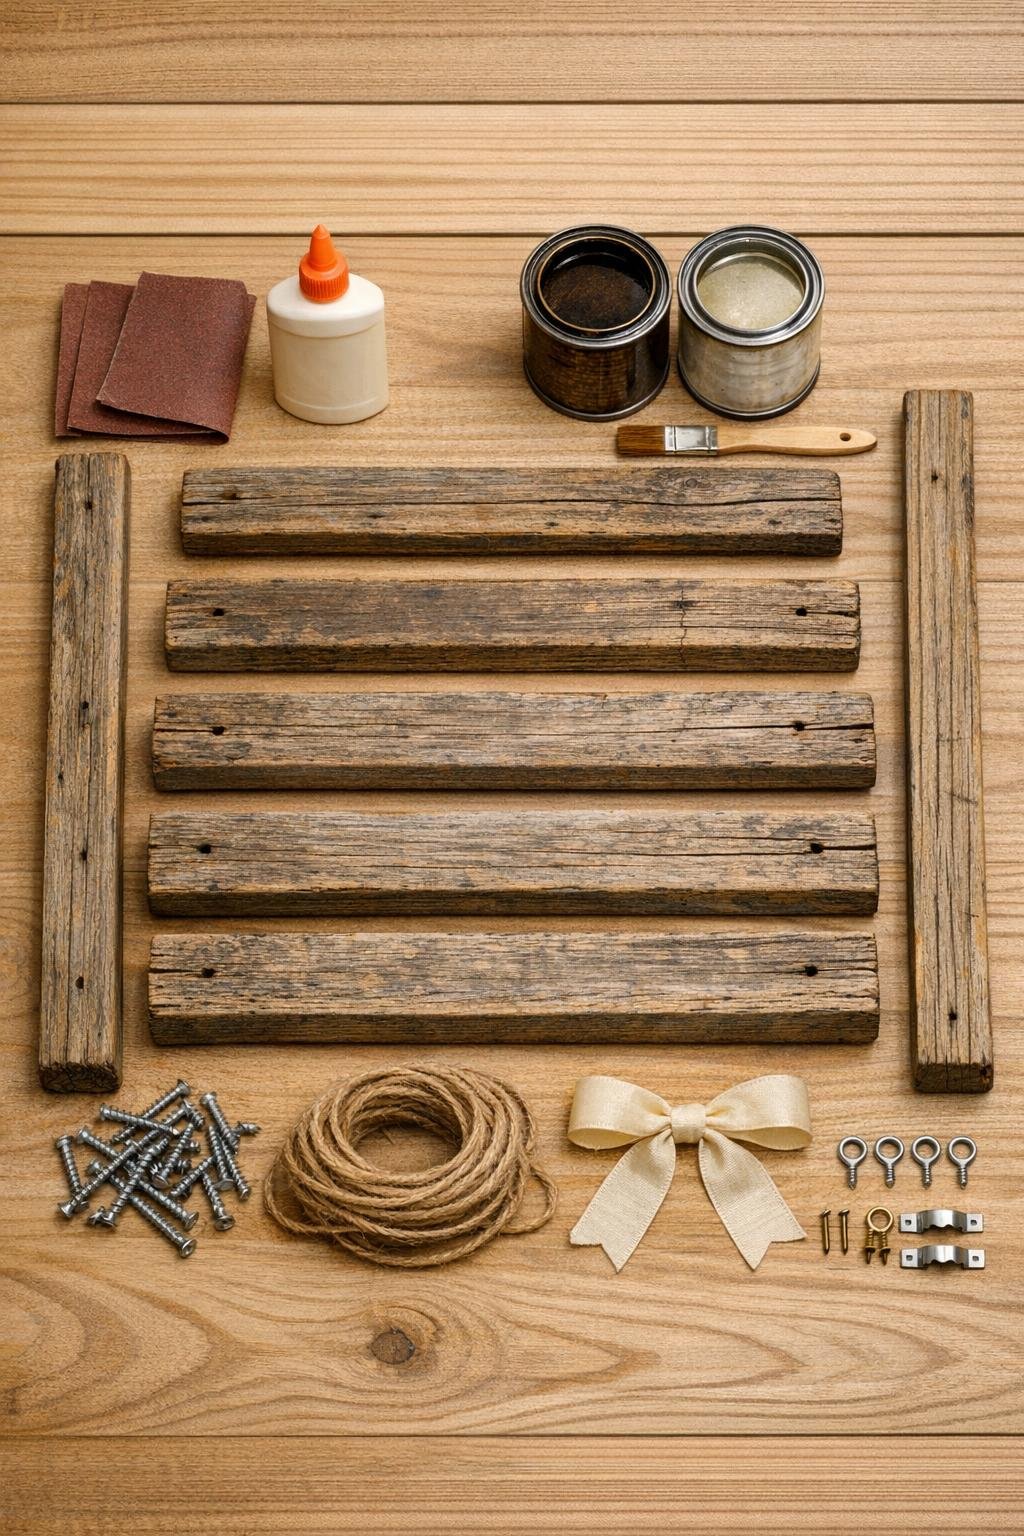
Materials
Instructions
1. Cut or trim your five ladder rungs to graduated lengths from shortest to longest so they can form the shape of a tree when stacked with the smallest rung at the top and the longest at the bottom.
2. Sand each rung and both side support strips with 120-grit sandpaper first, then smooth everything with 220-grit so the wood keeps its rustic character without leaving splinters.
3. Lay the two side support strips parallel on your work surface, spacing them about 8 inches apart, and arrange the rungs across them from top to bottom with 4 to 5 inches between each rung.
4. Adjust the rung spacing until the outline clearly reads as a tree, keeping the top rung near the upper ends of the side supports and leaving a little extra room below the bottom rung for balance.
5. Add a thin bead of wood glue where each rung meets each side support, then drive two screws through each side support into the ends of every rung to lock the frame together.
6. Wipe away any glue squeeze-out and let the assembly rest flat until the joints feel firm and stable.
7. Apply one even coat of wood stain over the front, sides, and visible back edges, working it into the worn grain so the old ladder wood looks richer instead of freshly covered.
8. After the stain dries, brush on a clear matte topcoat to protect the finish and give the tree a polished, handmade look rather than a dusty reclaimed look.
9. Twist a little jute twine around the very top of the support strips to soften the top edge, then tie on the ribbon bow for a finished focal point.
10. Screw in the small screw eyes along the rungs wherever you want ornaments, greenery, or fairy lights to sit without sliding around.
11. Attach the two D-ring hangers on the back of the side supports near the top, then hang the tree securely on wall anchors so it sits flat against the wall.
12. Add lightweight ornaments, a strand of micro lights, or a few wooden beads across the rungs, keeping the decoration full enough to feel festive while still letting the ladder wood stay visible.

Variations & Tips
Keep it extra rustic: If your ladder wood has paint flecks or worn edges, don’t sand them completely away. I like leaving some history in the surface as long as it’s smooth to the touch.
Use a lighter finish: For a more Scandinavian look, skip the dark stain and use a clear coat only. The tree shape still reads beautifully, especially against a darker wall.
Add greenery: Tuck small faux cedar or pine sprigs behind the rungs before hanging ornaments. This gives the piece the fuller, layered look people usually pay a lot more for in store-bought décor.
Mind the weight: This project is best with lightweight decorations only. I treat it like garnishing a dish: enough to make it feel abundant, but not so much that the structure or presentation gets overwhelmed.
Make it all-season: After the holidays, remove the ornaments and hang small baskets, dried florals, or clipped recipe cards on the rungs. That simple swap turns the same piece into year-round wall décor.
Check your spacing before screwing: I always step back once before final assembly. That quick visual check is the difference between “homemade” and “nicely designed.”