
I’ve hauled home all kinds of odd thrift-store finds over the years, and I’ll tell you true, the pieces everyone else overlooks are often the ones that turn into the handiest things in the house. A vintage golf club bag stand may not look like much sitting in a dusty corner, but that tall wire frame is just begging to be turned into a sturdy decorative basket. By crocheting chunky rust yarn straight through the metal frame, you get a basket with wonderful shape, plenty of texture, and that cozy old-meets-new charm I’m forever chasing.
This is a good project for anyone who knows the very basics of crochet and doesn’t mind working a little freely instead of counting every stitch like a church ledger. The wire frame does most of the shaping for you, so the process feels more forgiving than a fully crocheted basket. I especially love this piece for holding throw blankets, rolled quilts, kindling, or even big bundles of dried flowers by the hearth.
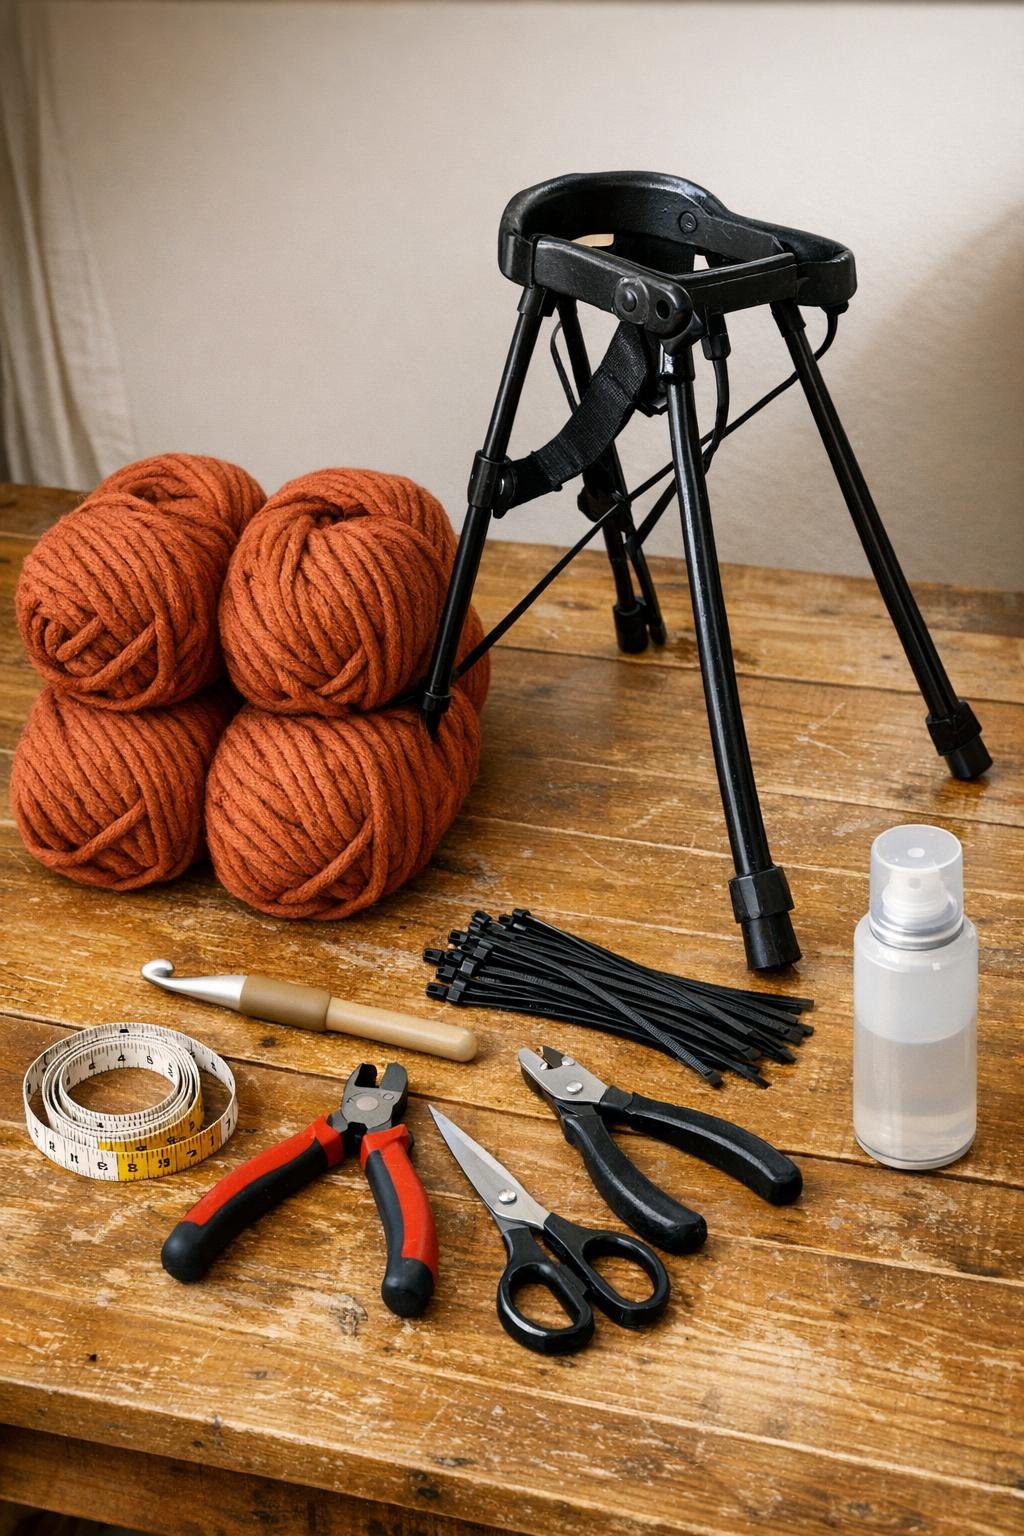
Materials
Instructions
1. Clean the golf club bag stand well with a damp cloth and let it dry completely; if it wobbles, gently bend the frame back into shape so it stands evenly before you begin.
2. Add felt pads to the feet if you’ll use the basket indoors, then decide which end will be the top opening and which side you want facing forward, especially if the frame has a prettier curve on one side.
3. Tie the yarn securely near the lower inside edge of the frame with a double knot, leaving a 4-inch tail, and begin by single crocheting directly around one bottom wire section to anchor your first row.
4. Work upward in single crochet, pulling the yarn through each open section of the frame and around the vertical wires so the stitches lock onto the metal like a woven sleeve.
5. Keep the stitches snug and close together, pressing them down with your fingers every few inches so the black frame shows through just a little but the basket still looks full and richly covered.
6. When you reach a wide open area between supports, crochet short horizontal spans by catching the yarn around one wire, then the next, building a dense wall that bridges the frame without sagging.
7. Continue all the way around the stand, row by row, filling the frame from the lower section up toward the rim, and add an extra pass of stitches anywhere that looks thin or uneven.
8. At the top opening, crochet a final rounded edge by working one complete row tightly around the top rim wire, then a second row of slip stitches to make the border look finished and sturdy.
9. Weave the yarn tail and ending strand back through nearby stitches with the crochet hook, then trim neatly so no loose ends peek through the openings.
10. Use black zip ties on the inside of the frame only where needed to cinch any loose crochet panels against the metal; trim the tails close so they disappear into the shadows.
11. If you want a softer interior, roll the canvas or heavyweight fabric into a simple tube, tuck it inside the basket, and fold the top edge over by 1 inch so it sits like a relaxed liner.
12. For a polished finish, lightly spray the outside with matte clear protective spray if desired, let it dry, and tie a loose jute rope or ribbon accent near the rim or one side handle area if the frame has one.
13. Fill the basket generously with rolled throws, a folded quilt, or dried stems so the tall shape holds itself proudly and shows off all that warm rust texture.
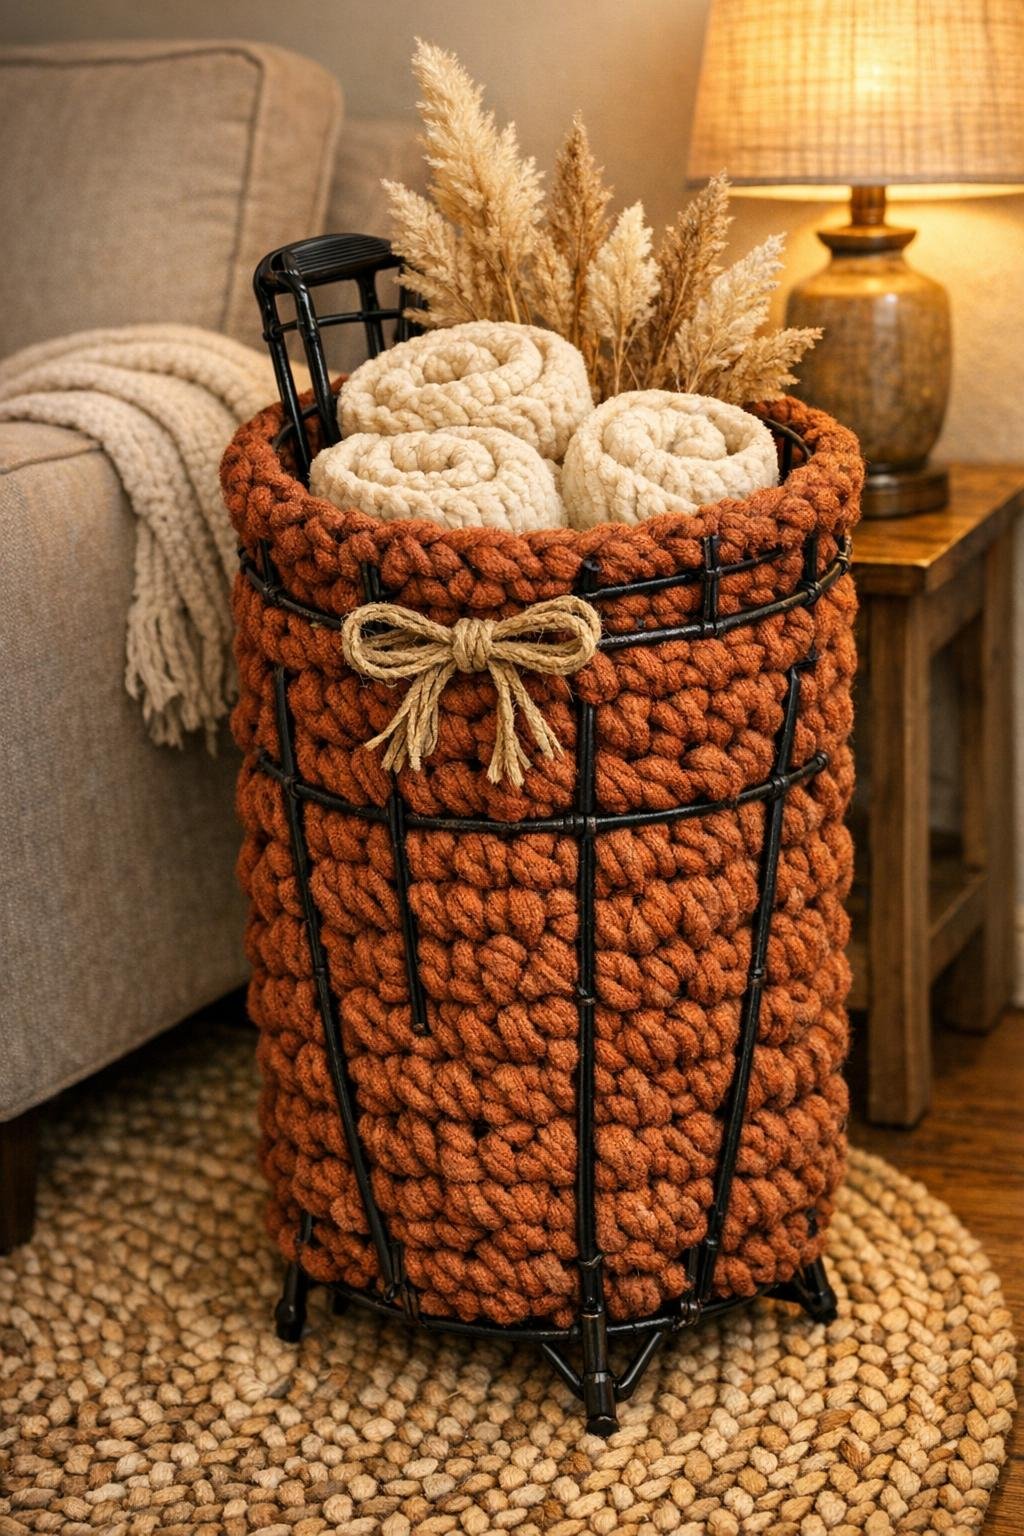
Variations & Tips
Color choice: Rust yarn gives this project that lovely old barn and autumn field feeling, but deep olive, oat, charcoal, or mustard would also suit a vintage metal frame beautifully.
For a fuller look: If your stand has very wide gaps, add a second layer of crochet in selected sections rather than pulling one layer too tight. That gives you better coverage and a more plush basket wall.
Frame condition: A little wear on the metal is just fine, but if you spot rust flakes, brush them off first and seal the frame with a quick coat of clear spray before crocheting.
No exact pattern needed: This is one of those forgiving country projects where the object itself tells you what to do. Just keep your stitches even, your coverage dense, and your top rim tidy.
Best uses: I like this style of basket for blankets, birch logs, wrapping paper tubes, or extra pillows. Because the metal frame is already strong, it can handle bulk without collapsing like a soft yarn basket sometimes will.
Thrift-store tip: Look for stands with a pleasing tapered shape and strong welded joints. Even if the finish is scratched, a solid frame with good bones is worth bringing home.