
There’s a certain kind of garden fix I love best: the sort made from plain, humble things that don’t look like much on their own, but once you put them to work, they solve a real problem beautifully. This raised bed drainage collar is exactly that kind of project. Using aluminum loaf pans and a common yard item, you can make sturdy little pre-frost drain guards that help water move off where you need it while keeping mulch and loose soil from washing into the opening.
Out here, once the weather starts swinging cold and wet, I like to get my beds tidied before the first hard frost settles in. These collars are especially handy for gardeners with raised beds that stay soggy around the corners or along the lower edge. They’re quick to make, easy on the budget, and finished in a way that looks tidy enough that folks really do assume you picked them up at a garden center.
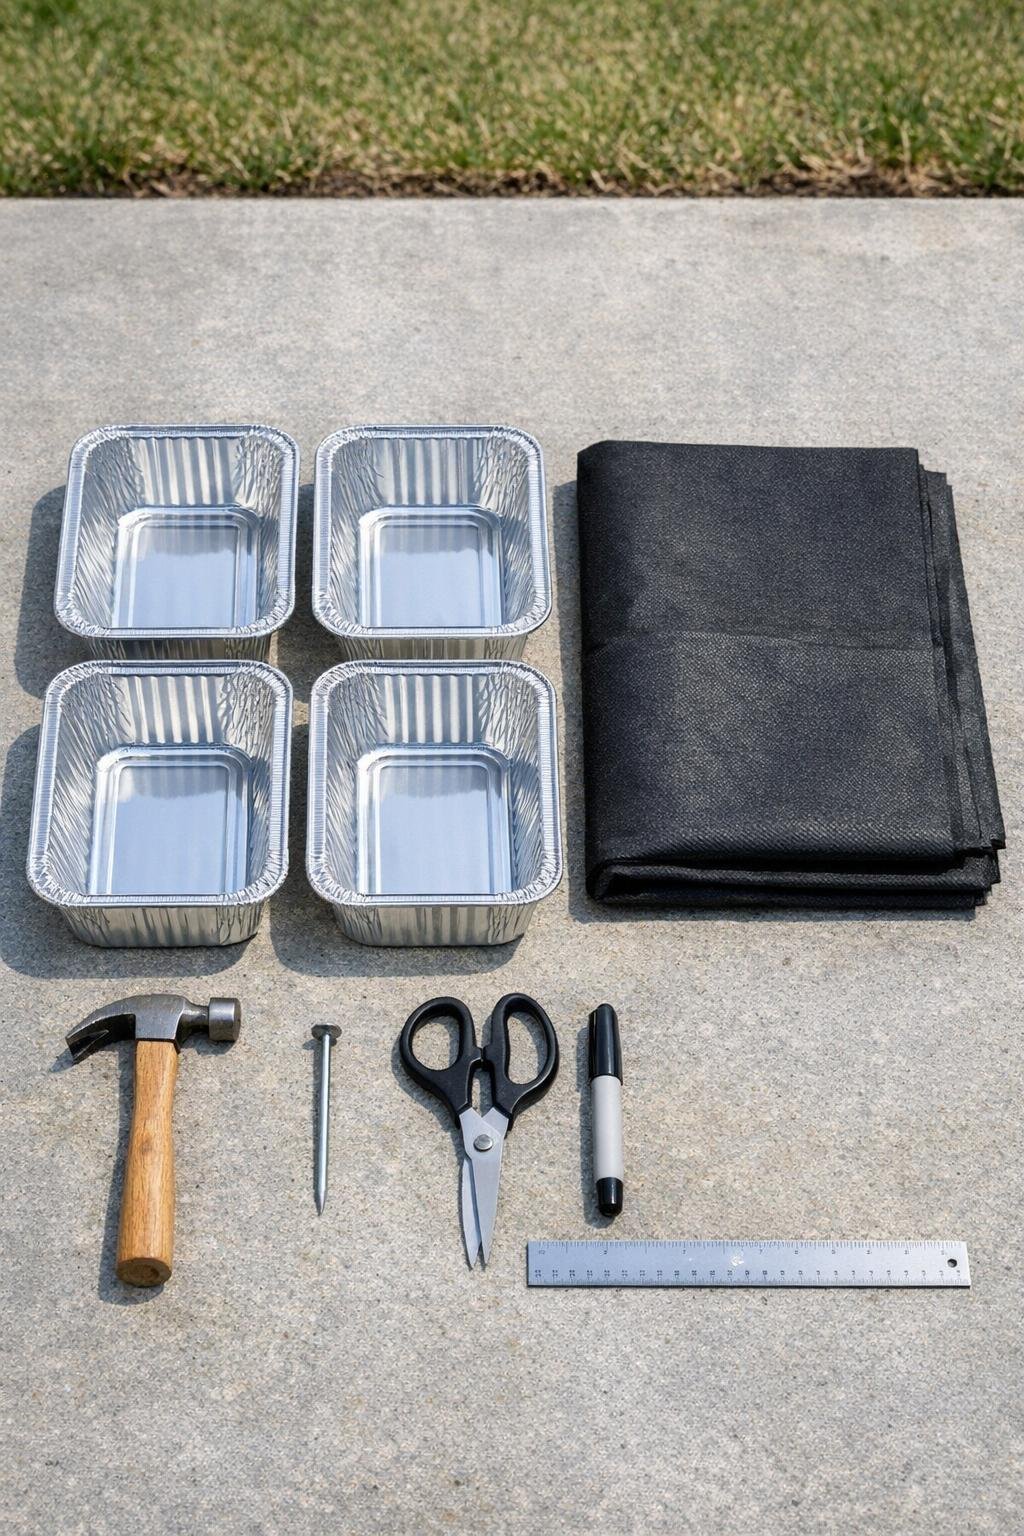
Materials
4 disposable aluminum loaf pans, standard 8 x 4 inch size
Instructions
1. Turn each aluminum loaf pan upside down and mark a loose grid of drainage holes across the bottom, spacing the dots about 3/4 inch apart so the finished collar drains freely without collapsing.
2. Set one pan on a concrete surface and use the nail and hammer to punch holes on the marked dots, leaving a 1/2-inch border around the edge unpunched for strength.
3. Repeat with the remaining pans, then flip them right side up and press out any sharp raised bits around the holes with the hammer head so the bottoms sit flatter and look neater.
4. Cut the landscape fabric into 4 rectangles, each about 6 x 8 inches, large enough to line the inside bottom and come slightly up the sides of each pan.
5. Set one fabric rectangle inside each pan and trim the corners if needed so it lies smooth without bunching; this layer keeps fine soil from slipping through while still letting water pass.
6. Choose the spots on your raised bed where water tends to collect, then dig shallow openings just large enough for the pans so the rim sits about 1/2 inch above the soil line.
7. Nestle the pans into those openings with the fabric-lined side facing up, and backfill firmly around the outside with soil so each collar stays snug and level.
8. Add mulch or loose soil around the installed collars, keeping the tops open and tidy, so water can run into them while the bed surface still looks finished and natural.
Variations & Tips
For heavier soil: If your raised bed is filled with dense clay-heavy soil, punch a few extra holes closer to the center of each pan bottom to speed drainage without weakening the edges.
For a softer look: Tuck a thin ring of mulch around each installed collar so it blends into the bed more gracefully while still leaving the opening clear.
For longer life: Use the slightly heavier disposable loaf pans if you can find them; I’ve learned the sturdier ones hold their shape better through a full cold season.
For corner beds: These work especially well at the lowest corner of a raised bed, where fall rains tend to settle first and make roots miserable.
My best practical tip: Make all four at once, even if you think you only need one or two. In my experience, once you start noticing where water sits after a rain, you’ll be glad to have extras ready to tuck in place before the next weather change.