
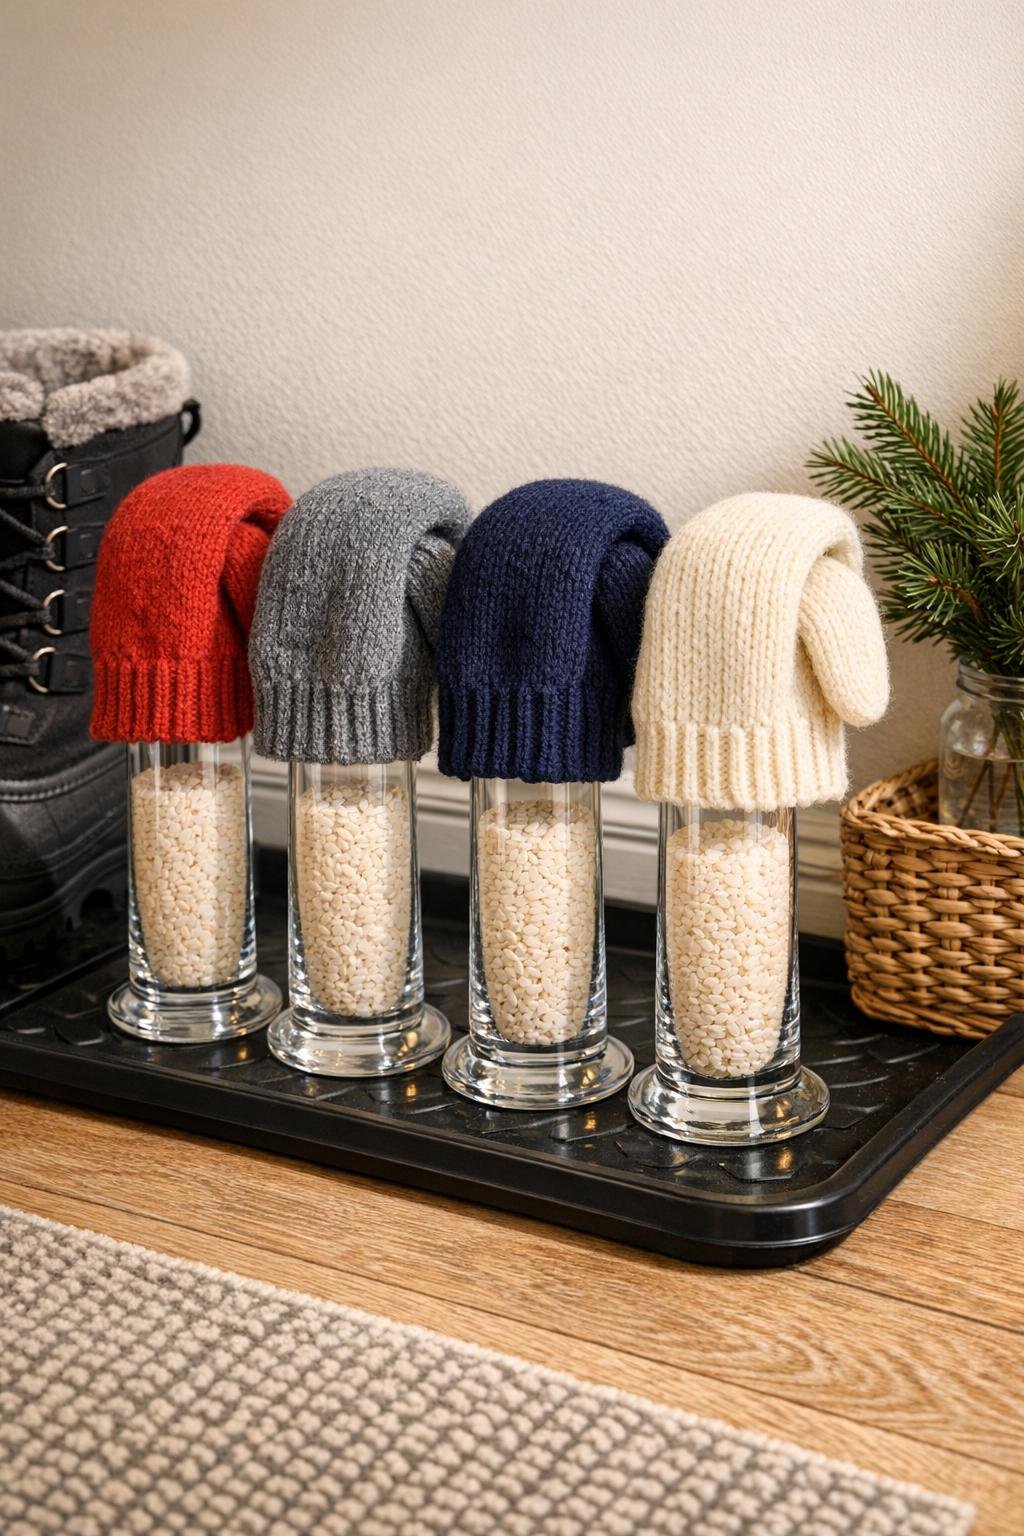
In the Midwest, there are a few months every year when my entryway turns into a puddly little holding zone for boots, mittens, and hats. I got tired of draping wet mittens over random doorknobs and heating vents, so this simple mitten dryer quickly became one of those “why didn’t I do this sooner?” projects. It uses tall glass jar candle holders filled with dry rice to create sturdy little drying posts, all contained on a boot tray so the melting snow stays off the floor.
What I love most is that it looks neat enough to leave right by the door, but it’s also genuinely useful on busy school-and-work mornings when everyone is grabbing cold-weather gear on the fly. If you want an easy, polished entryway setup that helps damp mittens dry faster and keeps the mess contained, this is a very doable afternoon project.
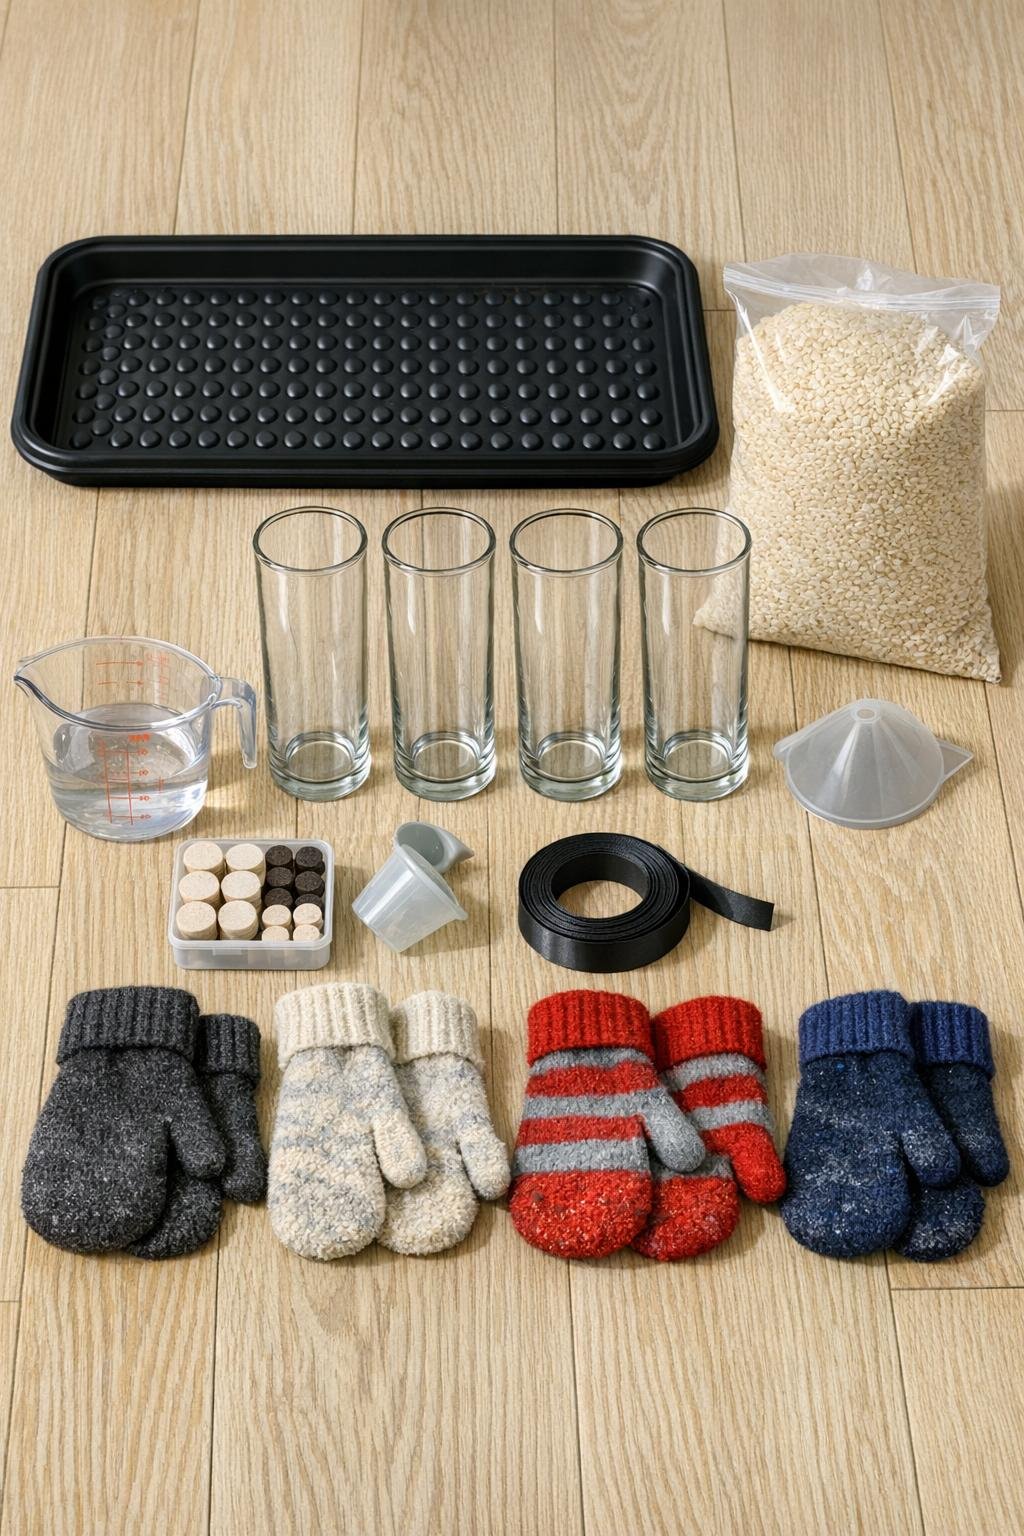
Materials
Instructions
1. Wash and dry the boot tray and glass candle holders so the whole setup starts clean and dust-free.
2. Turn each glass holder upside down and stick 4 felt pads evenly around the rim that will sit on the tray, so the glass stays stable and does not scrape the tray.
3. Use the funnel to fill each glass holder with 4 cups of dry white rice, leaving about 1 inch of space at the top so the rice does not spill when you move them.
4. Wipe away any rice dust from the outside of the jars, then line the four filled holders up on the boot tray in two rows of two, spacing them about 4 inches apart.
5. If you want a more finished look, tie a short piece of narrow ribbon around the neck or upper edge of each holder in a small simple knot, keeping the decoration tight and minimal so it does not interfere with drying.
6. Place the tray in the entryway where wet gear usually lands, ideally near the door but away from a direct heat vent that could tip lightweight items around.
7. After coming inside, shake excess snow off the mittens and open each cuff a little so air can move through them.
8. Drape one mitten over the top of each rice-filled glass holder with the fingers hanging down one side and the cuff hanging down the other, then place the matching mitten on another holder so each mitten gets its own drying post.
9. Rotate the mittens once halfway through drying if one side is wetter than the other, and replace the rice every few weeks during heavy winter use if it starts feeling damp.
10. When the mittens are dry, leave the tray set up for the next snowy day or tuck a folded dish towel beside the holders on the tray to catch extra drips from gloves and hats.
Variations & Tips
For more family pairs: Use a larger 36-inch boot tray and 6 glass holders if you regularly have three or more sets of mittens drying at once.
For faster drying: Give each mitten its own holder instead of stacking pairs together; that little bit of extra airflow makes a noticeable difference.
Rice refresh: If your entryway gets a lot of daily snow gear traffic, spread the rice on a baking sheet every couple of weeks and let it dry out fully before refilling the jars.
Best mitten types: This works especially well for knit and wool mittens that hold moisture but still benefit from open-air drying; for heavily soaked waterproof gloves, let them drip briefly over a sink first.
Safer placement: Keep the tray against a wall or on one side of the entryway so nobody bumps the glass when coming in with bags, backpacks, or groceries.
Make it look polished: Matching jars, evenly filled rice, and simple neutral ribbon are the little details that make this look intentional instead of like random drying clutter, which is honestly a big win in a hardworking entryway.