
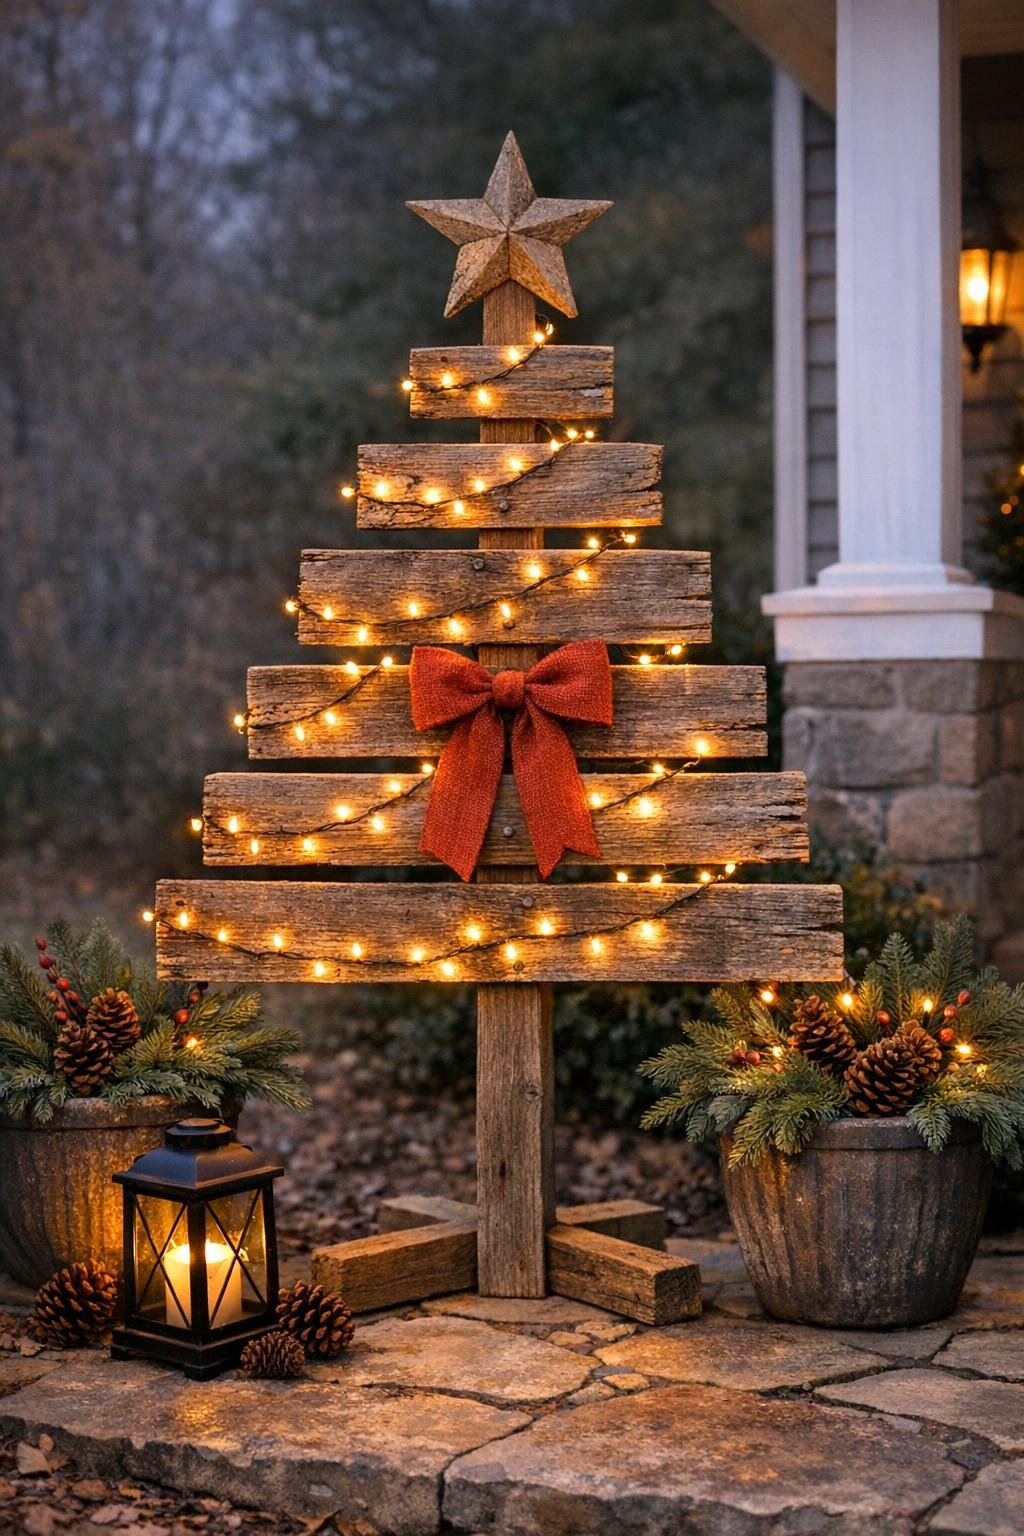
There is something so satisfying about taking weathered old fence pickets and turning them into a big, cheerful yard decoration that looks like it came straight from a cozy holiday market. This fence picket yard tree is one of those projects I love because it uses simple cuts, basic tools, and a handful of materials, but the finished piece has real presence out in the yard or by the porch.
I especially like this project for anyone who wants a rustic outdoor decoration without fussing over complicated joinery. The layered pickets give you that classic Christmas tree shape, the wooden star finishes it off, and the string lights make it glow at night. If you have a pile of old pickets leaning behind the shed, this is exactly the kind of “don’t throw that away” project worth making.
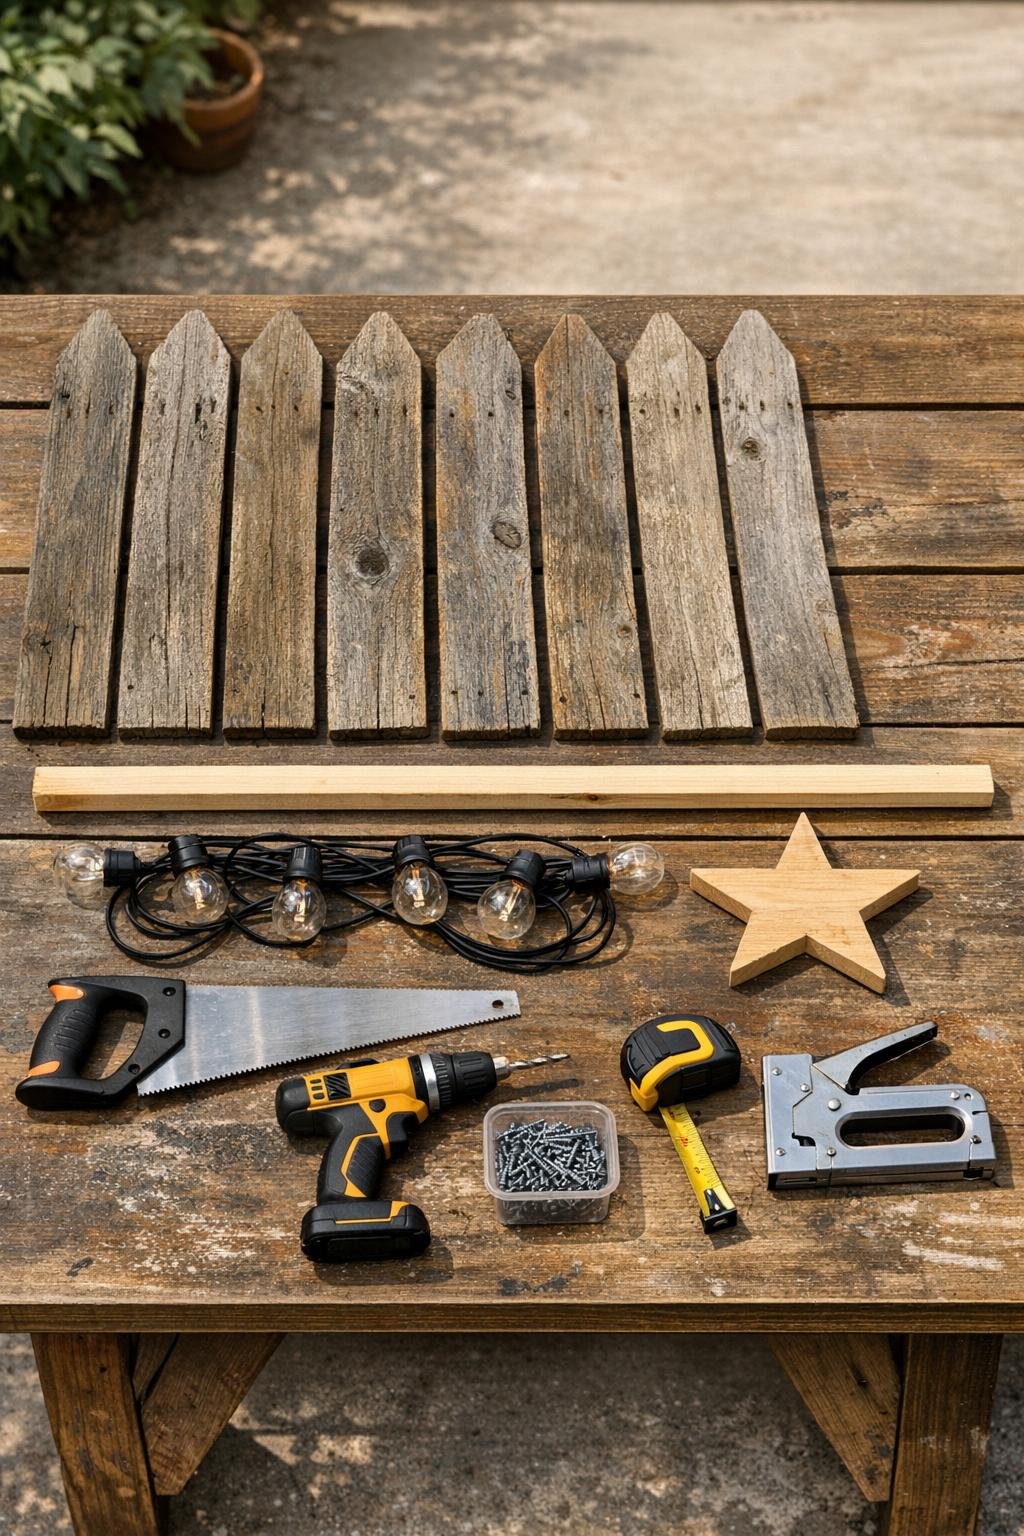
Materials
7 old wooden fence pickets, each about 5 to 6 inches wide and at least 36 inches long
Instructions
1. Measure and mark the seven fence pickets so they graduate from longest to shortest for a tree shape: 36 inches, 31 inches, 26 inches, 21 inches, 16 inches, 11 inches, and 6 inches. Cut them with the hand saw and sand any rough edges or splinters.
2. Lay the 5-foot two-by-two stake flat on your work surface and find the center point of each picket. Line up the pickets horizontally across the stake, starting with the 36-inch piece at the bottom and ending with the 6-inch piece at the top, leaving about 3 inches between each board.
3. Drill two pilot holes through each picket where it crosses the center stake, then fasten each board with two 1 1/4-inch wood screws. Check the spacing as you go so the silhouette stays even and balanced.
4. Attach the wooden star cutout to the top of the stake just above the smallest picket with two screws, or use a little exterior wood glue plus one screw if your cutout is thin. Keep the star centered so the whole tree looks straight once it is standing.
5. If you want a more finished look, paint or stain the tree now and let it dry completely, then brush on a clear outdoor sealer. I love a classic deep green tree with a white or gold star, but leaving the old wood natural gives it wonderful farmhouse charm.
6. Wrap the outdoor string lights around the pickets from top to bottom, weaving in and out so the lights are spread evenly across every tier. Secure the light strand to the back side of the boards and center stake with a few staples, placing the staples over the wire gently without piercing it.
7. Push or brace the bottom of the stake securely into the ground beside a walkway, porch, or flower bed, then plug in the lights and add a ribbon bow if you like. Step back and straighten the pickets or light placement so the tree looks full, tidy, and bright from the street.
Variations & Tips
Natural rustic version: If your old pickets have pretty aging and gray tones, skip the paint and just seal them. That worn wood texture is half the charm in a project like this.
Painted holiday version: Paint the pickets green, dry-brush the edges with white for a snowy look, and paint the star gold or bright white. This gives the tree a more polished look while still keeping the fence picket shape visible.
Bigger glow: If you want it to really stand out from the road, use a 100-light strand instead of a 50-light strand and wrap each tier twice where you have room. A fuller light pattern makes the tree look much more dramatic at night.
Kid-friendly decorating: If your family likes to personalize holiday projects, let the kids help tie on weatherproof ribbon strips or hang a few lightweight shatterproof ornaments from the pickets. I would keep decorations spread evenly so the tree still holds its clean shape.
Ground support tip: If your soil is loose, screw the stake to a hidden scrap wood base and tuck that base behind a planter or under mulch. It is a simple fix that keeps the tree upright on windy days.
Picky-decorator tip: In my house, everyone has an opinion about holiday colors, so I always say make one side rustic and one side bright and painted if you cannot decide. Since this tree is flat, you can easily give it two different looks and turn the favorite side forward.