
I love an entryway project that earns its keep every single day, and this one absolutely does. By attaching large wooden drawer knobs to a narrow floating shelf, you get a hardworking landing spot for scarves, dog leashes, light bags, and keys, plus a little ledge up top for the pretty extras that make an entry feel finished instead of frantic.
What I like most here is that it looks custom without being fussy. If you can measure carefully and drive a screw straight, you can make this in an afternoon, and the oversized knobs give it that polished, intentional look that makes a simple shelf feel like a boutique wall organizer.
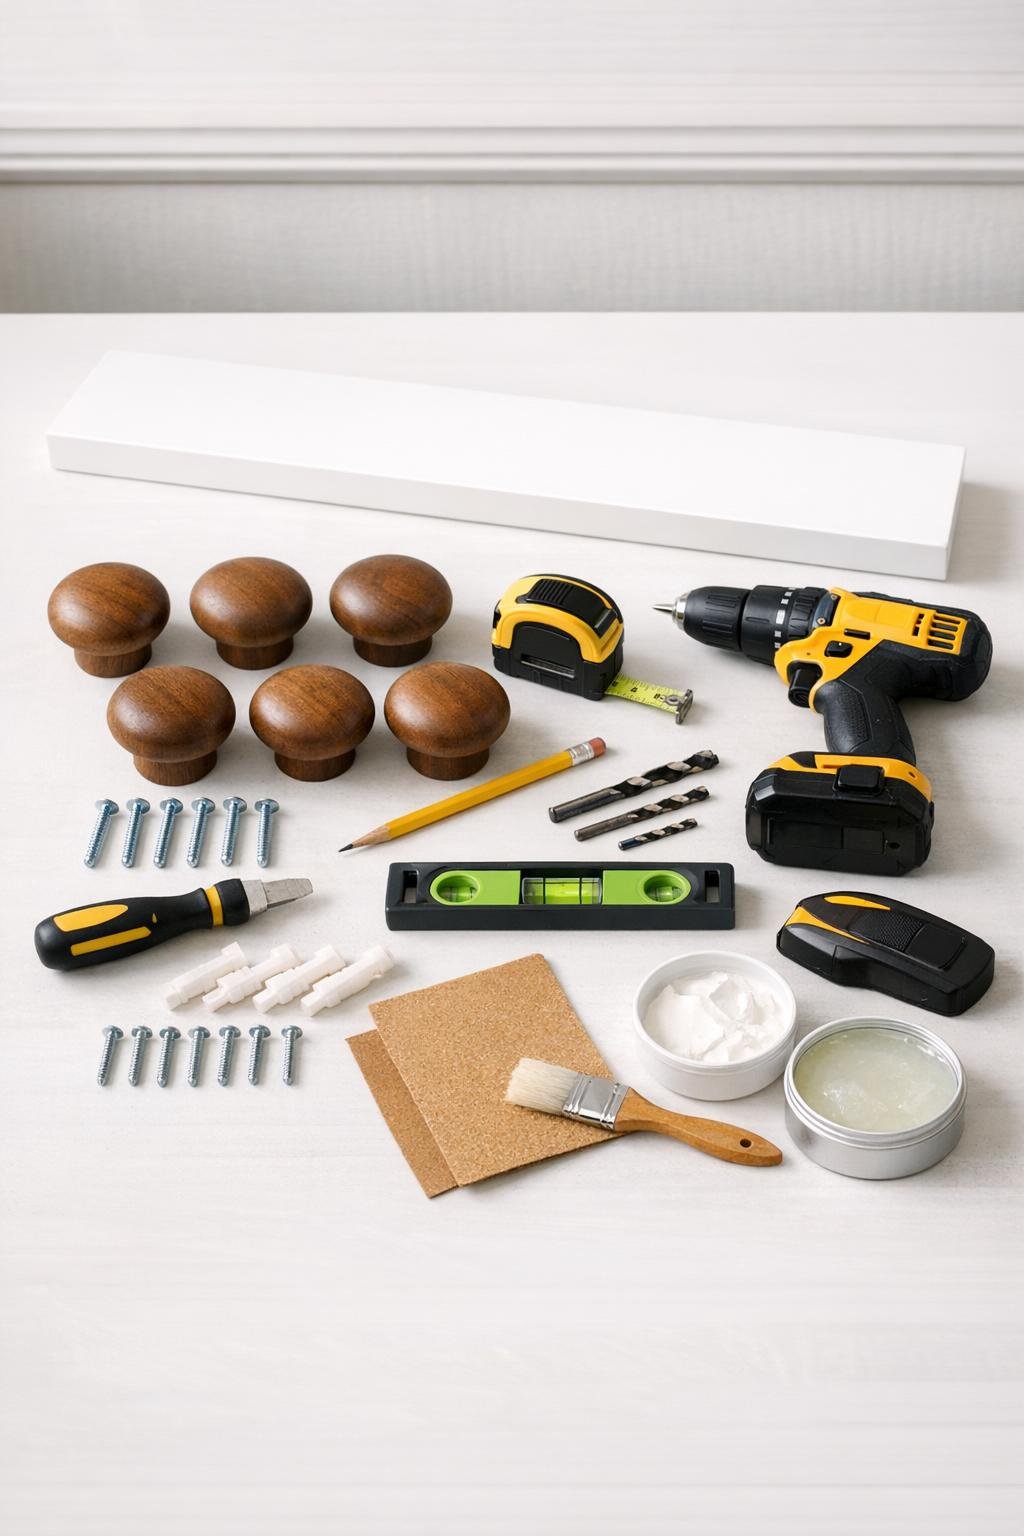
Materials
1 narrow floating shelf, 24 inches long x 4 inches deep x 1 1/2 inches thick, white finish
Instructions
1. Lightly sand any rough spots on the shelf and the wooden knobs, then wipe away dust so the finish looks clean and polished when installed.
2. If your shelf needs touch-up painting, apply a thin coat of white paint now and let it dry completely; add a clear wax or matte topcoat once dry if you want easier wipe-clean durability in a busy entry.
3. Mark a straight horizontal line on the wall at your chosen height, usually 60 to 66 inches from the floor for scarves and light outerwear, and use a level so the shelf won’t look crooked every time you walk in.
4. Hold the floating shelf hardware in place on that line, mark the mounting holes, and check for studs with a stud finder before drilling.
5. Drill the wall holes, install anchors if needed, and fasten the floating shelf bracket securely to the wall so it can handle everyday grabbing and hanging without wobbling.
6. Slide or attach the slim white floating shelf onto its mounted hardware according to its design, then confirm it is level before tightening any final screws.
7. On the front face of the shelf, mark five evenly spaced knob positions, keeping the outer knobs about 2 inches in from each end and the remaining three centered between them.
8. Drill the knob holes through the front face of the shelf using the bit size recommended for the knob screws, keeping the drill straight so each knob sits flush and even.
9. Insert each knob screw from the back or inside access point of the shelf face, thread on the oversized walnut knob from the front, and tighten until snug without crushing the shelf material.
10. Test each knob with a firm tug, then touch up any pencil marks or tiny scuffs so the piece looks finished rather than homemade in the rushed sense of the word.
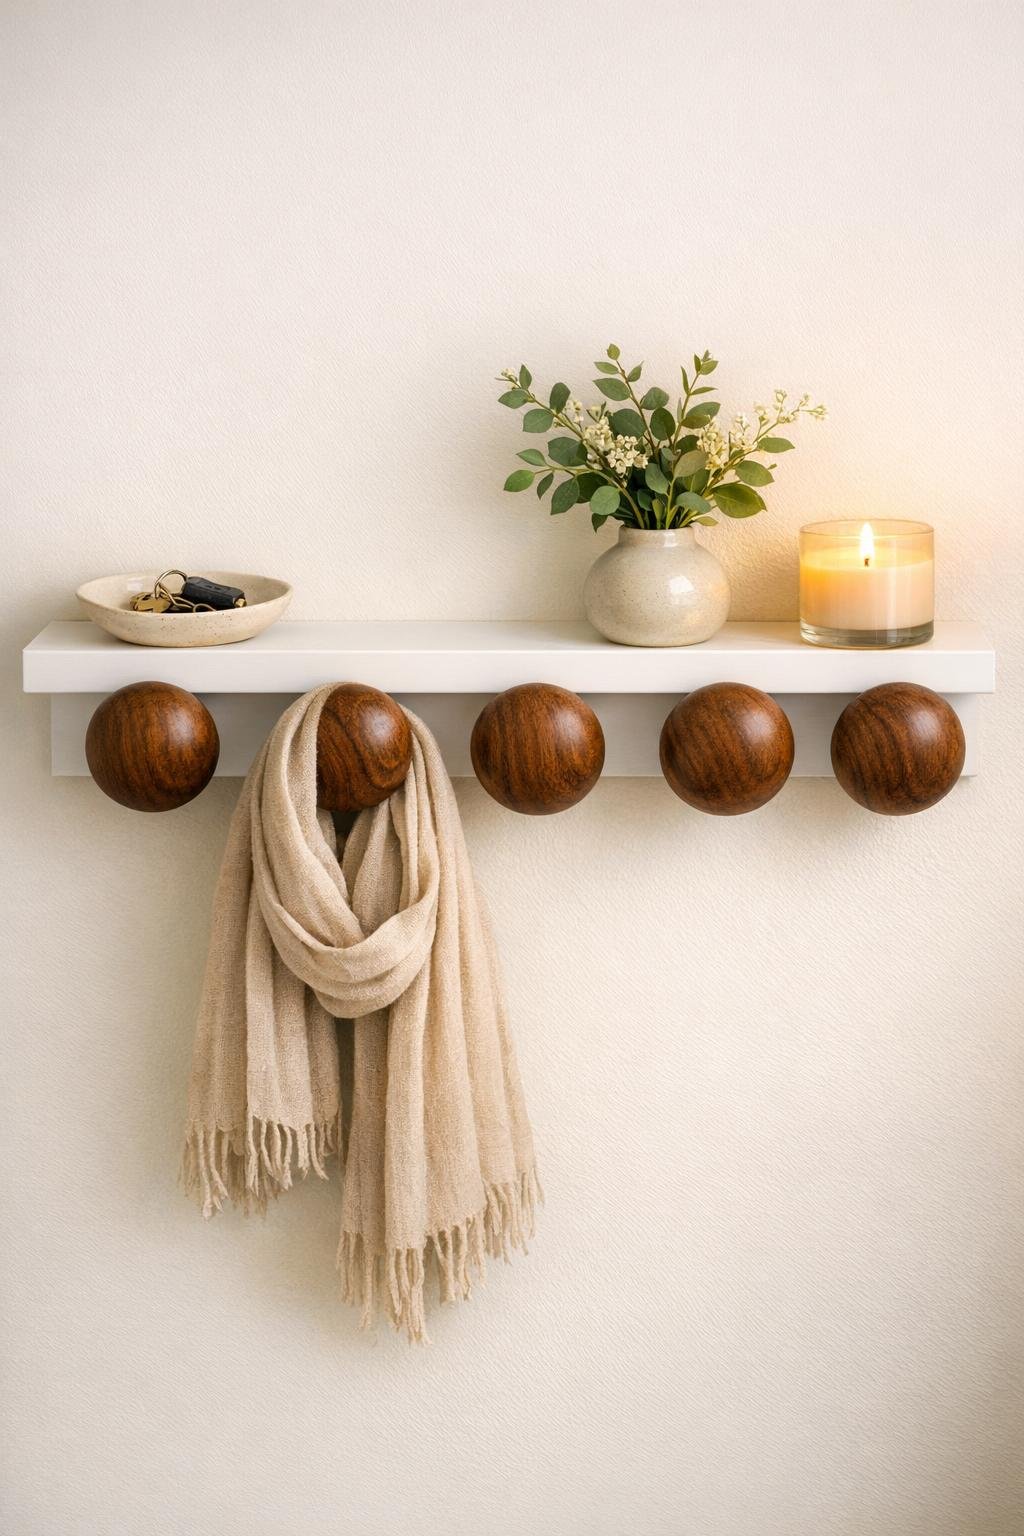
11. Style the top shelf with a small dish for keys, a compact vase or plant, and maybe a candle or framed photo, leaving enough open space that the shelf still feels useful and not overcrowded.
Variations & Tips
For heavier use: If you plan to hang tote bags or heavier accessories, use solid wood shelf material and mount at least one side into a wall stud for better long-term strength.
Knob spacing tip: I like wider spacing than most store-bought hooks give you, because scarves and leashes bunch up fast; 4 to 5 inches between knob centers usually keeps everything easier to grab.
Finish pairing: Walnut knobs on white look crisp and classic, but natural oak on cream or black-painted knobs on a stained shelf also work beautifully if you want the piece to match your trim or front door.
Entryway styling: Keep the top ledge practical by limiting it to two or three items; in my own kitchen and entry spaces, the prettiest setup is usually the one that still leaves room to actually set something down.
Rental-friendly idea: If wall damage is a concern, install the shelf on a painted mounting board first and fasten that board at just a couple of secure points, so patching later is simpler.
Best uses: This design is perfect for scarves, hats, lightweight handbags, umbrellas with wrist loops, and keys, but I would avoid overloading any one knob so the shelf stays handsome and sturdy for the long haul.