
This bedroom tray organizer is one of those little projects that looks far fancier than the effort it takes. By pairing an ornate vintage brass picture frame with a simple cork bulletin board square, you get a catchall that works like a jewelry tray, pin board, and pretty decorative accent all at once. I love projects like this because they solve the real-life “where do I put this right now?” problem without making the room feel more cluttered.
I’m especially fond of this kind of DIY in a bedroom because mornings are busy in my house, and having a designated spot for earrings, rings, hair pins, and notes genuinely helps. If you like vintage style, apartment-friendly organizing, or easy upcycles that look custom, this is absolutely for you.
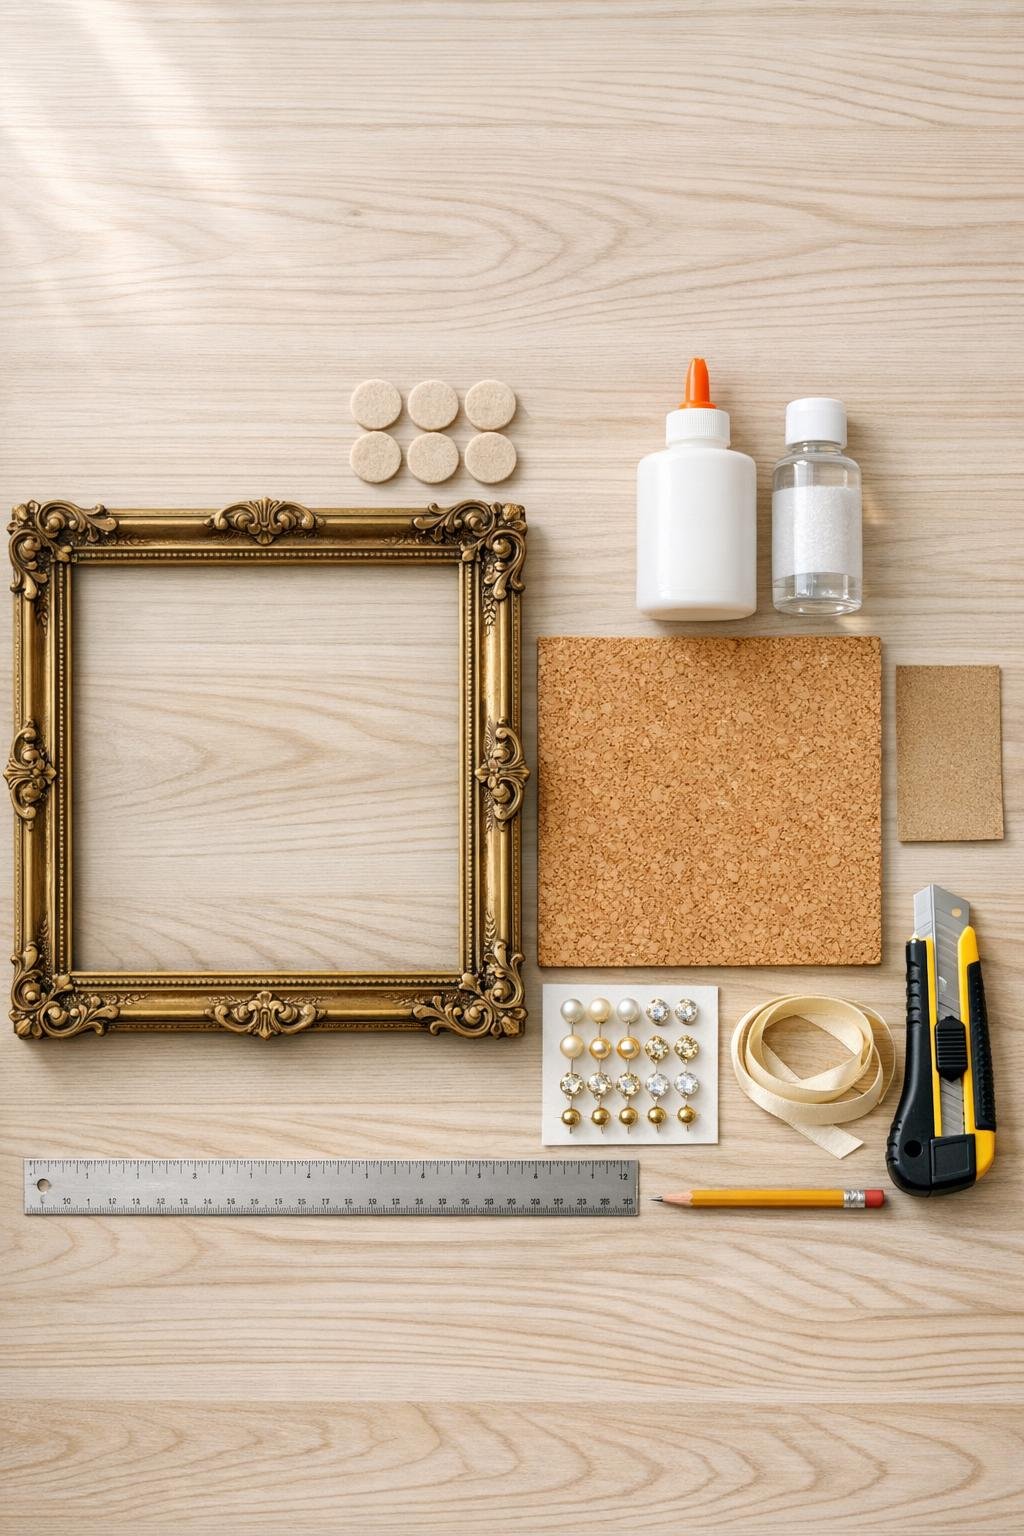
Materials
1 ornate vintage brass picture frame, approximately 11 x 14 inches, with backing removed and glass removed
Instructions
1. Remove the frame backing, glass, and any loose inserts so you’re left with just the ornate brass frame. Wipe the frame clean and make sure all corners are secure.
2. Lightly sand the front and edges of the cork square to remove rough bits, then brush away the dust. If your cork has slightly rounded corners, square them up gently so it fits neatly under the frame.
3. Center the frame over the cork and trace the inside opening lightly with a pencil if needed. Trim the cork a little at a time with a utility knife until the frame sits evenly over it with a balanced border all the way around.
4. Brush or wipe a thin coat of clear matte sealer over the cork face and edges, then let it dry fully. This keeps the cork from shedding and gives the finished organizer a cleaner, more polished look.
5. Run a continuous bead of strong craft glue along the underside of the frame where it will contact the cork. Set the frame carefully onto the cork, press gently, and check that the border is even on all sides.
6. Place a few lightweight books or a flat tray on top to keep the frame pressed down evenly while the glue cures. Let it dry according to the adhesive directions, preferably overnight for the strongest bond.
7. Flip the piece over and add felt pads to the back corners so it won’t scratch a dresser or nightstand. If you want to hang it, glue or tie the ribbon into a loop at the back top instead.
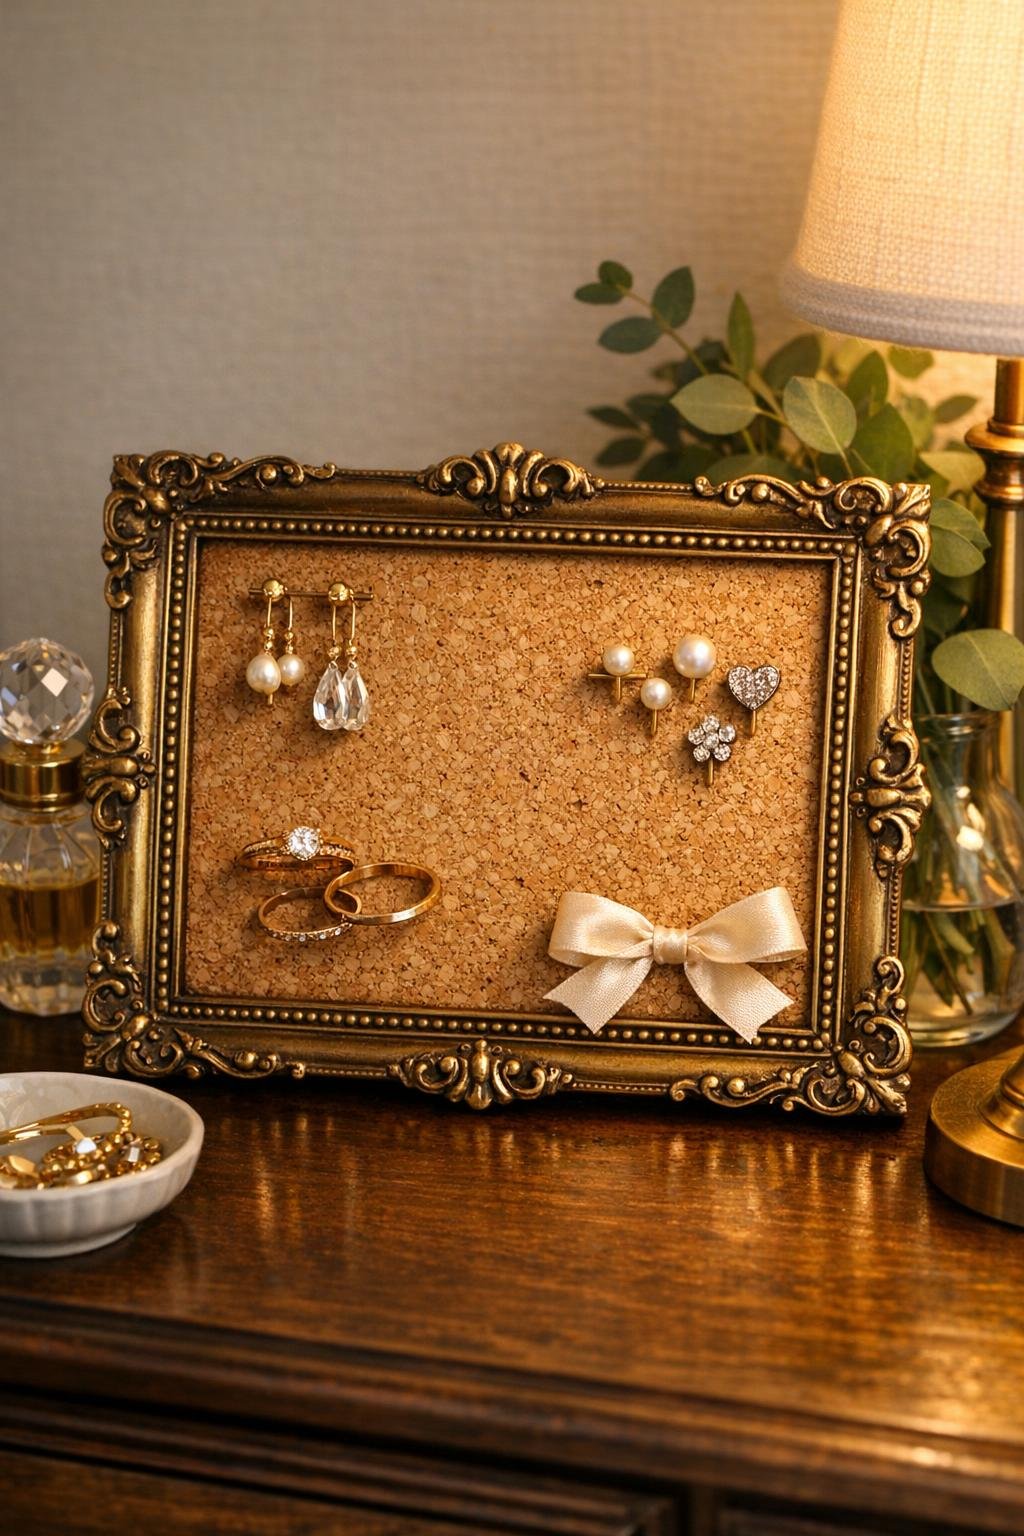
8. Style the organizer by pressing in decorative push pins for notes and tucking small lightweight items inside the frame border area. Use it for earrings, a ring dish moment, bobby pins, perfume samples, or a favorite photo tucked under pins.
9. If you’d like a softer bedroom look, tie the ribbon into a small bow at one corner of the frame after everything is dry. Keep the accent simple so the brass detail and cork texture still stand out.
Variations & Tips
Make it larger: Use a 16 x 20 inch brass frame over a larger cork tile if you want a statement organizer above a vanity. I like this version for necklaces, reminder cards, and all the tiny accessories that usually migrate across the countertop.
Keep the brass finish authentic: If your frame has real patina, don’t polish it too hard. A gentle wipe preserves that vintage warmth, which is honestly what makes the project feel special.
Use it flat or upright: This piece works lying flat like a tray on a dresser, but it also looks lovely propped on a shelf or hung on the wall. Just avoid loading it with anything heavy if it’s going vertical.
Add a fabric layer: For a softer look, glue a piece of linen or velvet over the cork before attaching the frame. You can still pin through many thin fabrics, and it gives the organizer a more boutique feel.
Choose the right adhesive: Metal-to-cork bonds best with a strong flexible glue rather than basic school or paper glue. If I’m making something that will live on a nightstand and get bumped around, I always give it the overnight cure time.
Match your bedroom style: Pearl-head pins, velvet ribbon, and a romantic brass frame lean classic and feminine, while plain brass tacks and no bow make it feel cleaner and more modern. It’s a very forgiving base project, so you can personalize it without making it harder.