
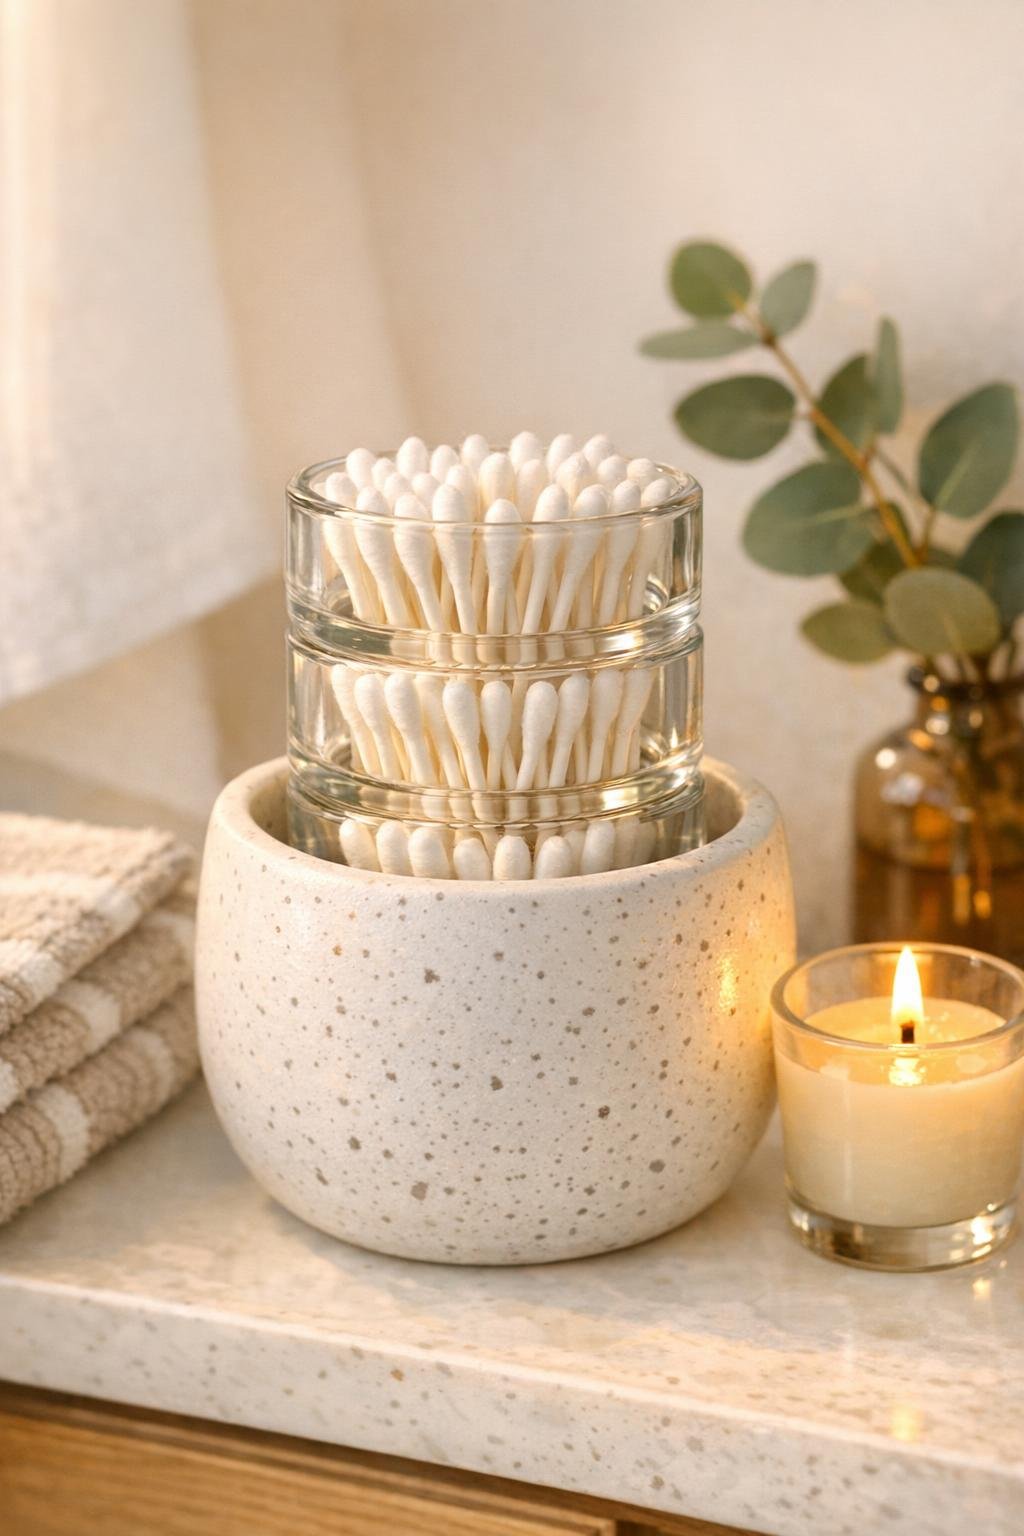
I love a bathroom organizer that looks a little boutique-y without costing boutique prices, and this one absolutely fits that category. For this project, I stack clear glass tea light holders down inside a small ceramic planter to create a tidy little q-tip dispenser that feels polished on a counter but is still incredibly easy to make in one short sitting.
If you’ve ever had cotton swabs rattling around in a box under the sink or spilling out of a jar, this is such a smart upgrade. It’s especially nice for anyone who wants everyday storage to look intentional, and because the planter hides the base of the glass, the finished piece has that clean, styled look I’m always after in a busy bathroom.
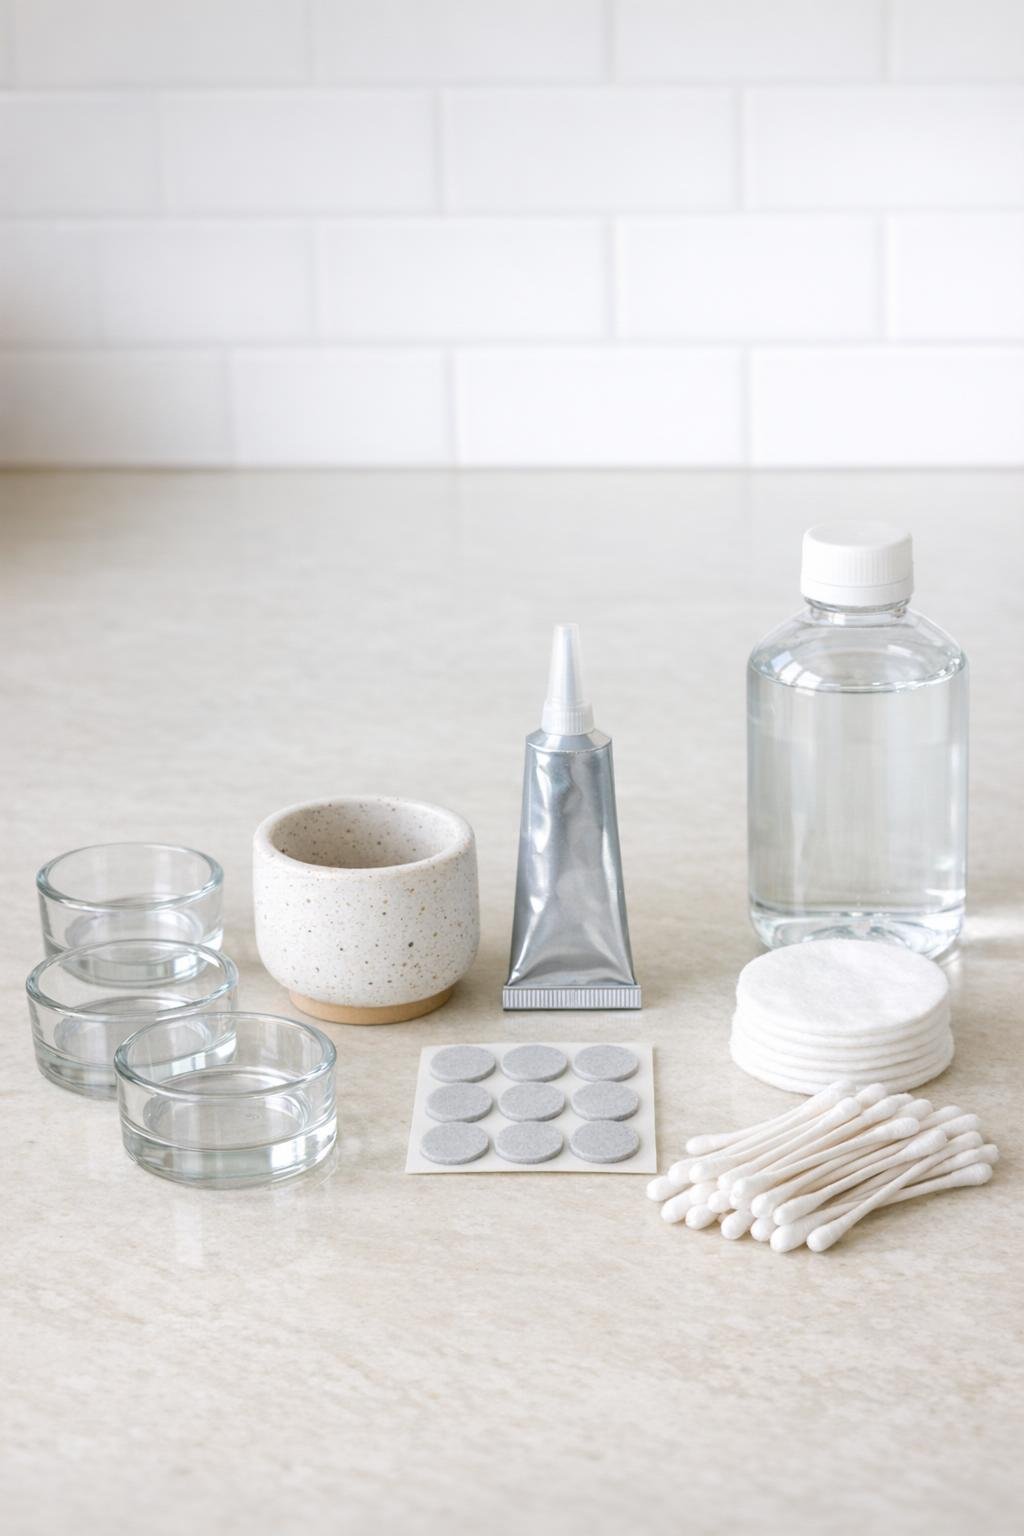
Materials
3 clear glass tea light holders, each about 2 inches wide and 1 inch tall
Instructions
1. Wash the tea light holders and the inside of the ceramic planter with warm soapy water, then dry them completely so the adhesive will grip well.
2. Dampen a cotton pad with rubbing alcohol and wipe the outside bottom edge of one tea light holder, the top rim of the second, and the contact areas you’ll be gluing; repeat for the third holder and let everything air-dry for a minute.
3. Test-fit the stack by setting one tea light holder inside the planter, then nesting the second and third above it until you like the height; the top holder should sit high enough to grab q-tips easily while still feeling stable.
4. Run a thin bead of clear adhesive around the top rim of the bottom tea light holder and press the second holder into place, keeping the stack centered and straight.
5. Add another thin bead of adhesive to the next contact point and press on the third tea light holder, then check from all sides to make sure the glass column is even.
6. Lower the glued glass stack into the ceramic planter and, if needed, add a few tiny dots of adhesive where the bottom holder meets the inside of the planter to keep it from shifting.
7. Let the dispenser cure undisturbed according to your adhesive directions, usually 12 to 24 hours, before adding anything inside.
8. Stick the felt pads onto the bottom of the planter so it won’t scratch the bathroom counter and so the finished piece feels a little more substantial when you set it down.
9. Fill the top glass holder with cotton swabs, standing some upright and laying a few slightly angled so the opening looks full and easy to use.
10. Set the finished dispenser on your bathroom vanity, open shelf, or guest bath counter where it’s easy to reach and where the glass-and-ceramic combo can show off a little.
Variations & Tips
For a taller dispenser: If your planter is a little deeper, use 4 tea light holders instead of 3 so the opening sits higher and holds more swabs.
For extra stability: Choose tea light holders with fairly straight sides so they stack neatly and make good contact at the rims.
For a softer look: A matte white, pale gray, or lightly speckled planter gives this organizer that calm spa-bathroom feel without doing anything complicated.
Adhesive tip: Use a very small amount of glue because too much can squeeze out and show through the clear glass; I like to keep a cotton swab nearby to clean any excess right away.
Make it a set: Once you make one, it’s easy to do a matching planter-and-glass container for cotton balls, hair ties, or makeup sponges so the whole counter looks coordinated.
Best placement: This works especially well on a tray beside hand soap or near the mirror, where it looks styled instead of like basic storage; that little trick always helps my bathroom feel more put together on busy weekdays.