
Small living rooms have a way of collecting clutter fast, and remotes are always the first thing to end up wedged into couch cushions at my house. This simple remote caddy turns a small wicker utensil holder into a tidy little catch-all that keeps everything upright, easy to grab, and actually cute enough to leave out on a side table.
I love projects like this because they take about the same amount of effort as wrapping a gift, but the payoff is huge for everyday life. If you want an easy, budget-friendly organizer with a cozy neutral look, this is the kind of DIY that makes a small space feel more pulled together without adding bulk.
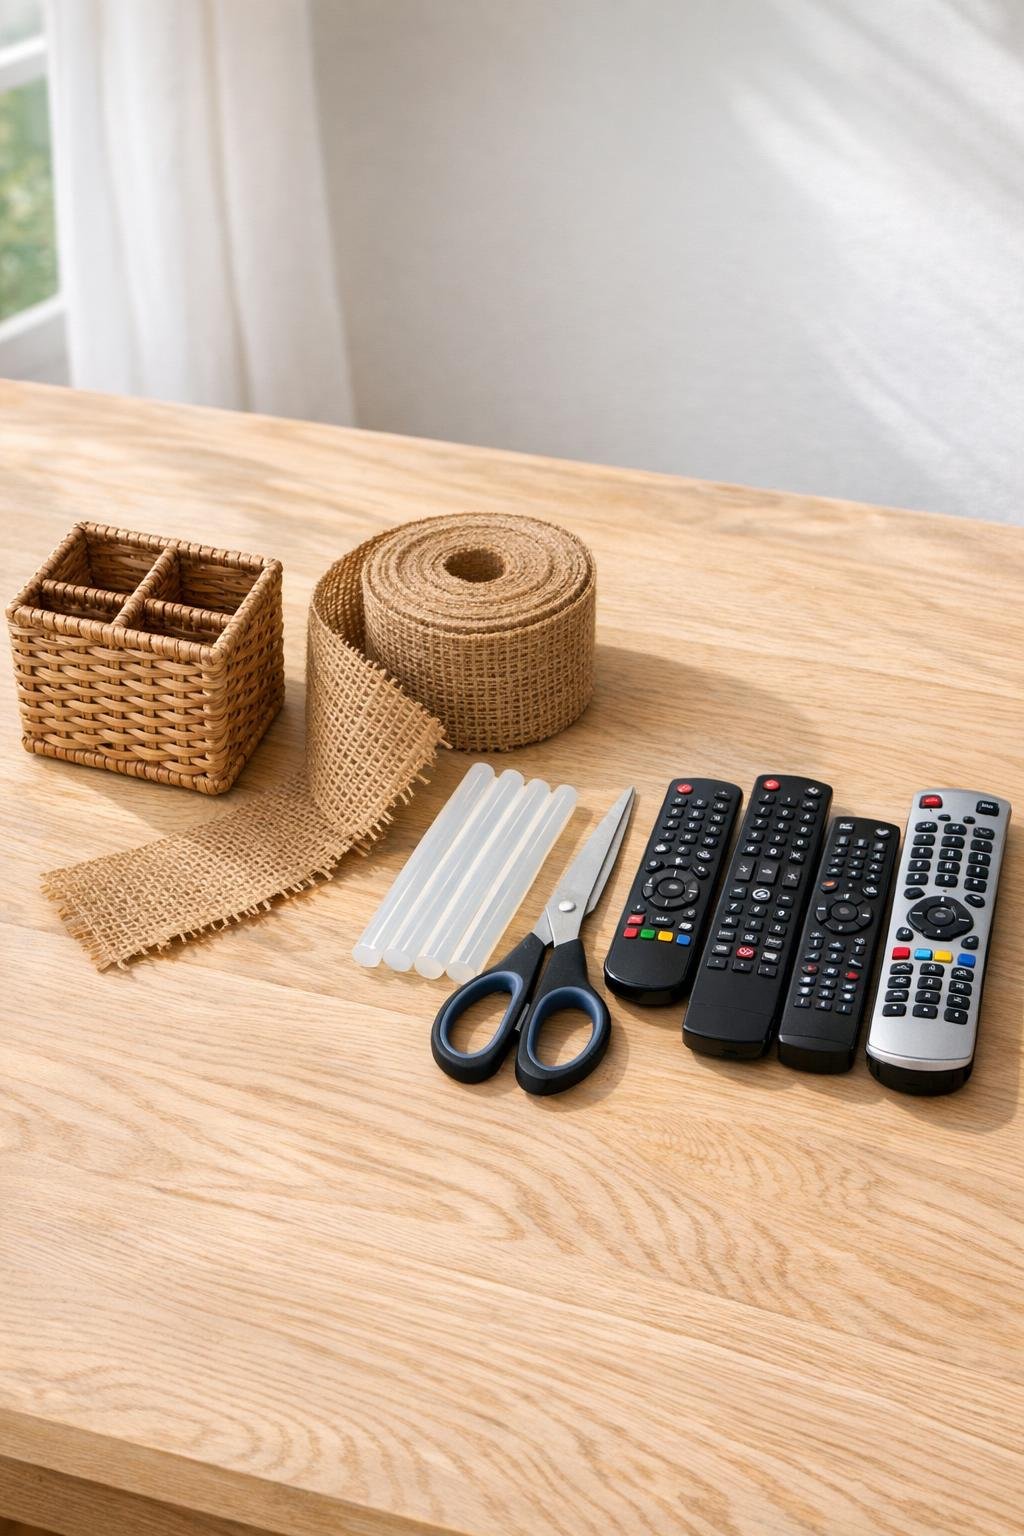
Materials
1 small woven wicker utensil holder, about 5 to 6 inches tall and 4 to 5 inches wide
Instructions
1. Set the wicker utensil holder on your side table or coffee table and test a few remotes inside to make sure the height and opening feel right. A holder that keeps the remotes standing with the top half visible works best in a small living room.
2. Wipe the outside of the wicker holder with a dry cloth so the ribbon and glue will grip well. Trim away any loose wicker pieces sticking out from the weave.
3. Measure around the widest part of the holder, then cut a length of burlap ribbon long enough to wrap all the way around with a 1-inch overlap. If your holder flares slightly, cut a second matching piece so you can layer the ribbon for fuller coverage.
4. Run a thin line of hot glue down the back side of the holder and press one end of the burlap ribbon into place. Hold it for a few seconds so it grabs before wrapping further.
5. Wrap the ribbon snugly around the center of the utensil holder, keeping the top and bottom edges straight as you go. Add a small dot of hot glue every 2 to 3 inches on the back and sides so the ribbon stays smooth against the wicker.
6. Overlap the ribbon end by about 1 inch at the back, trim any excess, and glue the end down neatly. If you cut a second strip, stack it directly over the first for a thicker, more finished band with no gaps in the weave showing through.
7. For a polished finish, glue a short piece of burlap vertically over the back seam or tie a narrow piece of jute twine around the center into a simple knot. This little detail makes it look intentional instead of just wrapped.
8. If the holder will sit on a wood table, stick felt pads on the bottom corners or base so it slides quietly and does not scratch the surface. Let all glue cool completely for 5 minutes.
9. Sort your remotes by size, then slide the tallest ones into the back and shorter ones in front so every button panel stays visible. If you have a streaming stick remote or slim soundbar remote, tuck it along one side to fill the holder evenly.
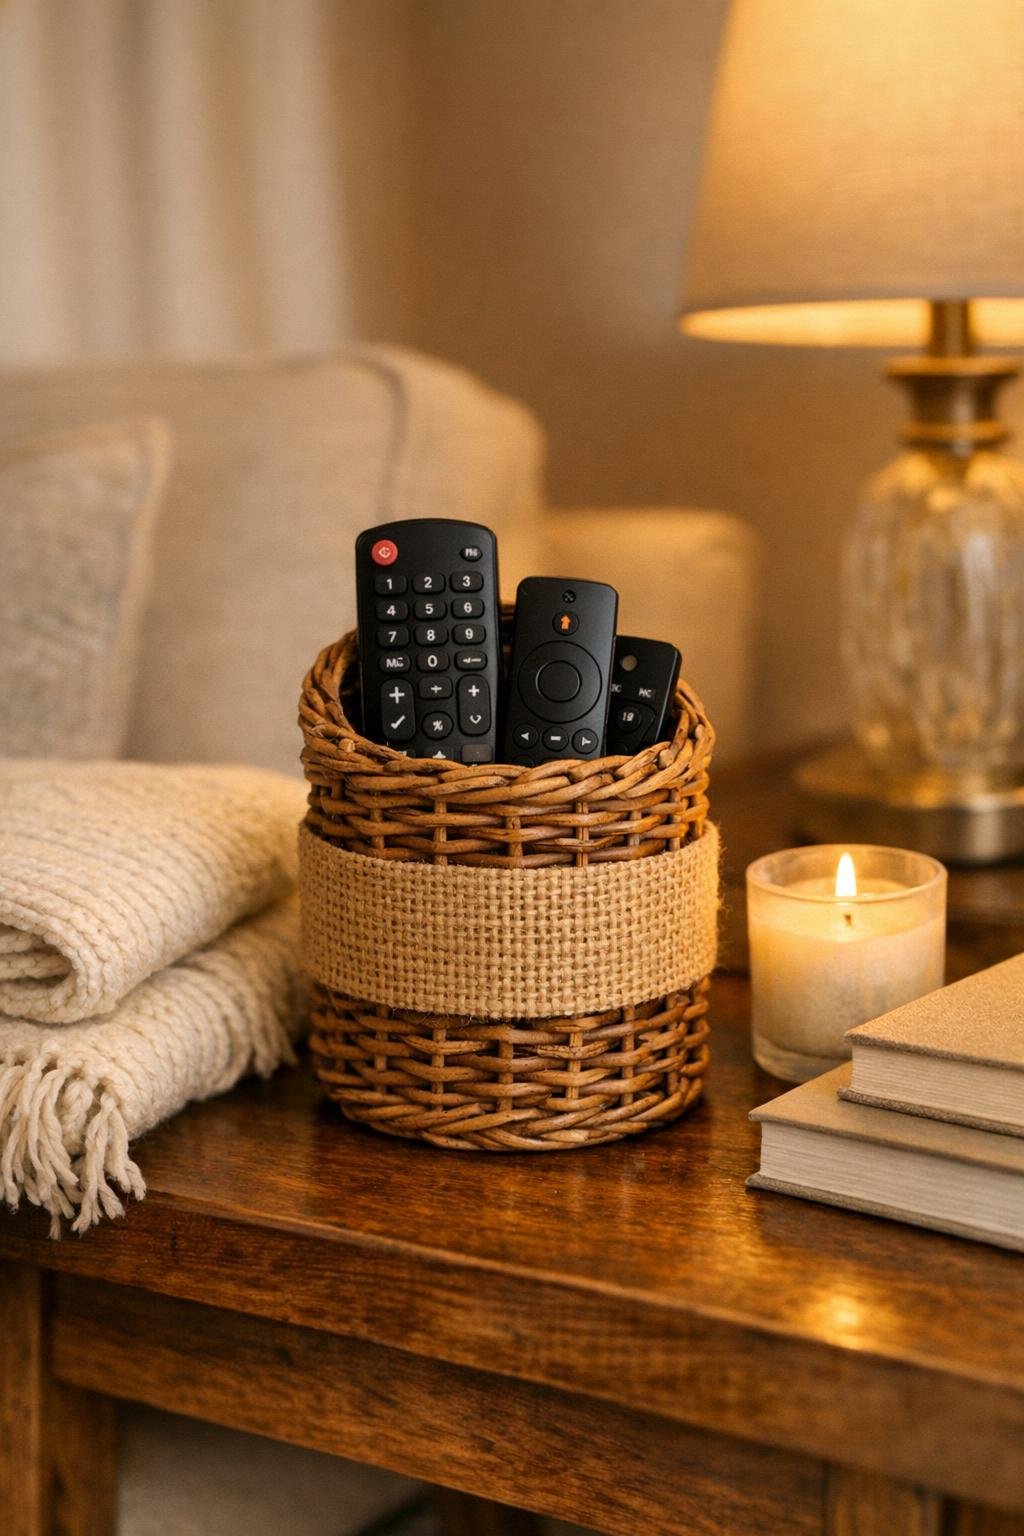
10. Place the finished remote caddy on a side table, coffee table tray, or media console where you naturally reach for it. Keep the ribbon seam facing the back so the front looks clean and finished from across the room.
Variations & Tips
Add more structure: If your wicker holder is a little flexible, wrap two full layers of burlap ribbon around the middle. I like this trick because it gives the caddy a sturdier feel without making the project any harder.
Make it match your decor: Choose natural burlap for a farmhouse look, or use a burlap ribbon with a white stitched edge for something slightly cleaner and more tailored. In my own house, neutrals tend to last longer when I inevitably rearrange the room.
Use what you already have: A small wicker utensil crock, short woven basket, or square woven pencil holder can work just as well as long as the remotes stand upright and do not tip outward.
Keep it renter-friendly: If you do not want permanent glue on the holder, use removable double-sided crafting tape under the ribbon instead. It will not be quite as durable, but it is great for testing the look first.
Prevent bulky overcrowding: This works best with 4 to 6 remotes; beyond that, the holder starts to feel jammed instead of organized. If your household has more controls than that, make a matching second caddy for gaming remotes or charging cords.
Finish the inside too: If the wicker opening feels rough, tuck a small piece of neutral felt into the bottom. It softens the drop when you put remotes back in and makes the whole thing feel a little more custom.