
I’m always a little amazed by how often the prettiest winter décor starts with something headed for the recycling bin. This project takes three empty wine bottles and gives them a chalky, softly textured finish that looks much more collected and ceramic than crafty, which is exactly the kind of transformation I love in the colder months when I want the house to feel layered and calm without spending much.
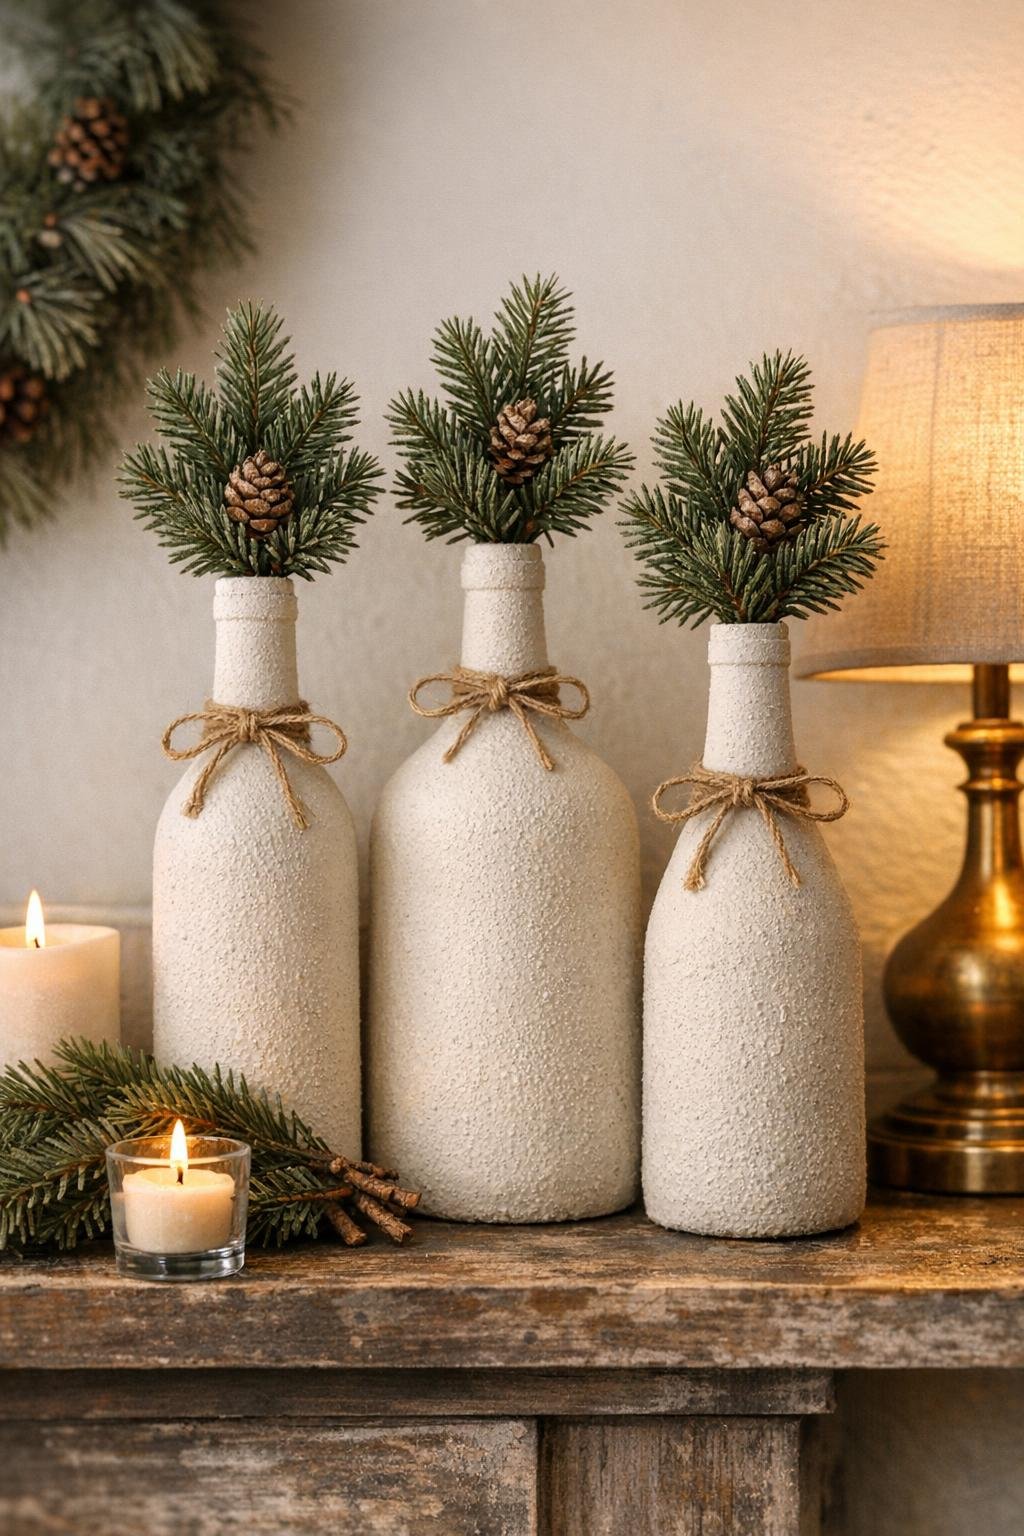
If you like easy projects with a big visual payoff, this one is very forgiving. The baking soda in the paint creates that stoneware-like surface almost instantly, and because the bottles stay the same elegant shape, the finished arrangement looks substantial on a mantel, shelf, or dining table with almost no complicated technique involved.
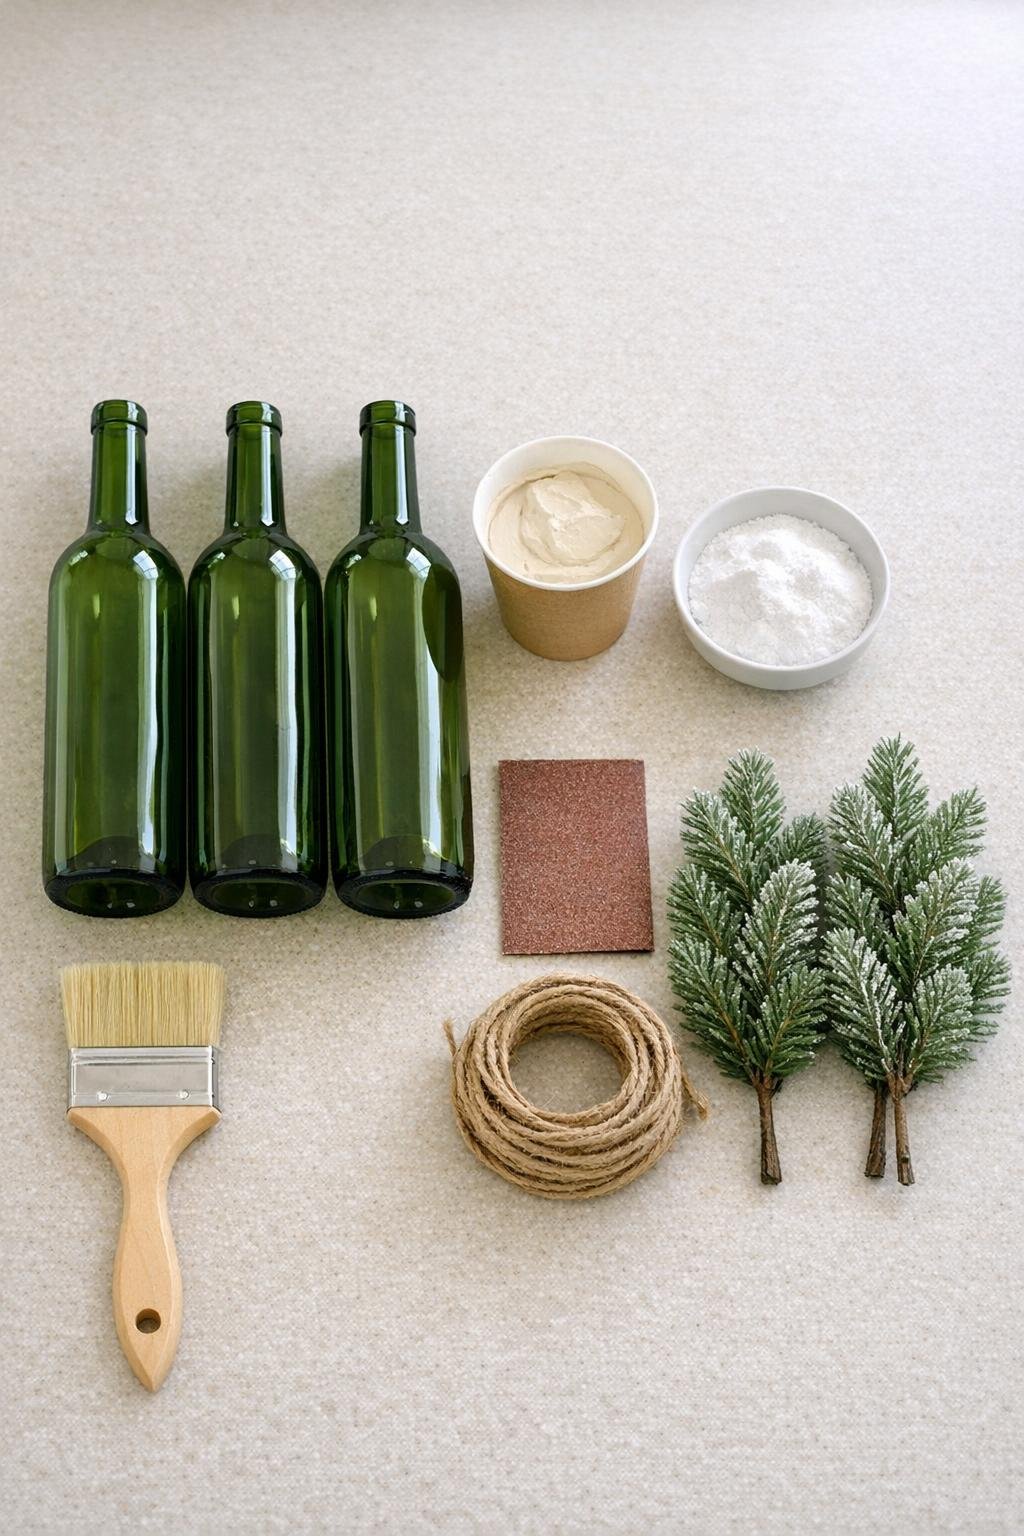
Materials
Instructions
1. Wash the wine bottles, remove all labels and glue residue, and let them dry completely so the textured paint can grip evenly.
2. Wipe each bottle with a damp cloth or paper towel to remove dust, then set them upright on your counter with space to turn them as you paint.
3. In a paper cup, stir together 1 cup cream paint and 3 tablespoons baking soda until thick and mostly smooth, like cake batter; add a teaspoon of water only if the mixture feels too stiff to brush.
4. Brush the mixture onto the first bottle in short, crisscross strokes, covering from shoulder to base and then the neck, leaving a visibly textured finish instead of smoothing it flat.
5. Paint the other two bottles the same way, rotating each one as you go to keep the coverage even and generously textured on all sides.
6. Let the first coat dry for 30 to 45 minutes, then inspect the bottles and add a second coat anywhere the green glass still shows through or where you want more stoneware-like texture.
7. Once the bottles are fully dry, lightly sand a few raised spots and edges with 220-grit sandpaper to soften any sharp ridges while keeping the handmade texture intact.
8. Cut the twine into three lengths of about 24 to 30 inches each, wrap one piece around each bottle neck two or three times, and tie a simple knot or bow.
9. Trim the faux evergreen sprigs if needed, then slide one sprig into each bottle and angle the greenery slightly outward so the trio feels full and balanced when grouped together.
10. Arrange the three bottles as a cluster, varying the bottle heights and the direction of the evergreen for a more collected, wintery look.
Variations & Tips
Color choice: Cream gives the most convincing old-stoneware look, but soft putty, warm white, pale mushroom, or light greige also work beautifully for winter.
Paint type: Chalk paint naturally dries matte and is my first choice here, but matte acrylic works well too if you keep the baking soda ratio the same and stir thoroughly.
Texture control: For a more pottery-like finish, dab the wet paint lightly with the tip of the chip brush instead of brushing it smooth; for a subtler effect, use slightly less baking soda.
Cleaning bottles: If label glue is stubborn, soak the bottles in hot soapy water for 20 minutes and scrape the residue away before painting; any sticky patch will show through the finish.
Greenery options: Faux cedar, cypress, pine, or eucalyptus all look lovely, and mixing the three sprigs slightly can make the arrangement feel more natural and less matched.
Styling tip: I like these grouped tightly in a row or a soft triangle rather than spread apart; keeping them together makes the set read as one intentional centerpiece.
Finish durability: These are best as decorative indoor pieces; if you want them to be easier to dust, add a very light coat of clear matte sealer after the paint has fully cured.