
I love any holiday craft that uses what I already have on hand, especially after Christmas when there’s always a small stack of pretty cards I can’t quite bring myself to throw away. This project turns those saved cards into something charming and genuinely useful, and it starts with the simplest move possible: cutting them right down the middle.
If you’re busy like I am and want a craft that feels festive without taking over your whole evening, this is a great one. It’s easy, budget-friendly, and satisfying in that “why didn’t I do this sooner?” way, and the finished pieces are sweet enough for stocking stuffers, table favors, or small handmade presents.
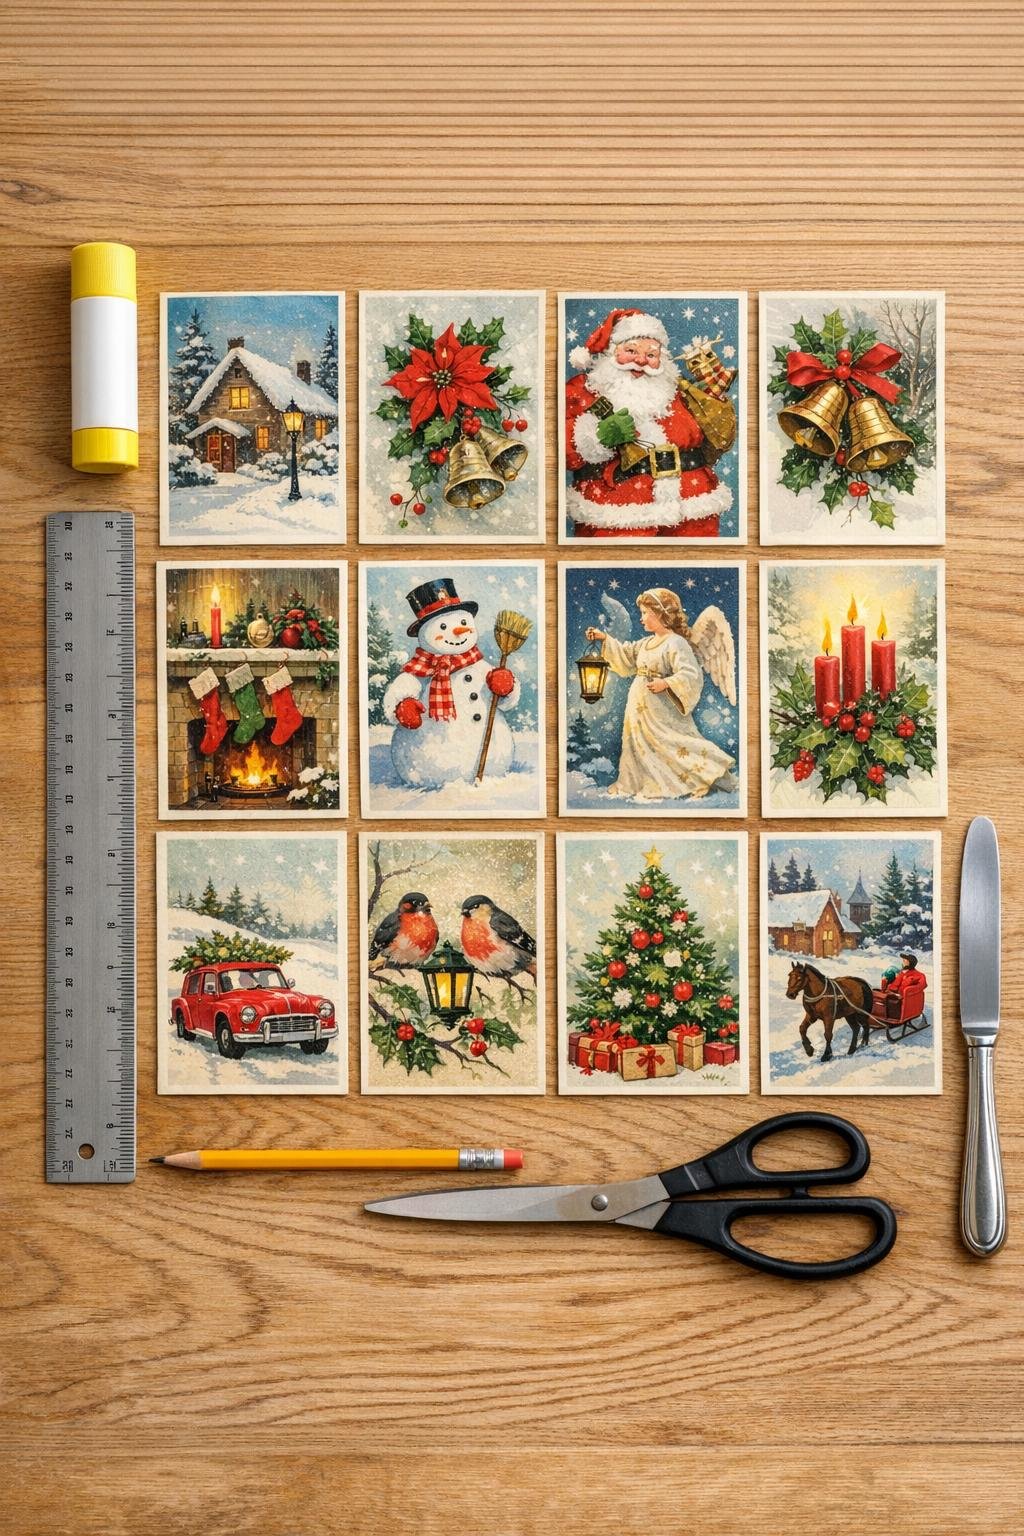
Materials
Instructions
1. Sort through your 12 old Christmas cards and choose ones with colorful fronts and backs that coordinate nicely, since each box uses both halves of a single card.
2. Cut each card straight down the middle along the fold so you end up with 24 separate card panels. Keep each card’s front and back together as a pair.
3. Take one card panel and place it face down; use the ruler and pencil to mark a 1-inch border on all four sides. Repeat on its matching panel.
4. Score along each pencil line with the butter knife and ruler, pressing firmly enough to crease the cardstock but not cut through it. This makes the folds crisp and the box shape much easier to form.
5. Cut along the short pencil lines at each corner, stopping exactly at the intersecting score line, to create small flaps. Do this on both matching panels.
6. Fold all four sides inward on the scored lines and pinch the corners sharply so the card starts holding a tray shape. One panel will become the box bottom and the other the lid.
7. Glue the corner flaps on the inside of one folded panel, pressing them flat until the shape holds securely. Repeat with the second panel.
8. If the lid feels too snug, trim just a sliver off two opposite side flaps on one panel, then reglue if needed; this tiny adjustment helps the top slide over the bottom neatly. I usually test the fit before the glue fully sets, which saves a lot of fiddling later.
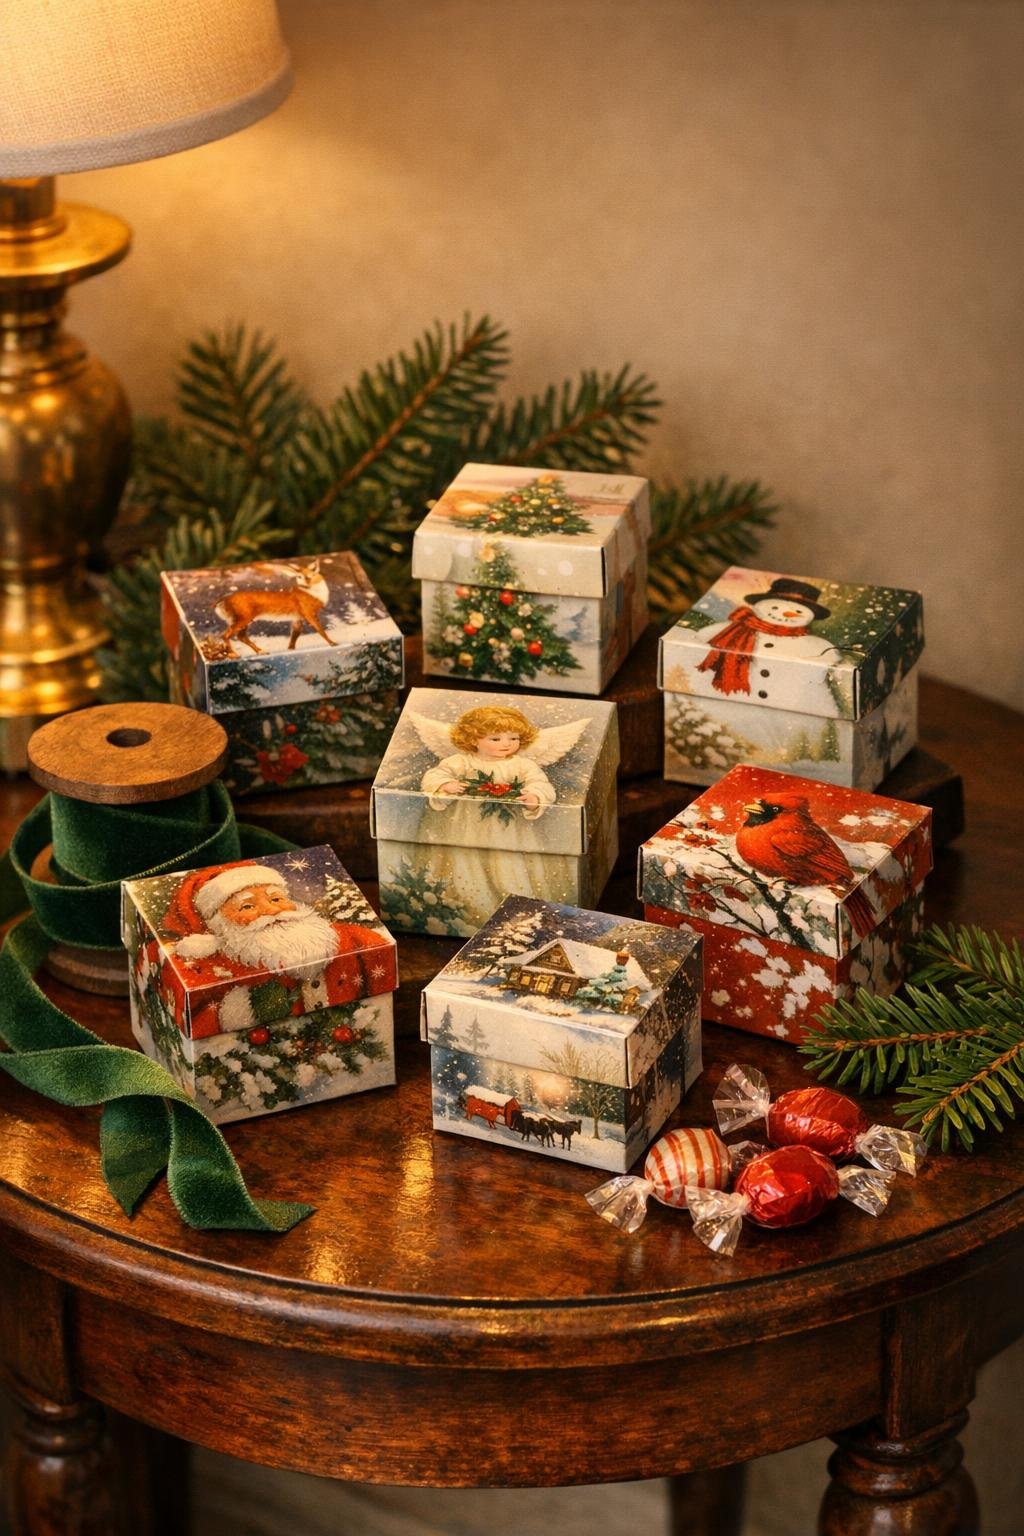
9. Let the glued corners sit for a few minutes, then nest the shallower half over the other half to form one finished box. The front and back designs from the card create a coordinated top and bottom automatically.
10. Repeat the same process with the remaining 11 cards to make a full set. Stack them by size or color family if you want them to look especially pretty for gifting or display.
Variations & Tips
For tiny gifts: These are perfect for jewelry, cash, wrapped candy, tea bags, or handwritten notes. I like using the most detailed card designs for the smallest boxes because they look especially polished once folded.
Make the lid easier to fit: If your cards are thick, make the lid with slightly wider corner cuts or trim a hair off two side tabs before gluing. A barely noticeable adjustment makes a big difference.
Use coordinated card sets: Snowy scenes, red-and-green patterns, or vintage-style cards look beautiful grouped together. When I’m making several at once, I batch them by style so the final set feels intentional.
Hide pencil lines: Mark lightly on the back of the card and erase gently if needed before folding. On darker card backs, a very faint line is enough once you have the ruler in place.
Add a finishing touch: Tie each closed box with ribbon, tuck in tissue paper, or add a tiny gift tag for extra charm. Those little details make them feel gift-boutique cute with almost no extra effort.
Work faster: Cut all 12 cards first, then mark all pieces, then score all pieces, and finally glue them. That assembly-line method is exactly how I get through a bigger batch on a weeknight without making a mess of my kitchen table.