
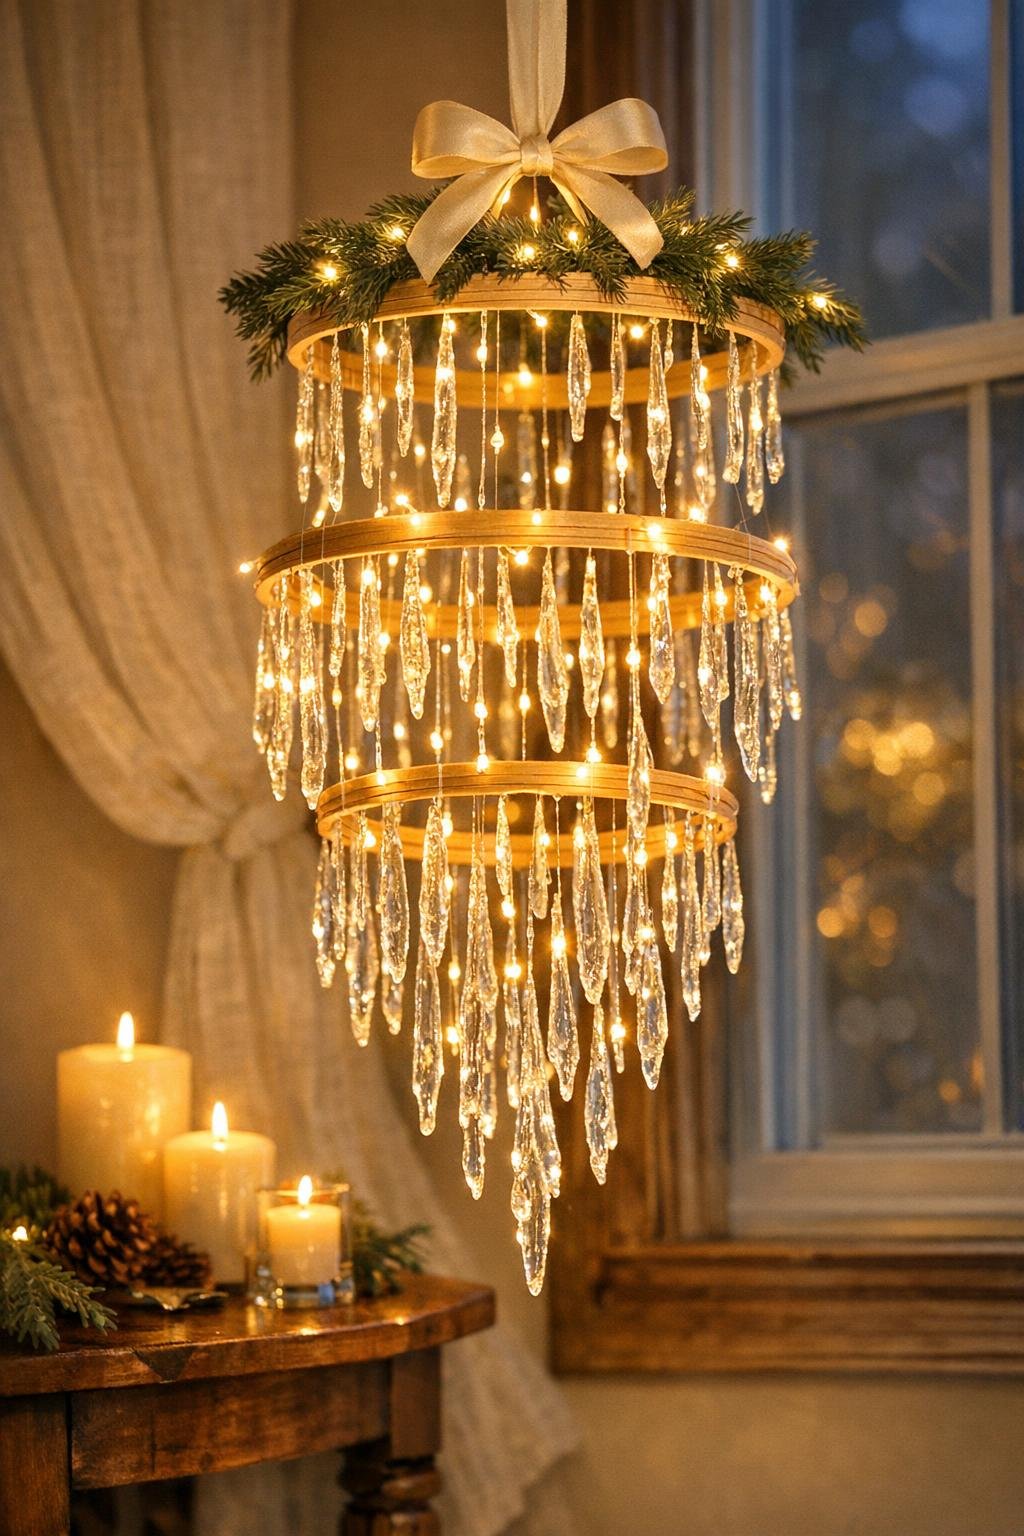
There’s something so satisfying about turning the simplest craft supplies into something that looks far more magical than it has any right to. This project starts with nothing more than hot glue dripped over wax paper, but with a little layering and assembly, those clear glue shapes become a sparkling statement piece that catches light beautifully and feels wonderfully wintery without being fussy.
I love projects like this because they’re budget-friendly, easy to make in stages, and dramatic enough to decorate a dining room, entryway, covered porch, or holiday corner in a big way. If you’re comfortable using a glue gun and tying fishing line, you can make this, and I’ll show you exactly how I build it so it looks full, polished, and worth the time.
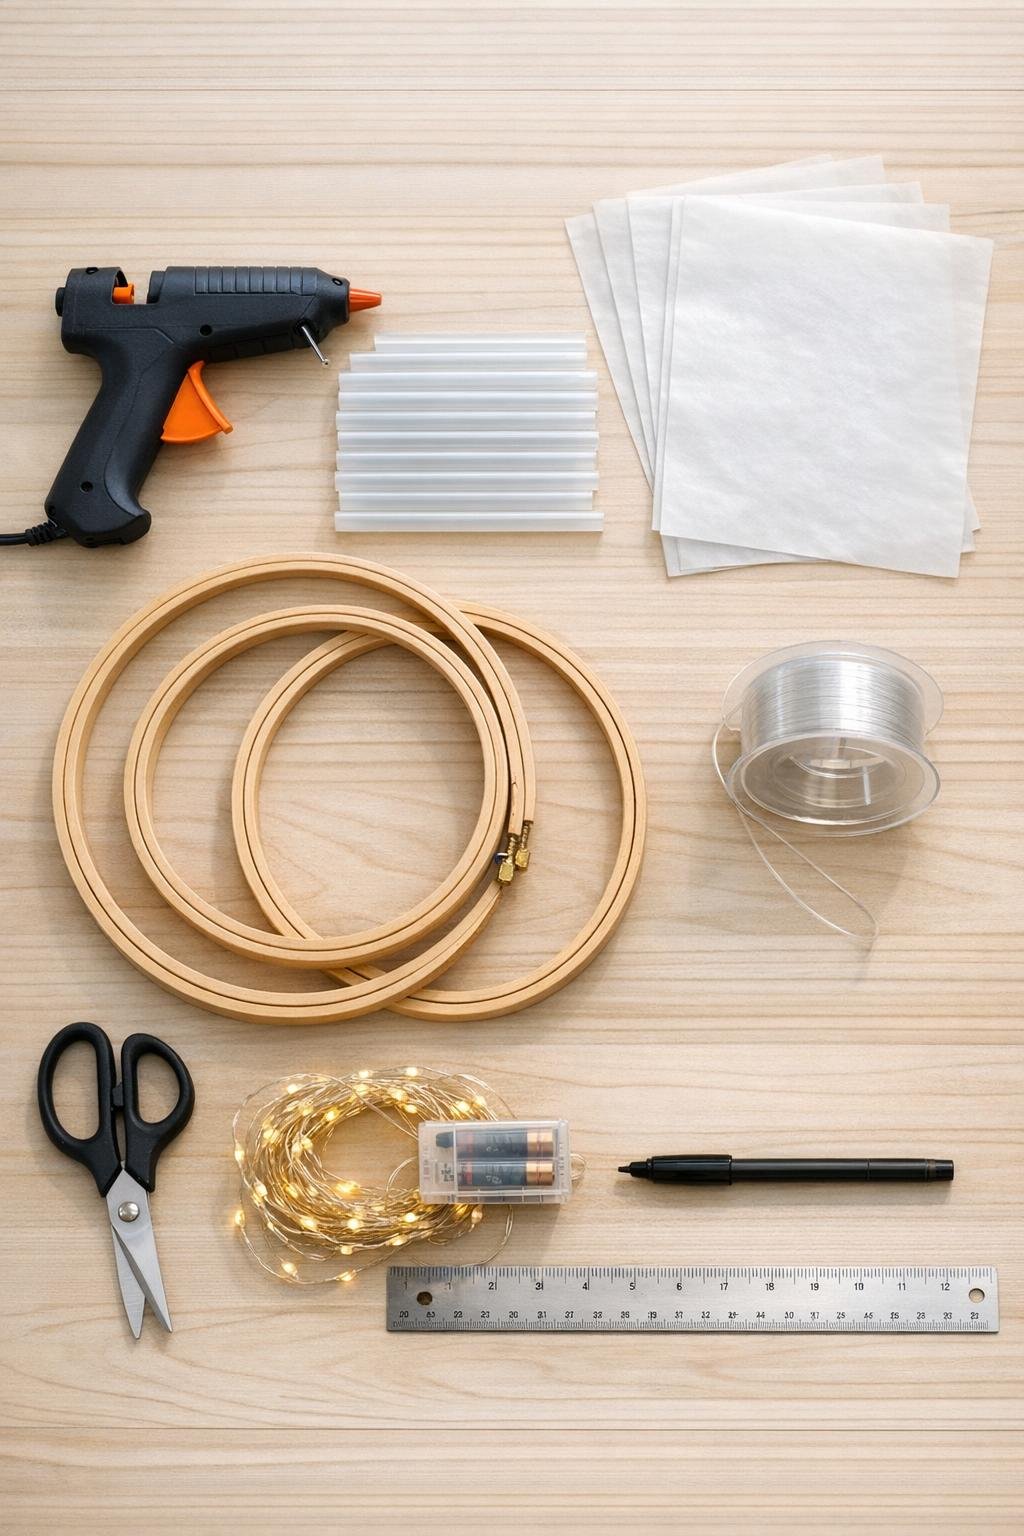
Materials
1 full-size hot glue gun
Instructions
1. Tape the 6 sheets of wax paper side by side on your counter, then use the ruler and marker to draw long tapered icicle guides on the dull side, ranging from 8 to 16 inches long and about 1/4 to 3/4 inch wide.
2. Heat the glue gun fully, then slowly pipe clear hot glue directly over the guide lines, letting each icicle look slightly wavy and organic instead of perfectly straight.
3. Make about 55 to 70 glue icicles total so the finished piece looks lush and full: around 28 long pieces, 22 medium pieces, and 10 to 20 shorter filler pieces.
4. Let the glue cool completely for 10 minutes, then peel each icicle gently from the wax paper and trim away any stringy glue threads with scissors.
5. Separate the embroidery hoops, remove the inner rings if needed, and keep the smooth outer rings for the chandelier tiers in graduated sizes from largest to smallest.
6. Cut 3 lengths of fishing line at 24 inches each and tie them evenly around the 12-inch hoop, then bring the ends together and knot them 8 inches above the hoop to create the main hanging point.
7. Cut 3 more lengths of fishing line at 7 inches each and tie the 10-inch hoop centered beneath the largest hoop, spacing the ties evenly so the second hoop hangs level.
8. Cut another 3 lengths of fishing line at 7 inches each and tie the 8-inch hoop beneath the middle hoop, checking from all sides that the three tiers form a centered chandelier shape.
9. Tie one glue icicle at a time to the largest hoop using short 3- to 5-inch pieces of fishing line, mixing long and medium icicles and placing them close together all the way around the ring.
10. Add icicles to the middle hoop, hanging them slightly shorter on average than the outer ring so the whole form starts tapering inward as it goes down.
11. Fill the smallest hoop with the shortest and most delicate icicles, then add one extra long center icicle hanging straight down from the middle for a finished focal point.
12. Step back and fill any sparse spots with the remaining short icicles, overlapping lengths slightly so the chandelier looks dense and balanced from every angle.
13. Wrap the fairy lights around the top hoop first, then spiral them down through the middle and smallest hoop, tucking the wire close to the fishing line so the lights glow through the clear glue.
14. Hide the battery pack at the top near the hanging knot with fishing line or ribbon, making sure you can still reach the switch easily.
15. Hang the finished piece from a ceiling hook or sturdy adhesive hook, turn on the lights, and rotate the hoops gently until the icicles fall evenly and the whole chandelier tree glimmers from all sides.
Variations & Tips
For a fuller look: If you want an especially dramatic result, make closer to 70 icicles instead of 55. I always find a few extra filler pieces make the difference between pretty and truly eye-catching.
For picky decorators: In my house, everybody has opinions about holiday decor, so I keep this one neutral with warm white lights and clear glue. If your family likes more sparkle, add a few tiny crystal beads onto some fishing-line ties before knotting them.
If your glue strings a lot: Let the gun heat fully before starting and work slowly. After peeling the icicles up, a quick trim with scissors cleans them right up.
To make stronger icicles: Pipe each shape with a slightly thicker top edge and a tapered point at the bottom. The thicker top keeps them from bending too much once they’re hanging.
For color changes: You can leave the hoops natural wood for a soft look, or paint them white, silver, or champagne before assembly. If you paint them, let them dry completely so the fishing line doesn’t stick.
For hanging safely: This piece is lightweight, but I still use a sturdy ceiling hook or a strong adhesive hook rated for overhead decor. Keep it away from heat vents and out of reach of little hands if you’re using delicate glue pieces.
For storage: Hang it from a hanger or hook in a closet instead of boxing it tightly. That keeps the icicles from tangling and makes next season’s decorating so much easier.