
There’s something wonderfully satisfying about taking the plainest little craft supplies and coaxing them into something that catches the light like a treasure. This project starts with a handful of pony beads and a set of round metal cutters, and with a little heat and patience, they turn into something that looks far fancier than the effort involved. It’s the sort of make I love most: simple enough for an afternoon, but pretty enough to pull out year after year.
I’m especially fond of projects like this in the colder months, when the kitchen table becomes a workshop and even humble supplies can feel festive. If you enjoy easy holiday crafts, handmade decorations, or making a good bit of beauty from inexpensive materials, this one is for you. The steps are straightforward, and the payoff is bright, glossy, and full of old-fashioned charm.
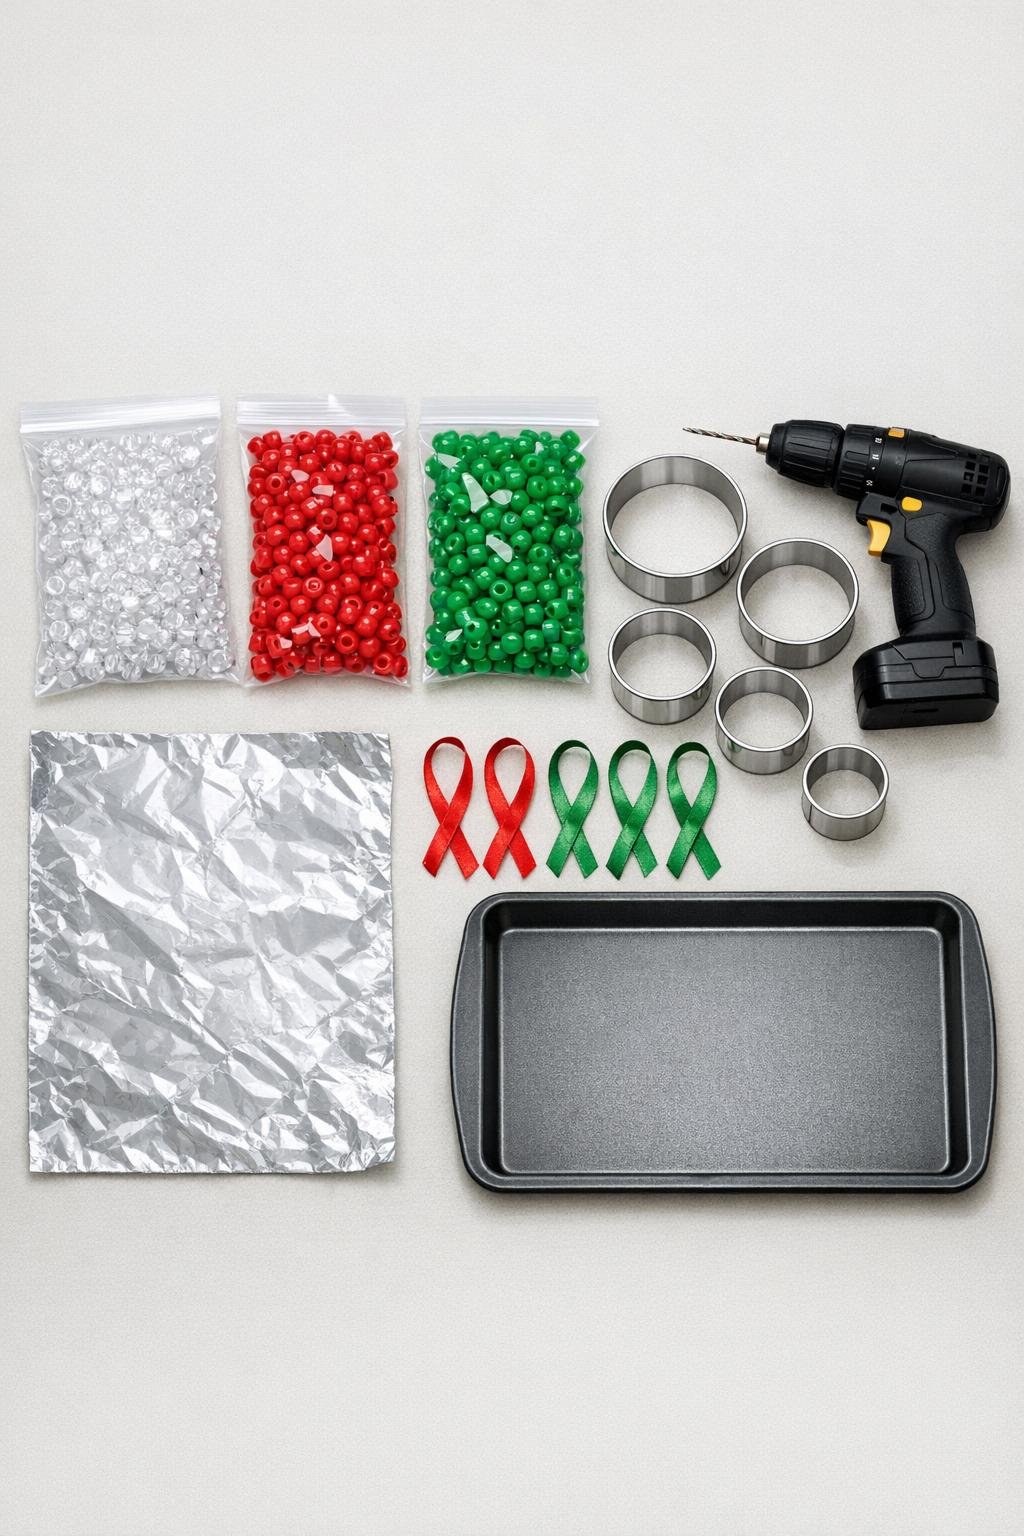
Materials
1 bag mixed pony beads, clear, red, and green, about 1 pound total
Instructions
1. Preheat your grill or oven to 400°F, and line the baking sheet smoothly with aluminum foil so the cutters sit flat without wobbling.
2. Set the 6 round metal cutters on the foil-lined sheet, leaving a little space between each one so you can lift them out easily later.
3. Fill each cutter in a single, snug layer of pony beads, mixing clear, red, and green beads as you go until the bottoms are well covered with almost no gaps.
4. Gently shake the baking sheet and use a toothpick if needed to settle the beads into an even layer; if one cutter looks thin, add a few more beads so every ornament will melt full and solid.
5. Place the baking sheet in the grill or oven and heat for 20 to 30 minutes, just until the beads melt together into glossy round discs with open little pockets of color.
6. Remove the sheet carefully and let everything cool completely on the pan; don’t rush this part, because the ornaments release more cleanly once fully firm.
7. Peel the foil away from the backs, then gently press each piece out of its cutter; if one sticks, flex the metal ring slightly rather than prying against the bead surface.
8. Drill a small hole near the top edge of each cooled piece, staying about 1/4 inch in from the rim so the hole is secure and won’t crack through.
9. Thread one ribbon loop through each hole and knot it tightly, trimming the ends if needed so every hanger looks neat and even.
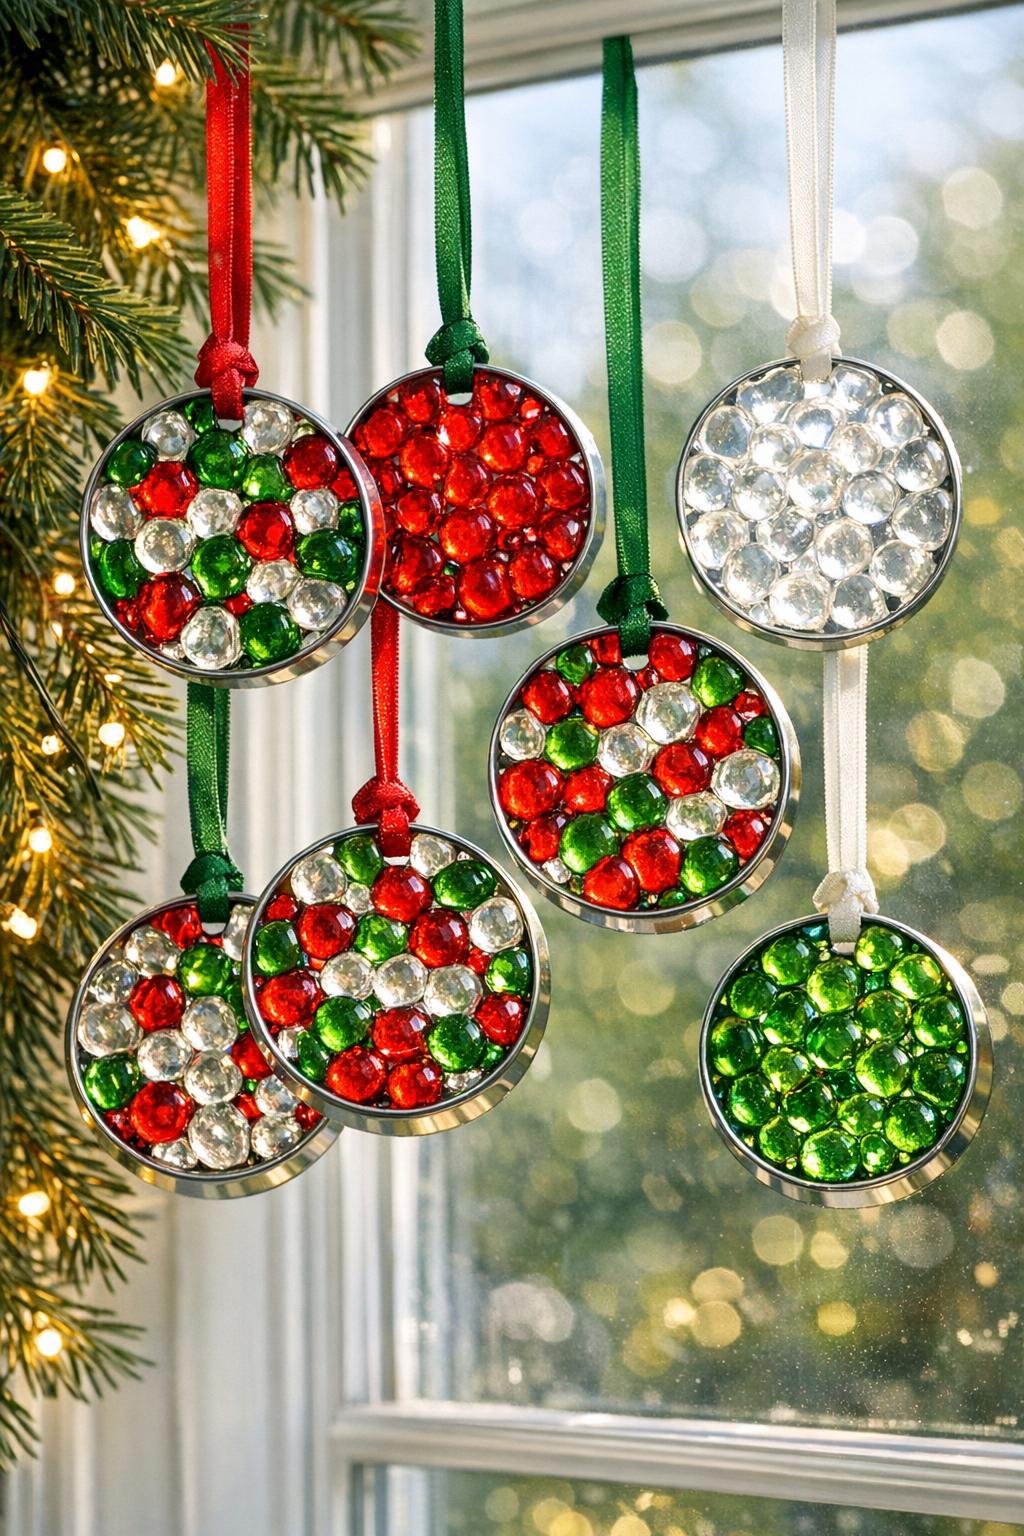
10. Hold them up to the light or hang them where sunshine can come through, and the colors will glow like little stained-glass windows.
Variations & Tips
Color placement: For a prettier marbled look, scatter the clear beads throughout instead of keeping them all in one area. They help the red and green glow rather than looking too heavy.
Fuller finished look: Don’t underfill the cutters. A nice tight single layer gives you strong, richly colored ornaments that look polished instead of spotty.
Ventilation: I prefer using an outdoor grill for this sort of melting craft, but a well-ventilated oven works too. Open windows and run a fan if you’re indoors.
Shape option: If you have other metal cutters, you can use the same method with simple shapes, but keep the edges broad and sturdy. Thin, fussy cutters can make removal harder.
Hanging ideas: These are lovely on a Christmas tree, tucked into a wreath, or hung in a sunny window all winter. I’ve even tied them onto gift packages when I wanted the wrapping to feel extra special.
Cooling tip: Let them cool all the way before removing from the cutters. That little bit of patience saves a lot of cracking and gives the cleanest finish.