
I love a project that turns something headed for the trash into something people genuinely stop and ask about, and this one does exactly that. If you’ve got a box of chipped or broken ornaments tucked away after the holidays, this is such a satisfying way to use them up while making something that looks far more special than the effort involved.
This is a great project for anyone who likes easy seasonal crafts with a little sparkle and a big payoff. The process is simple, the supplies are basic, and the end result has that polished, gift-worthy look that works beautifully on a mantel, entry table, or holiday centerpiece.
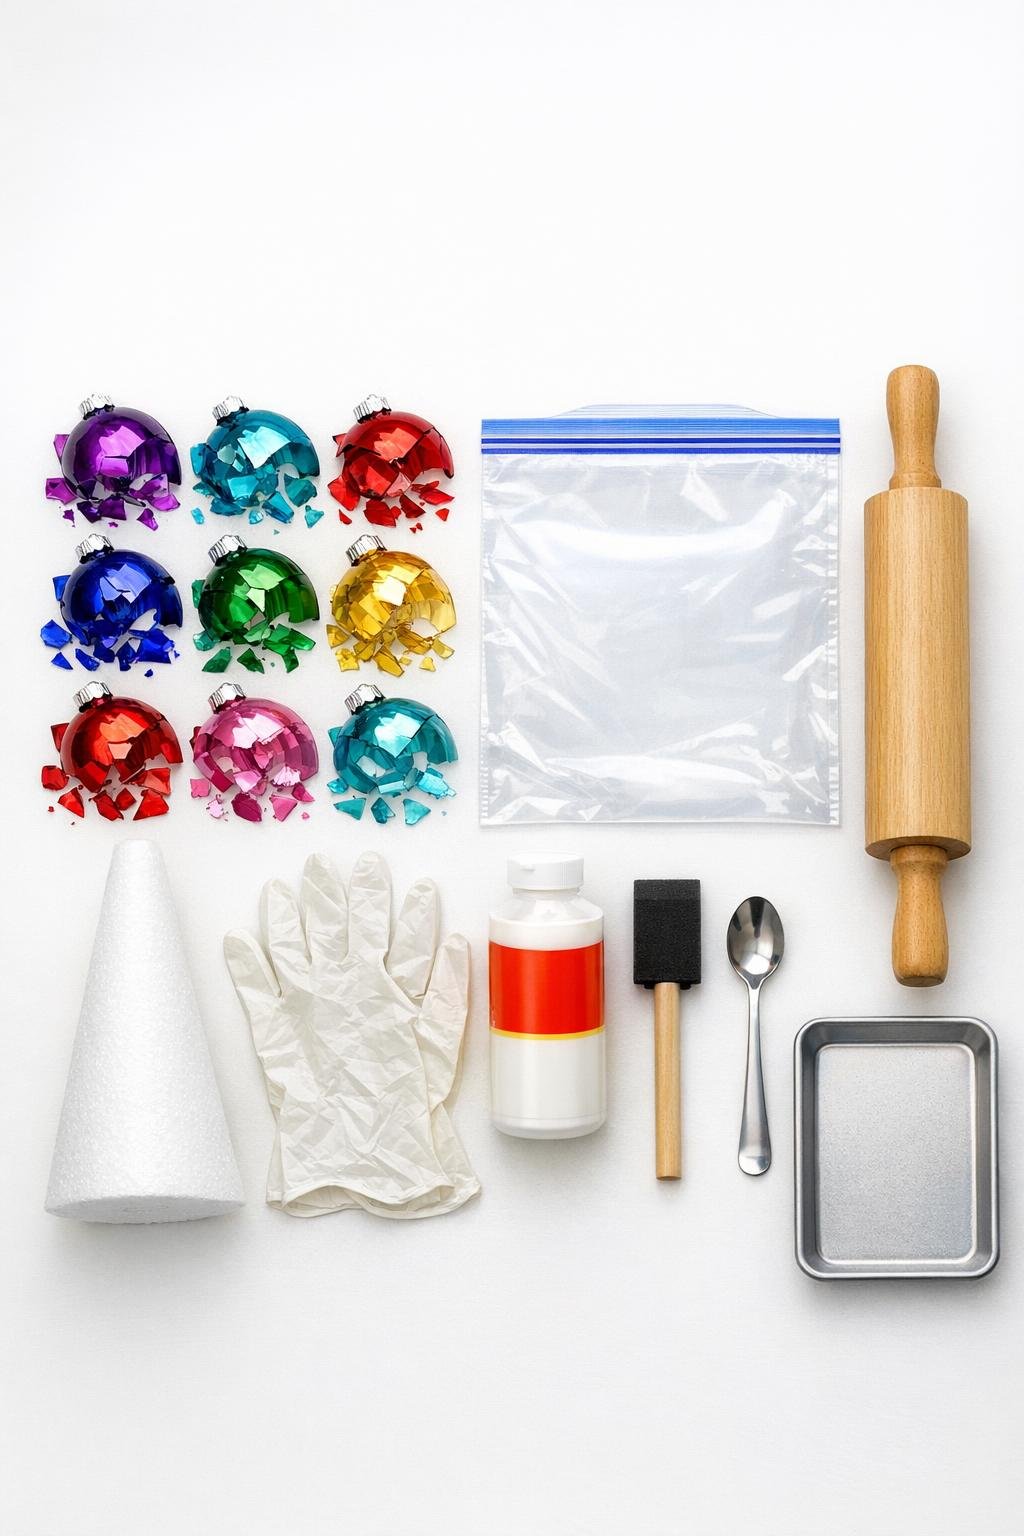
Materials
Instructions
1. Put on your protective gloves and sort the broken ornaments by color, removing any metal caps, hanging hooks, or loose interior pieces that do not crush nicely.
2. Place 2 to 3 ornaments at a time into the zip bag, seal it fully, and set the bag inside the shallow tray to help contain sharp pieces.
3. Gently roll over the ornaments with the rolling pin until you have a mix of small shards and glittery chips about the size of coarse cereal; avoid pounding so hard that everything turns to dust.
4. Repeat with the remaining ornaments, keeping the crushed colors in separate piles if you want a striped or ombré effect, or mixing them together for a more confetti-like finish.
5. Set the foam cone on wax paper and brush a generous coat of Mod Podge over the top third of the cone, working in sections so the glue stays tacky.
6. Use the spoon to sprinkle the crushed ornament pieces onto the glued area, then press them lightly with a gloved hand so they sit flat and catch well.
7. Rotate the cone and continue covering that section until very little white foam shows; fill obvious gaps with smaller chips for a dense, tiled look.
8. Brush Mod Podge onto the middle third of the cone and repeat the same process, slightly overlapping the previous section so the surface looks full and continuous.
9. Coat the bottom third last, leaving a narrow clean edge at the base if you want it to sit more evenly on a stand or tabletop.
10. Once the whole cone is covered, tap a few extra tiny fragments into bare spots and use the dry paintbrush to gently sweep away any loose dust without knocking off the larger pieces.
11. Let the tree dry for 1 hour, then brush on a light sealing coat of Mod Podge over the surface to lock down sharp edges and glittery fragments without flattening the sparkle too much.
12. Allow it to dry completely for 4 to 6 hours, then add a light coat of clear acrylic spray sealer if you want extra hold for display through the whole season.
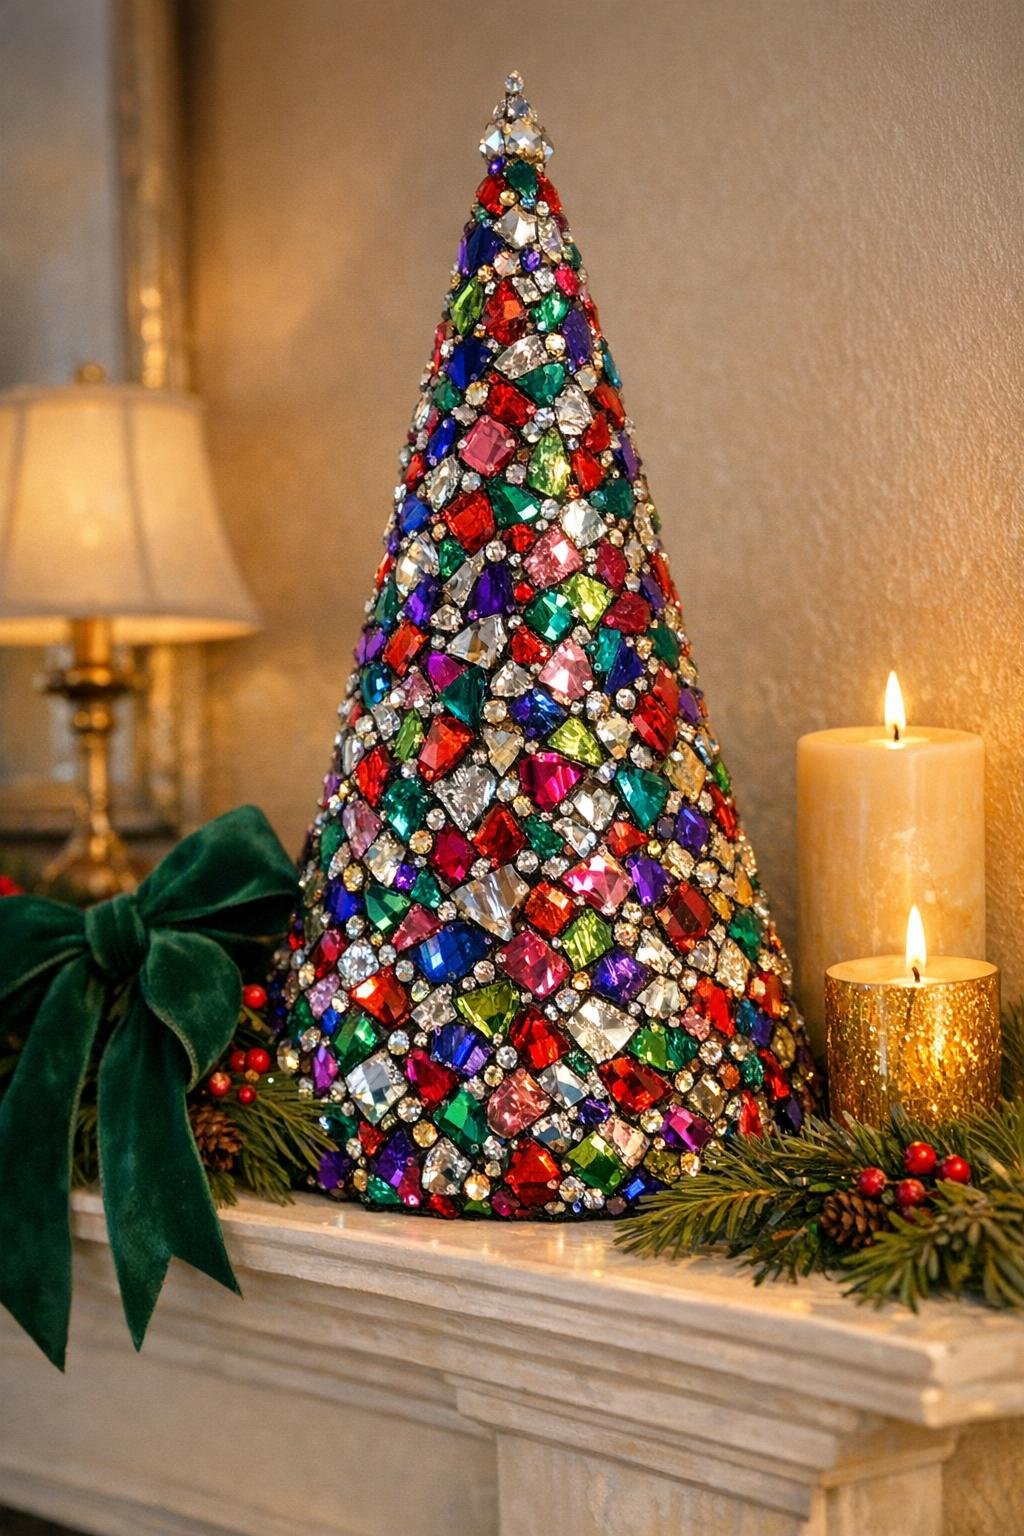
13. Set the finished piece on a wooden spool, small candlestick, or jar lid for a little height, or leave it directly on the mantel for a simpler look.
Variations & Tips
For coordinated color: Use ornaments in one family, like silver and icy blue or red and gold, for a more classic holiday look. I think this is especially pretty if you already decorate around a set palette.
For picky decorators: If your family members all like something different, make a trio in different color mixes instead of one large tree. That way everyone gets the sparkle they like without arguing over the “right” holiday colors.
For extra shine: Mix a spoonful of ultra-fine loose glitter into the final sealing coat of Mod Podge only if you want even more shimmer in the tiny gaps between glass pieces.
For safer handling: Keep gloves on anytime you touch the unsealed glass, and always crush the ornaments in small batches. Smaller batches give you prettier chips and much better control.
For a smoother finish: Aim for a mix of medium and small pieces rather than large jagged chunks. The cone will look more polished and the surface will catch light from more angles.
For display: This looks lovely grouped with bottlebrush trees, mercury glass candleholders, or a simple evergreen garland. I like placing it where lamplight hits it in the evening, because that’s when the mosaic really comes alive.