
I love a project that turns the recycling bin into something people genuinely stop and ask about, and this one absolutely does that. If you have a stack of empty milk jugs and about an afternoon to play with paint, you can transform them into a bold porch decoration that looks far more expensive than it is. It’s the kind of craft that gives you a big visual payoff without needing fancy tools or hard-to-find supplies.
This is especially good if you want seasonal decor that can handle a front porch, entry table, or covered stoop and still feel cheerful from a distance. As someone who is usually squeezing creative projects in between work, dinner, and the usual weekday chaos, I appreciate that the cutting is simple, the shaping is forgiving, and the final result looks wonderfully full when you make several blooms together.
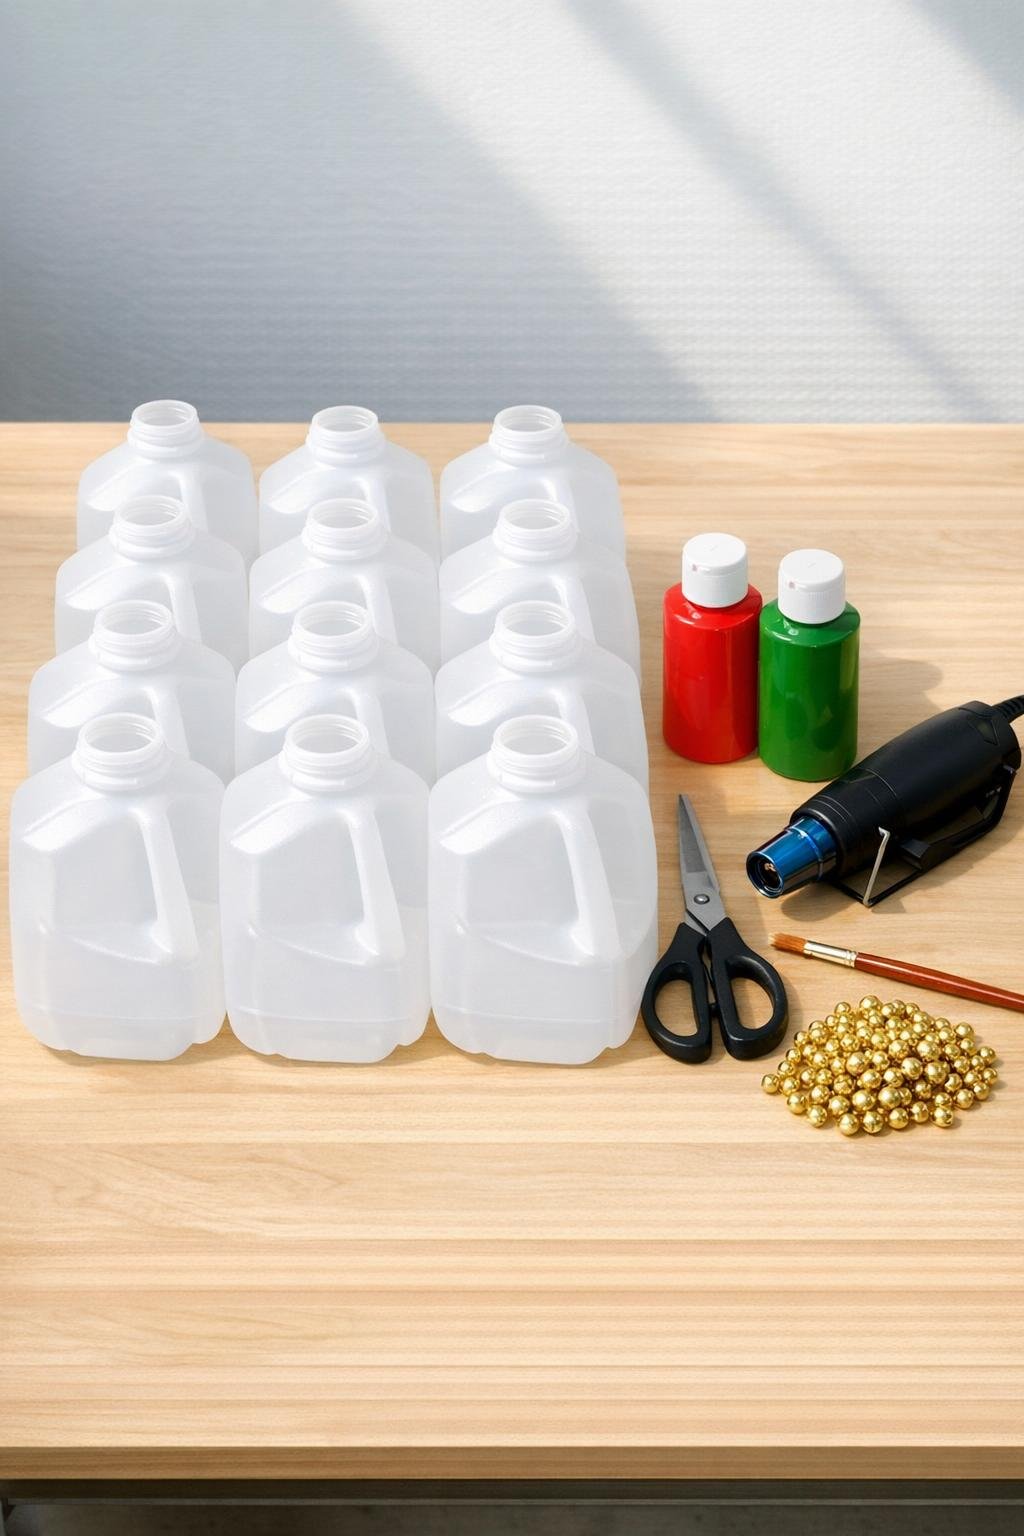
Materials
12 clean empty 1-gallon plastic milk jugs, labels removed and caps discarded
Instructions
1. Wash all 12 milk jugs, peel off the labels, and let them dry completely so the paint will stick evenly.
2. Cut the bottom off each jug about 3 to 4 inches up from the base, keeping the bottom pieces because these will become your flower layers.
3. Trim each bottom piece into a flower by cutting upward from the edge between the molded corners, creating 5 or 6 wide petals and stopping about 1 inch from the center.
4. Round each petal tip into a soft point so the flowers look like poinsettia petals instead of blunt plastic tabs.
5. Use the heat gun on low to gently warm the petals one flower at a time, bending some slightly upward and some slightly inward so every piece gets a more natural, ruffled shape.
6. Set aside 9 of the flowers for red petals and 3 of the flowers for green leaves, which gives you three full porch arrangements with layered centers and leafy bases.
7. Paint both sides of the 9 flower pieces red, working the brush into the curved edges and letting the first coat dry before adding a second coat for solid color.
8. Paint both sides of the 3 remaining flower pieces green, again using two coats so the white plastic does not show through.
9. Once dry, warm the petals very briefly again with the heat gun if needed and deepen a few curves so the painted flowers look lifted and dimensional.
10. Stack three red flowers together for each bloom, rotating the petals so the layers alternate and the flower looks full and lush.
11. Place one green piece underneath each stacked red bloom, offsetting the petals so it reads like a leaf collar peeking out from behind the flower.
12. Press 12 to 16 gold beads into the center of each bloom, gluing them in place if your bead openings do not grip the plastic well.
13. Repeat until you have three large finished blooms, each made from four jug-bottom pieces total, and adjust the petals by hand so they fan out evenly.
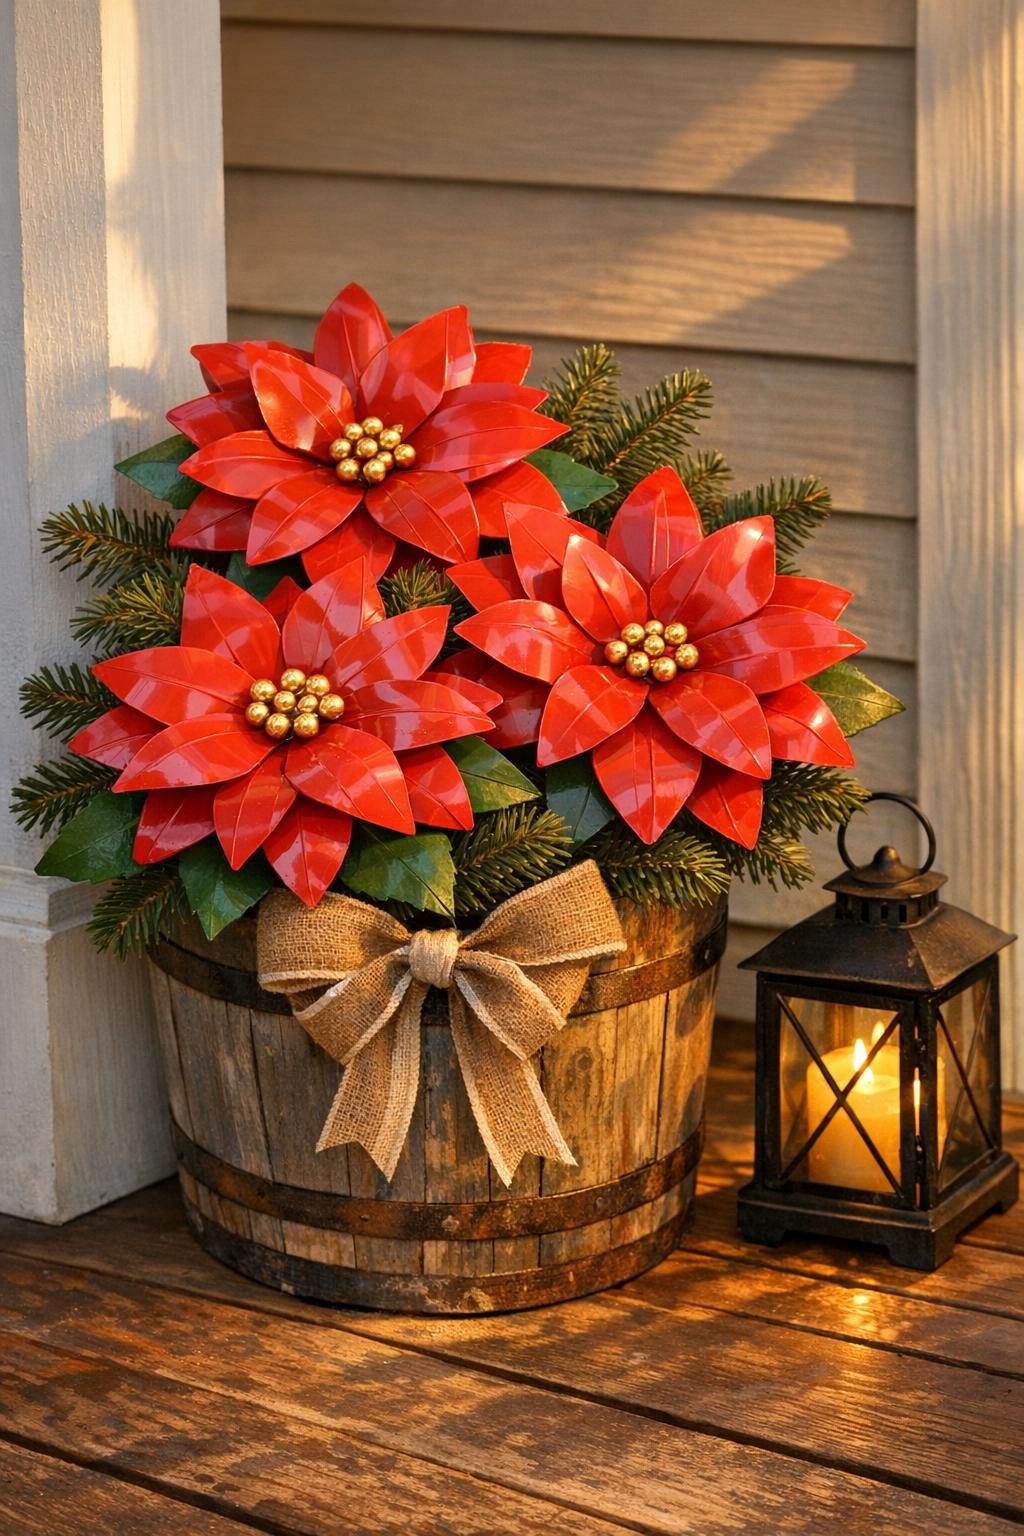
14. Display the finished pieces grouped together on a covered porch, tuck them into planters, or lean them into a basket or crate so the flowers read as one dramatic arrangement instead of separate single blooms.
Variations & Tips
Make them bigger: If you want an even fuller arrangement, use 16 jugs instead of 12 and build four flowers rather than three. I’ve learned that grouped decor always looks more intentional on a porch, especially from the street.
Use a paint that grips plastic well: Multi-surface or outdoor craft paint holds up much better than basic school paint. If your first coat looks streaky, don’t panic; the second coat usually makes all the difference.
Work carefully with heat: Warm the plastic just until it softens and move the heat gun constantly. The goal is gentle curling, not shrinking or scorching.
Try a richer center: Mix two bead sizes in the middle for a more finished look, or cluster the beads tightly so the center feels dense and bright.
Display for the best effect: These look nicest in a covered area where the color stays fresh longer. I like placing them near the front door with a planter or lantern because that little bit of layering makes a simple DIY look styled on purpose.
Save time on assembly: Cut all 12 jug bottoms first, then shape all of them, then paint in batches. That assembly-line approach is how I get through projects like this without completely taking over the kitchen table all weekend.