
There’s something mighty satisfying about taking a handful of humble supplies and ending up with a holiday decoration that looks like it came from a little boutique in town. This project starts in the most unexpected way, with paper snow cone cups and a bag of concrete, and that contrast is half the fun. I’ve always had a soft spot for Christmas crafts that feel sturdy and timeless, the kind you can tuck away with the ornaments and bring back out year after year.
If you enjoy easy projects with a big payoff, this one is for you. The steps are simple, the supplies are inexpensive, and the finished pieces have that clean winter look that works just as well on a mantel as it does in the middle of a holiday table. It reminds me of the old farmhouse way of decorating: use what you have, keep it practical, and add just enough sparkle to make it feel special.
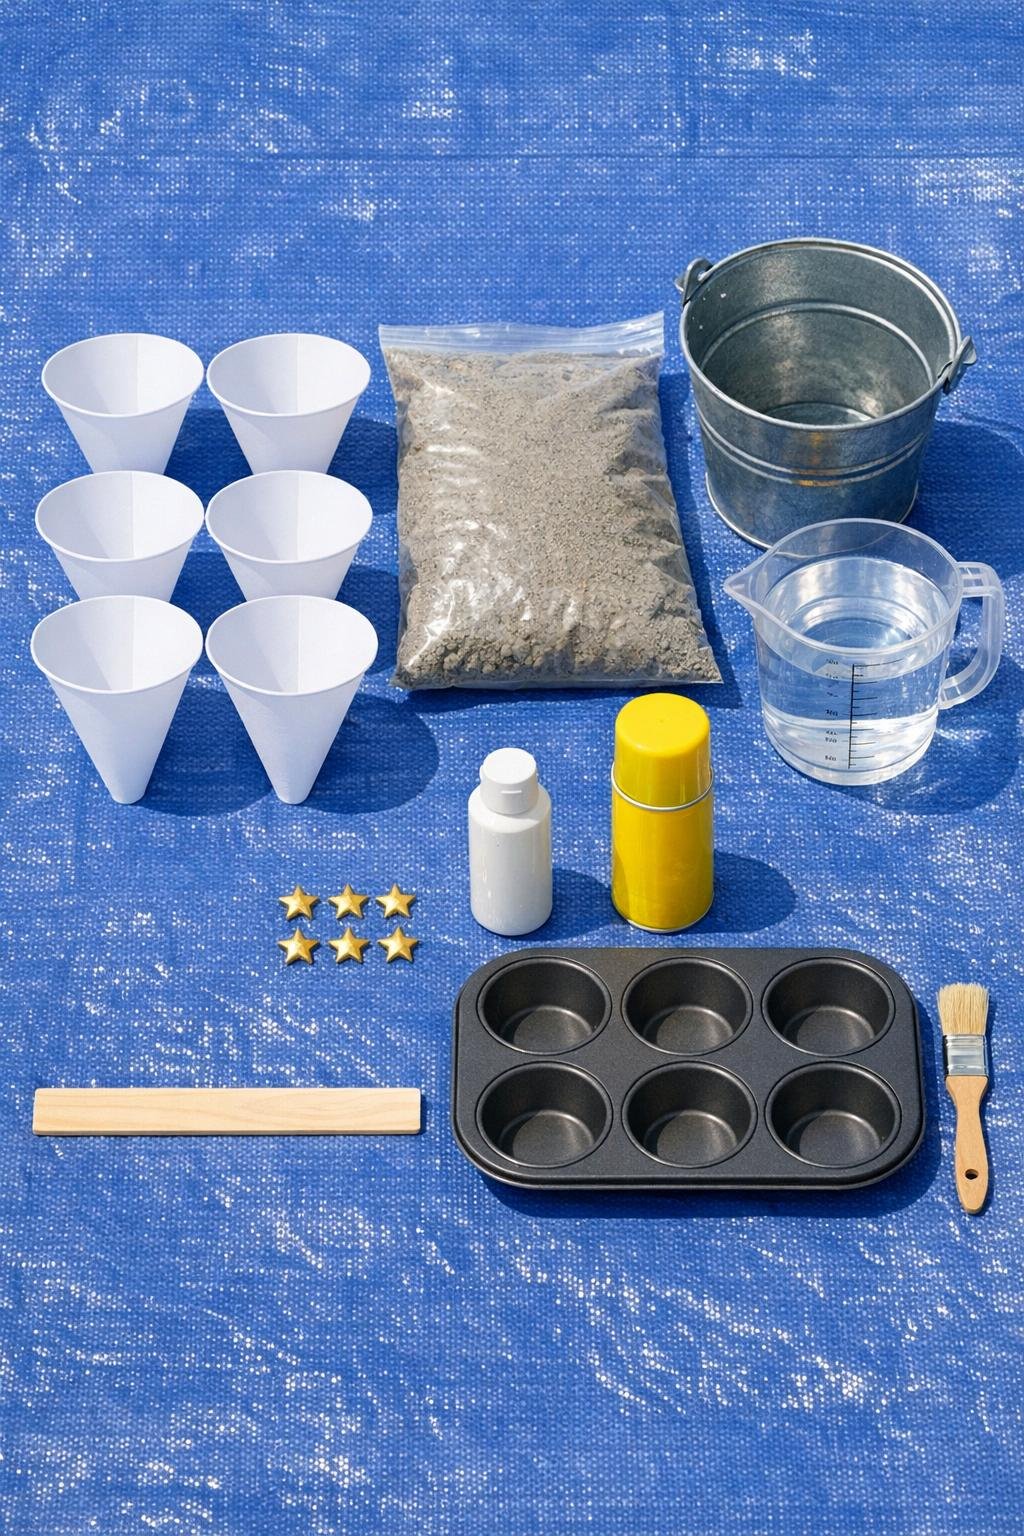
Materials
6 paper snow cone cups
Instructions
1. Set your muffin tin on a tarp or other protected surface, then place the 6 paper snow cone cups point-down into 6 muffin cups so they stand upright and steady.
2. Lightly coat the inside of each paper cup with cooking spray, using just enough to cover the sides and tip so the concrete releases cleanly later.
3. Pour the quick-set concrete mix into the bucket and stir in water a little at a time until it reaches the texture of thick pancake batter; it should pour, but still hold body.
4. Pour the wet concrete into each cup until it reaches the rim, filling all 6 cups as evenly as you can.
5. Tap the muffin tin gently against the surface a few times to settle the concrete and release trapped air bubbles.
6. Let the concrete set undisturbed until fully hardened, following the time on your mix; most quick-set mixes will be firm within a few hours, but overnight is best for easy handling.
7. Peel away the paper cups carefully to unmold the concrete cones, starting at the wide rim and tearing the paper downward in strips.
8. Stand the cones on their flat ends and let them dry a little longer if needed, then brush on a full coat of white acrylic paint from tip to base.
9. Add a second coat of paint once the first is dry so the finish looks solid, bright, and snowy rather than patchy.
10. Glue or press a small gold star button onto the pointed top of each painted cone while the paint is slightly tacky, or use a dab of extra paint as a simple adhesive if needed.
11. Arrange all 6 cones together in a clustered display, varying the spacing slightly so they read as a little winter forest.

Variations & Tips
For extra-smooth trees: If your concrete mix is coarse, stir it very well and tap the cups a few extra times after filling; that helps the sides come out cleaner and more even.
For a snowy finish: Dry-brush a second shade of white or even a whisper of pale gray over the ridges and texture if you want a little more depth without losing that fresh winter look.
For a warmer holiday style: Swap the white paint for soft sage green, deep forest green, or a pale putty color, then keep the gold stars on top for a classic Christmas touch.
For displaying: These look best grouped tightly rather than spread far apart. I like to place the tallest-looking cones at the back and tuck in a little greenery around the bases so the whole arrangement feels full.
For storage: Once completely dry, wrap each piece in tissue or an old dish towel before boxing them up. They’re durable, but the stars stay prettier if they aren’t rubbing together all year.
For gifting: Tie a simple ribbon around a set of two or three and set them on a small thrifted plate or wood slice. It makes an easy handmade Christmas gift that looks far fancier than the effort it takes.