
There’s something so satisfying about taking a very ordinary package of dollar store basics and turning it into something that looks special enough to tuck into a gift basket or hang on the tree year after year. This is one of those easy little projects I love setting out on the kitchen table with a paper plate, a pair of scissors, and a few simple supplies while dinner simmers nearby.
If you enjoy low-mess crafts, winter decorating, or making something pretty without spending much at all, this one is a sweet fit. It’s simple enough for a relaxed afternoon, but the finished pieces have that sparkly, snowy look that feels far more magical than the materials would suggest.
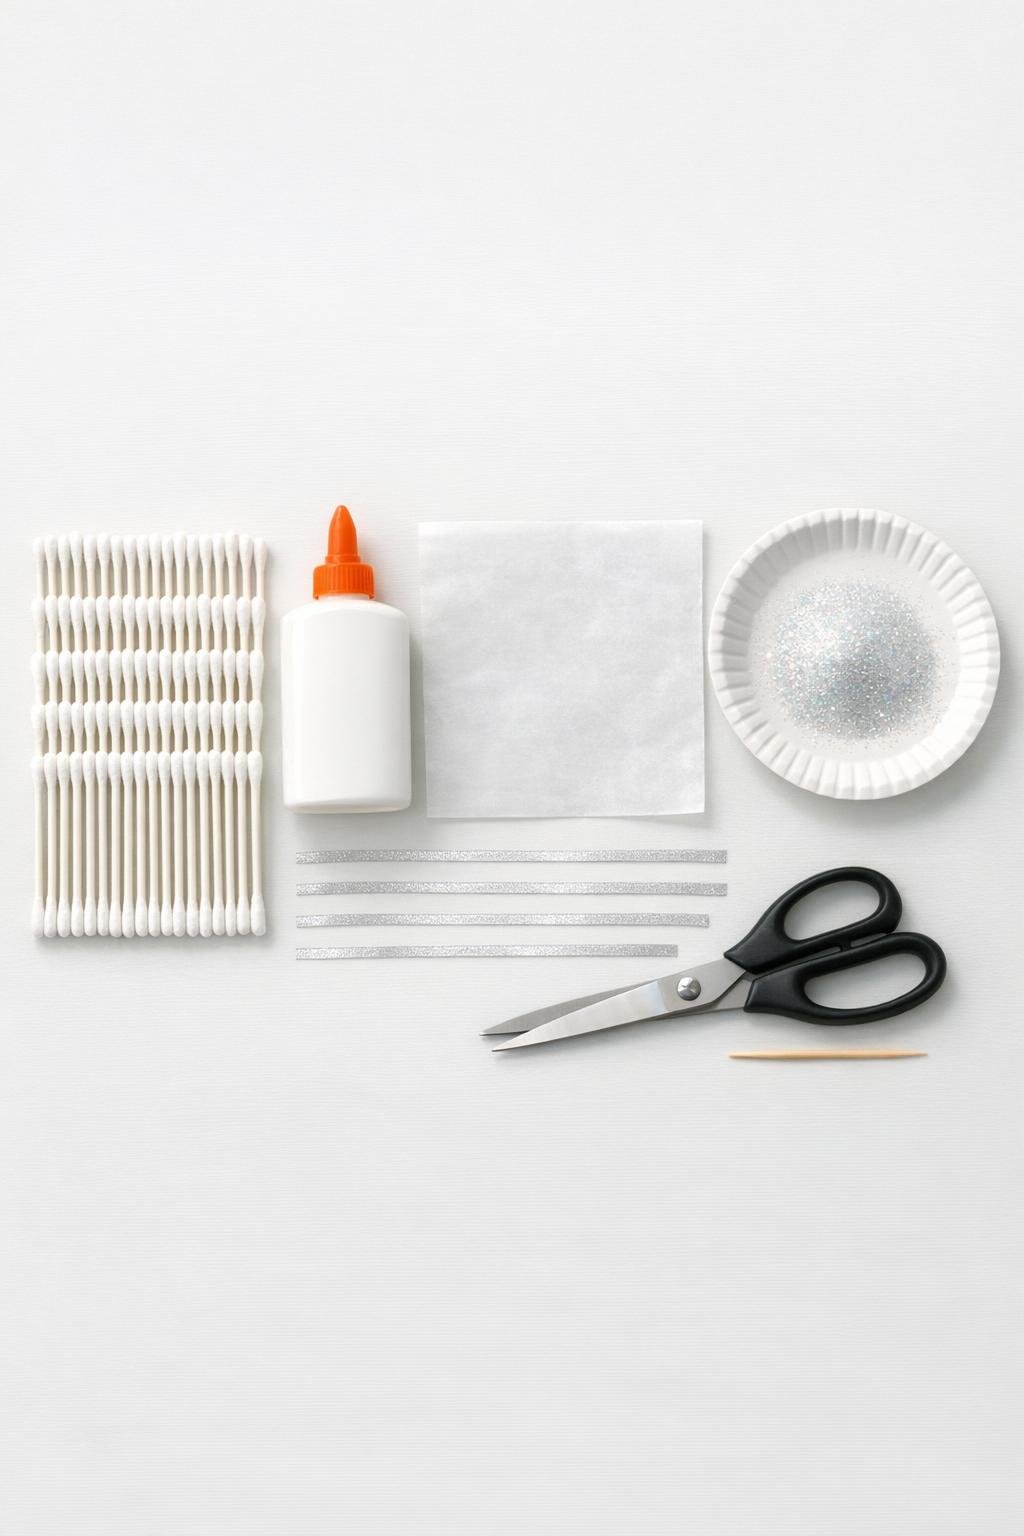
Materials
Instructions
1. Lay the sheet of wax paper flat on your table and set your glue, glitter, ribbon, scissors, toothpick, and paper plate within easy reach so you can work assembly-line style.
2. Snip all 60 cotton swabs in half with the kitchen scissors, cutting straight across the center of each stick to make 120 equal pieces.
3. Pour a small puddle of white school glue onto the paper plate so it’s easier to dip and control than working straight from the bottle.
4. Make the first ornament by placing 8 swab halves into a starburst shape on the wax paper, with all cut ends meeting in the center and the cotton tips pointing outward.
5. Add 8 more swab halves between those first spokes to fill out the shape, alternating slightly shorter overlap and angle so the snowflake looks fuller and more layered instead of flat and sparse.
6. Use the toothpick to place a generous dot of glue at the center where all the cut ends meet, then drag a tiny line of glue outward under any loose pieces that need extra hold.
7. Set one ribbon length into a loop and tuck the raw ends into the wet center glue at the top of the snowflake so it becomes a hanger.
8. Sprinkle a light pinch of iridescent glitter over the glued center and dust a little across the swab tips for a frosty look, then tap away any heavy clumps.
9. Repeat the same process to make 5 more ornaments, using 20 swab halves per snowflake so you end up with 6 full, generously layered snowflakes.
10. Let the ornaments dry completely on the wax paper for at least 2 hours, or until the center feels firm and lifts away cleanly without bending apart.
11. If any pieces shift after drying, add a tiny extra dot of glue with the toothpick at the back center and let them dry again for a secure finish.
12. Hang the ornaments on a tree, across a window, or from cabinet knobs where the silver ribbon and glitter can catch the light.

Variations & Tips
For fuller snowflakes: If you want an even fluffier look, overlap a few of the swab halves at slightly different angles near the center instead of making every spoke perfectly even. That little bit of layering gives them a prettier, more delicate shape.
For picky crafters: If younger helpers get frustrated by symmetry, I like to arrange all the pieces first and let them handle just the glitter part. It keeps the project fun and still gives them ownership.
For extra sparkle: Add the glitter while the glue is still very wet so it grabs well, then gently shake off the excess once the center starts to set. Fine glitter works much better here than chunky glitter.
For easier assembly: Make all 6 ribbon loops before you start building the snowflakes. Having them ready keeps the glue from drying while you search for the next piece.
For sturdier ornaments: Put a small glue dot on the back where a few inner stems cross, not just in the center. That extra support helps them hold up better in storage.
For display ideas: These look lovely on a Christmas tree, but I also like them tied onto wrapped gifts, hung in a kitchen window, or clipped onto a winter garland. The silver ribbon makes them easy to move around wherever you need a little sparkle.